This post is all about 15 Home Remodeling Mistakes First-Time Renovators Should Avoid.
Posh Chic Cool is a participant in the Amazon Services LLC Associates Program, an affiliate advertising program designed to provide a means for sites to earn advertising fees by advertising and linking to Amazon.com. As an Amazon Associate, I earn from qualifying purchases at no extra cost to you. Disclaimer, Privacy Policy and Terms and Conditions

Home remodeling involves more than choosing cabinets, flooring, and paint colors. You are also managing a budget, coordinating contractors, approving technical decisions, ordering products, and trying to keep the rest of your household functioning.
Most renovation problems do not begin with one dramatic mistake. They usually start with a missing measurement, an unclear quote, a delayed decision, or a product that arrives three weeks after the installer needed it.
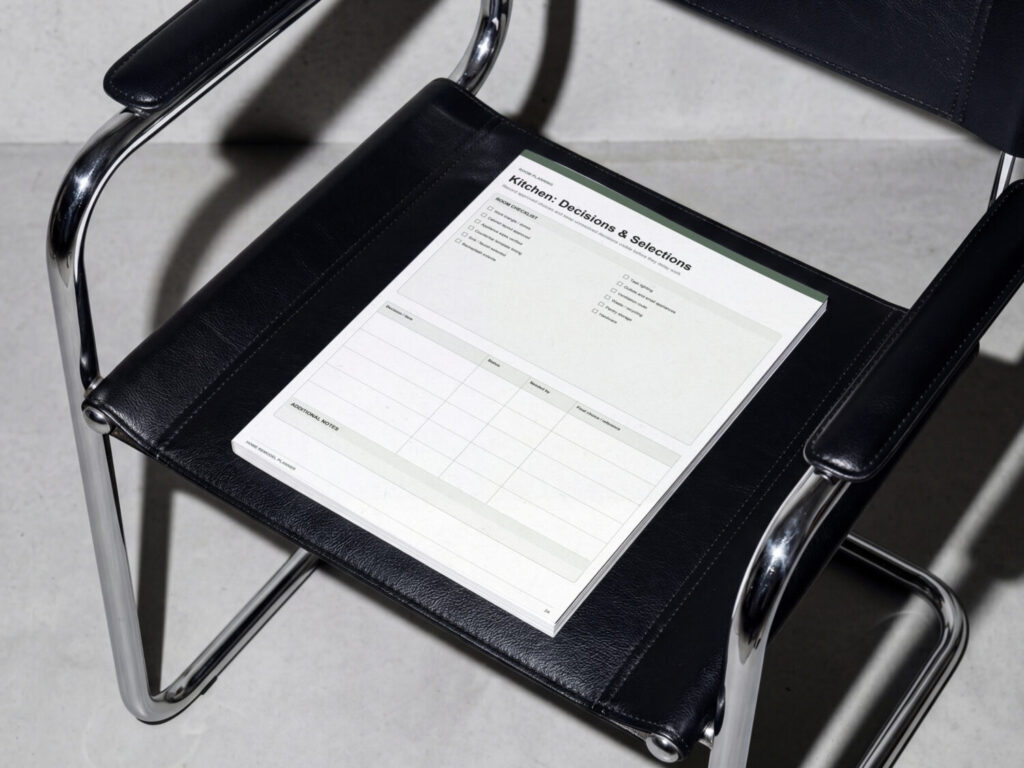
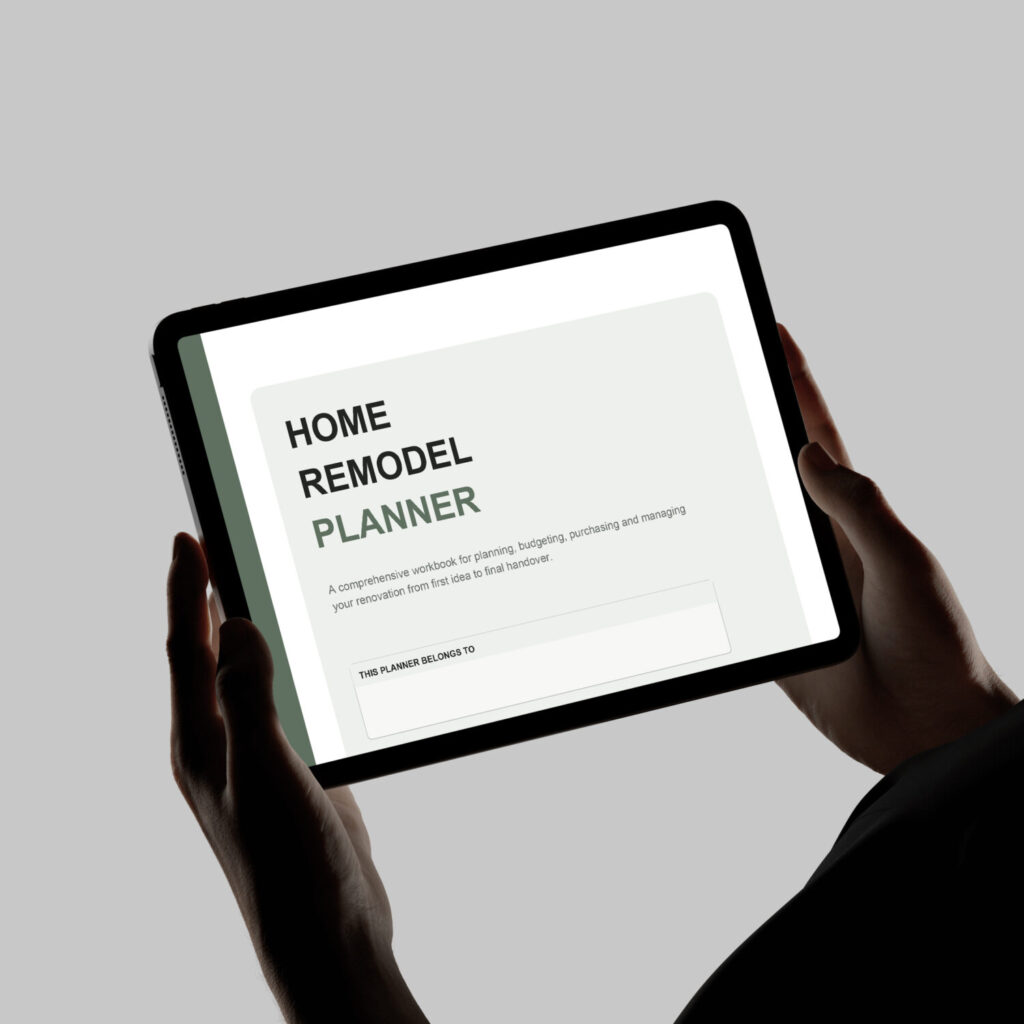
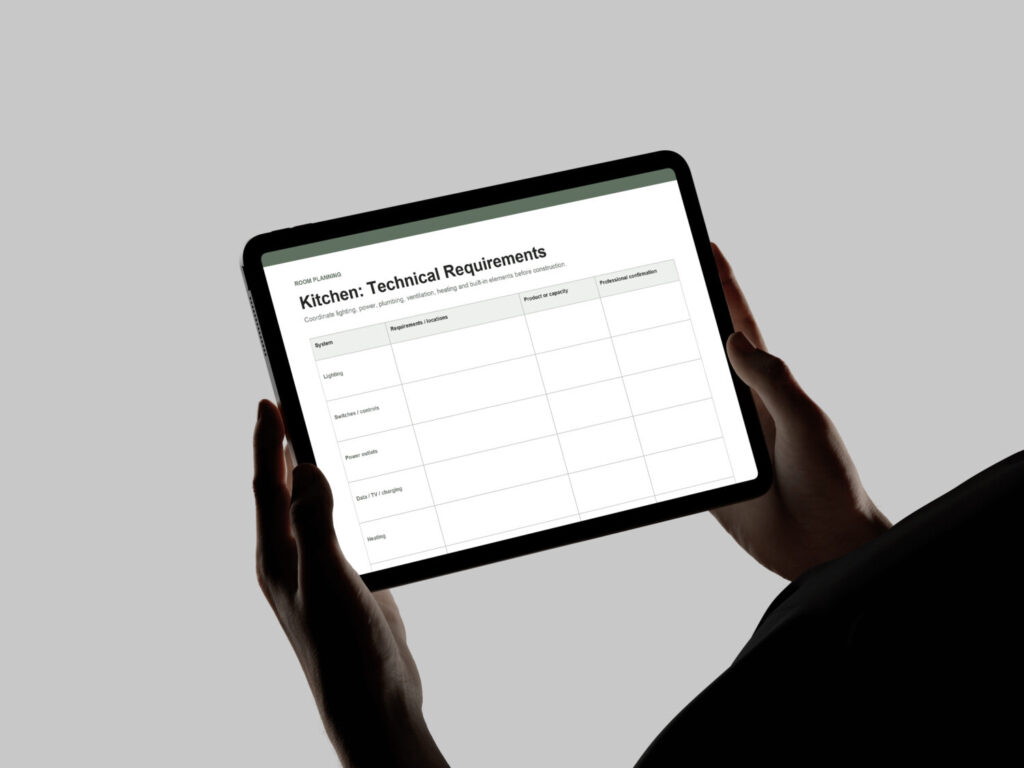
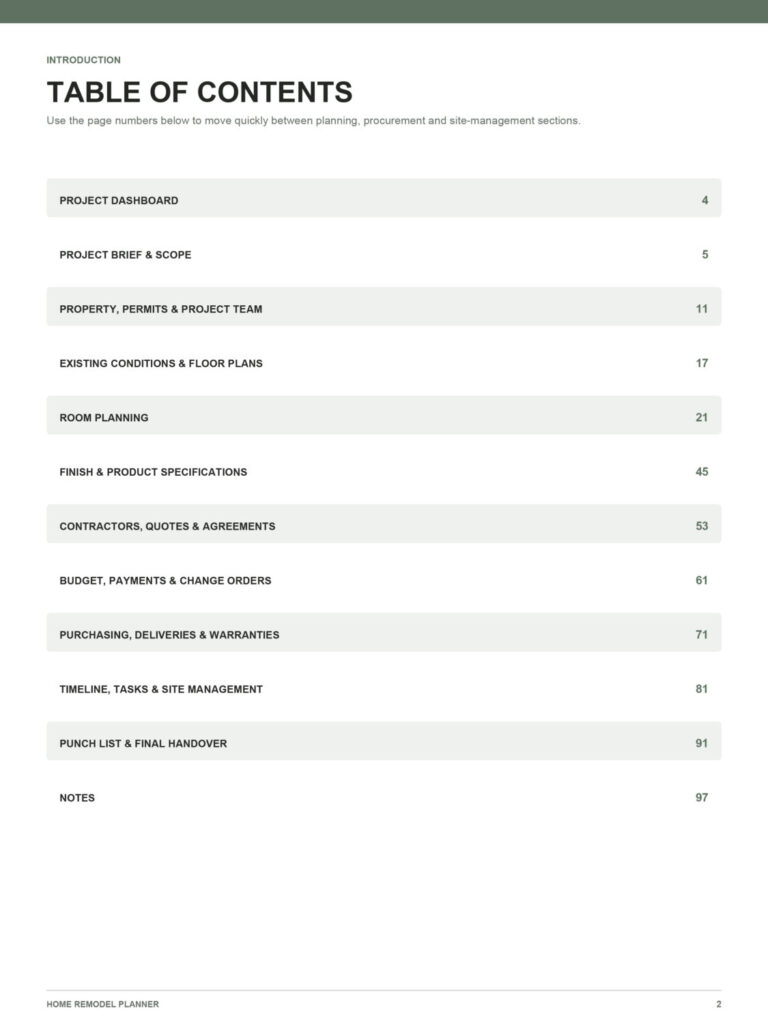
The goal is not to predict every possible problem. It is to make the project clear enough that you can spot issues early, ask better questions, and keep decisions from getting lost. A structured resource such as the Home Remodel Planner can help you track the scope, budget, products, contractors, schedule, changes, inspections, and final handover in one place.



Here are 15 common home remodeling mistakes first-time renovators should avoid.
Posh Chic Cool is a participant in the Amazon Services LLC Associates Program, an affiliate advertising program designed to provide a means for sites to earn advertising fees by advertising and linking to Amazon.com. As an Amazon Associate, I earn from qualifying purchases at no extra cost to you. Disclaimer, Privacy Policy and Terms and Conditions
1. Starting Without a Clear Remodeling Goal
Before choosing finishes, decide what the remodel needs to fix.
Perhaps your kitchen lacks storage, the bathroom layout feels cramped, or several rooms no longer support the way your household lives. Write down the problems first, then describe what a successful result would look like.
This gives you a practical test for later decisions. A larger kitchen island may look appealing, but it is not an improvement if it makes the main walkway too narrow. Expensive tile is not a useful upgrade if the budget would be better spent fixing poor lighting or ventilation.
Separate your priorities into three groups:
|
Problems that must be solved |
Features you strongly prefer |
Upgrades that can be removed if the budget becomes tight |
|
lack of storage |
kitchen island |
luxurious tile |
|
cramped bathroom layout |
||
|
poor ventilation |
Agreeing on these priorities early makes it easier to review plans, compare quotes, and decide where to compromise.
don’t forget to save this post:
2. Letting Inspiration Images Replace a Functional Plan
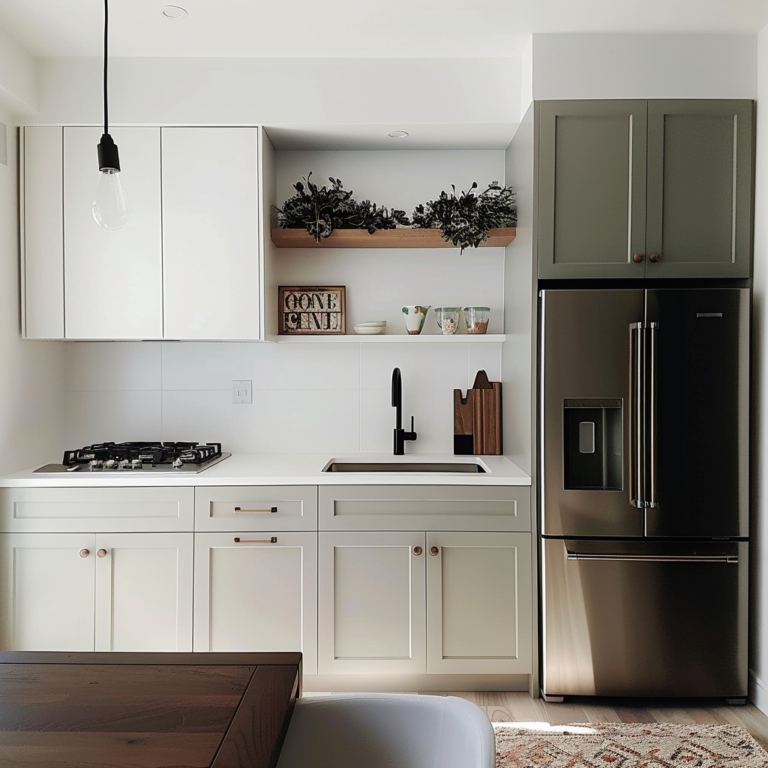
Inspiration images can help you define a style, but they do not show whether a room will work in your home.
A photograph rarely tells you the room dimensions, storage requirements, door locations, ceiling height, or what sits outside the camera frame. It may also feature a layout designed for a household with completely different routines.
Plan around function before appearance. Consider who uses the room, what they do there, what needs to be stored, and how people move through the space. Check furniture placement, cabinet access, appliance doors, seating clearances, and main circulation routes.
A mood board is not a floor plan, no matter how persuasive the brass faucet looks.
Use inspiration images to guide color, material, and mood. Use measured plans to decide what actually fits.
I strongly recommend working on a floor plan with an architect. If you can’t afford the full design fees, this is the minimum you should invest in. A floor plan is the basis – if it’s not right, nothing in the renovation will feel right.
I offer layout design services, just in case, if you are interested. However, if it’s an old house renovation with lots of details, I would suggest hiring a local architect who can visit the site. My services are better suited to someone who purchased a flat or a newly built house and wants to adjust it to their needs.
3. Failing to Document the Home’s Existing Condition
Do not assume the surfaces you can see tell the full story.
Before work begins, look for cracks, leaks, water damage, dampness, uneven floors, poor drainage, outdated wiring, weak water pressure, damaged windows, and ventilation problems. Older homes may also need professional testing for hazardous materials before demolition.
Photograph each room and record visible issues by location. These images can help contractors understand the existing condition and provide a useful record if damage or disagreements arise later.
Arrange professional inspections where structural, electrical, plumbing, roofing, moisture, or safety concerns fall outside your knowledge. Finding a problem during planning gives you options. Finding it after the room has been stripped back usually gives you an invoice.
The planner’s Existing Conditions section includes a condition checklist, photo log, issue tracker, and space for required inspections.
4. Assuming Permits, Approvals, and Insurance Can Wait
Permit requirements vary by location and project type. Check them before demolition, custom orders, or contractor scheduling begins.
Structural changes, electrical work, plumbing alterations, extensions, window changes, and major mechanical work may require permits or inspections. Apartments, condominiums, and homes governed by an HOA may also have restrictions covering work hours, contractor access, waste removal, insurance, and exterior changes.
Speak with your local building authority and confirm who is responsible for applications, fees, inspections, and final approvals. Do not rely on a casual “you probably won’t need one.”
Contact your insurer as well. Ask whether the planned work affects your coverage and whether you need a renovation endorsement or additional documentation. Confirm that contractors carry the insurance and licenses required for their work.
Keep permit numbers, approval dates, inspection records, insurance certificates, and related correspondence together.
5. Setting a Budget Without Accounting for the Full Project
A renovation budget needs to cover more than the visible products.
Include design and professional fees, permits, demolition, labor, preparation work, waste removal, delivery charges, installation materials, equipment rental, temporary accommodation, storage, and final repairs. Small items such as trim, hardware, sealants, switches, and disposal fees can add up quickly.
Set aside a contingency for unforeseen conditions and unresolved decisions. The right amount depends on the age and condition of the property, how much information is available before work begins, and the complexity of the remodel.
Track several figures separately:
- Original budget
- Approved quotes
- Orders placed
- Amounts paid
- Expected final cost
- Remaining contingency
A budget is not accurate simply because the total at the bottom of a spreadsheet still looks comforting. Update it whenever a quote, order, payment, or change is approved. The Home Remodel Planner includes category budgets, payment tracking, change-order records, and a dashboard showing committed costs and remaining contingency. It is a PDF, so the sum is not updated automatically.
6. Choosing a Contractor Based Only on the Lowest Quote
The cheapest quote is not always the best value, especially when the quotes do not cover the same work.
One contractor may include demolition, waste removal, site protection, and final cleaning. Another may leave those items out. Allowances for tile, fixtures, appliances, or hardware may also vary, making one total appear much lower.
Ask contractors to price the same written scope. Compare:
- Included and excluded work
- Labor and material allowances
- Product supply responsibilities
- Permit responsibilities
- Proposed schedule
- Payment terms
- Warranties
- Cleanup and waste removal
- Treatment of unexpected work
Ask questions about every vague line item. Terms such as “standard finish,” “as required,” or “owner supplied” need clear definitions.
The lowest quote can become the most expensive lesson in the room when missing work is added later.
7. Signing a Vague Contract or Skipping Contractor Checks
A detailed conversation is not a substitute for a written agreement.
The contract should identify the scope, contract value, payment milestones, estimated start and completion dates, change-order process, responsibilities, exclusions, warranty terms, and what happens if work is delayed or defective.
Before signing, check references and review completed projects similar to yours. Confirm insurance and licensing where required. Ask who will supervise the site, which work will be subcontracted, and how often you will receive updates.
Make sure the contract matches the final quote and drawings. Do not assume an item discussed during a meeting has been included unless it appears in the signed documents.
Keep copies of contracts, certificates, drawings, specifications, quotes, and important messages in an organized project file. The planner’s contract summary records the main terms while keeping the signed agreement as the controlling document.
8. Making Finish and Fixture Decisions Too Late
Late decisions can delay ordering, installation, and every trade waiting behind them.
Create a full list of required selections before construction begins. Depending on the project, this may include flooring, tile, countertops, cabinetry, hardware, plumbing fixtures, appliances, lighting, switches, paint colors, trim, doors, and window treatments.
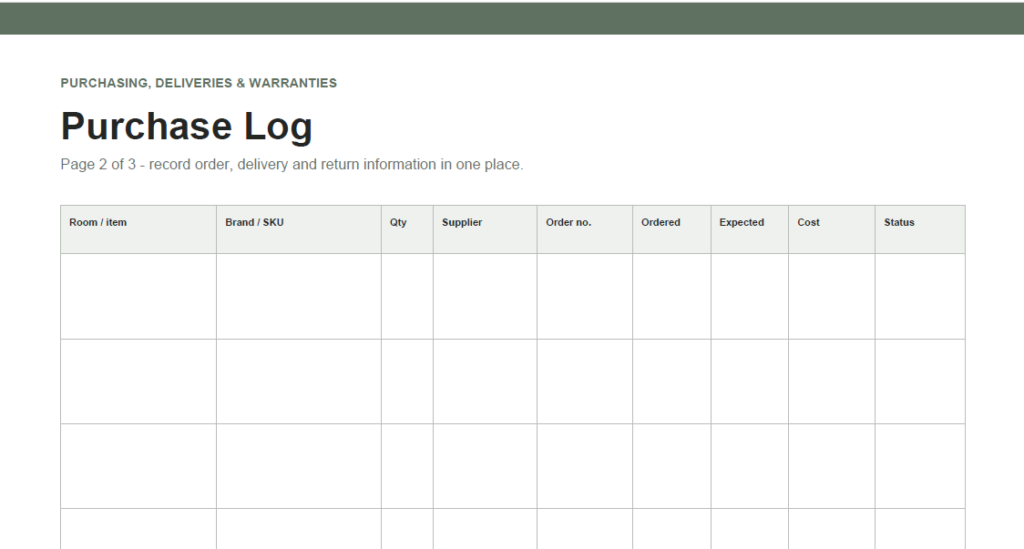
For each item, record:
- Brand and product name
- Model or product number
- Quantity
- Supplier
- Price
- Lead time
- Approval status
Check that selected products work with the plans. A wall-mounted faucet affects plumbing locations. A deeper refrigerator affects circulation. A large-format tile may require different preparation than the contractor allowed for.
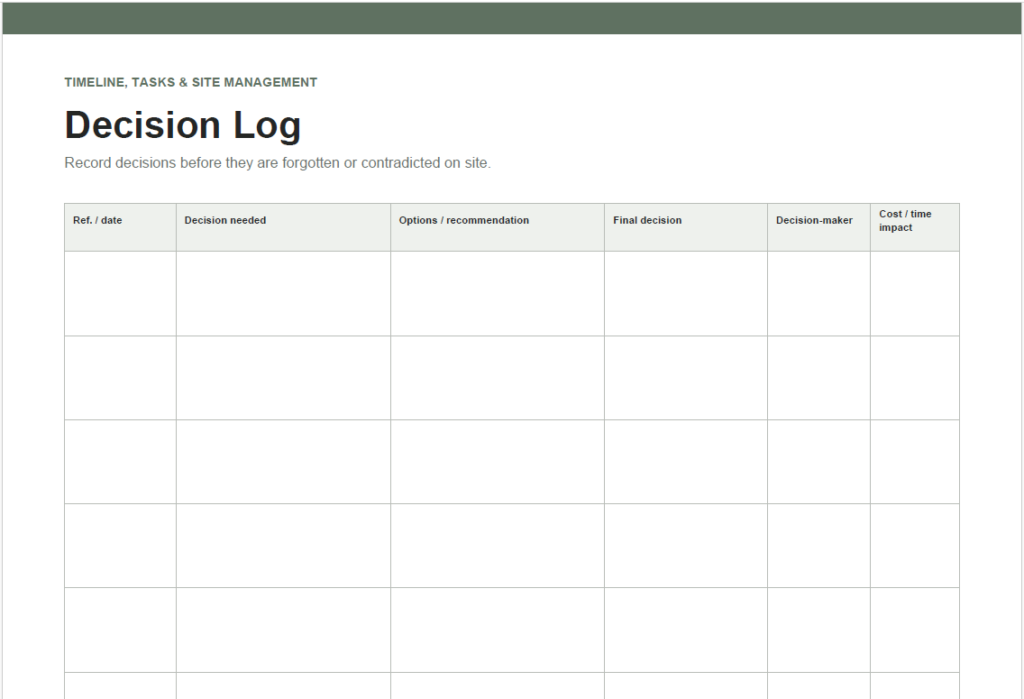
Set decision deadlines based on when information or products are needed on site, not on when you expect to feel inspired.
9. Treating Electrical, Plumbing, Lighting, and Ventilation as Afterthoughts
Technical decisions should be made alongside the layout, not after the room has been framed or tiled.
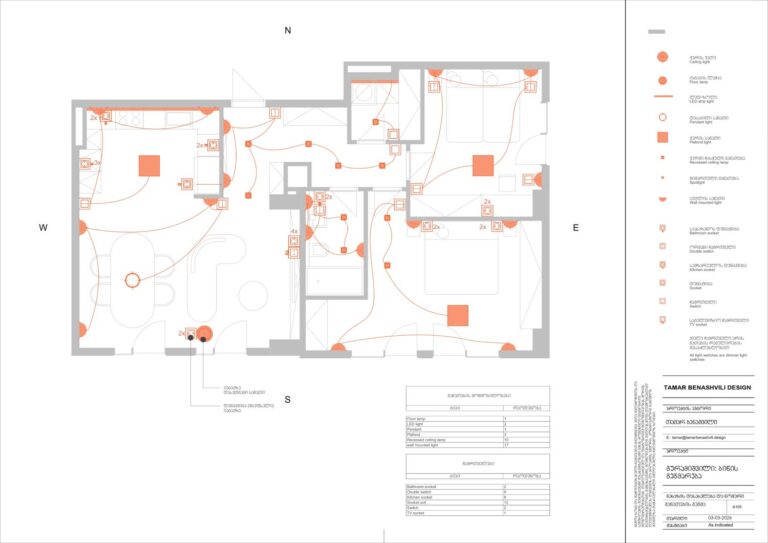
Mark the locations of outlets, switches, lights, plumbing fixtures, heating, ventilation, built-in appliances, data points, and charging stations. Then review them against furniture, cabinetry, doors, and daily routines.
In a kitchen, confirm power and plumbing needs for every appliance. In a bathroom, coordinate lighting, extraction, heating, mirrors, and storage. In living spaces, check that outlets remain accessible once furniture is installed.
Think about how controls will be used. Can you switch off the bedroom lights from the bed? Is there an outlet where the vacuum is stored? Will the bathroom mirror cast useful light on your face rather than a dramatic shadow worthy of a crime documentary?
Have qualified professionals review technical work and confirm local code requirements before construction.
You will also like: The Overlooked Architecture: Why Your Floor Plan is Incomplete Without an Electrical Plan
10. Ignoring Product Lead Times and Delivery Risks
A missing sink, damaged cabinet, or delayed tile order can stop several parts of a renovation.
Identify custom, imported, made-to-order, or low-stock products early. Ask suppliers for current lead times, but allow room for delays. Do not schedule installation based only on the most optimistic delivery date.
Record order numbers, expected dates, quantities, storage requirements, and return deadlines. When products arrive, inspect them before discarding the packaging. Check the finish, dimensions, quantity, parts, and visible damage.
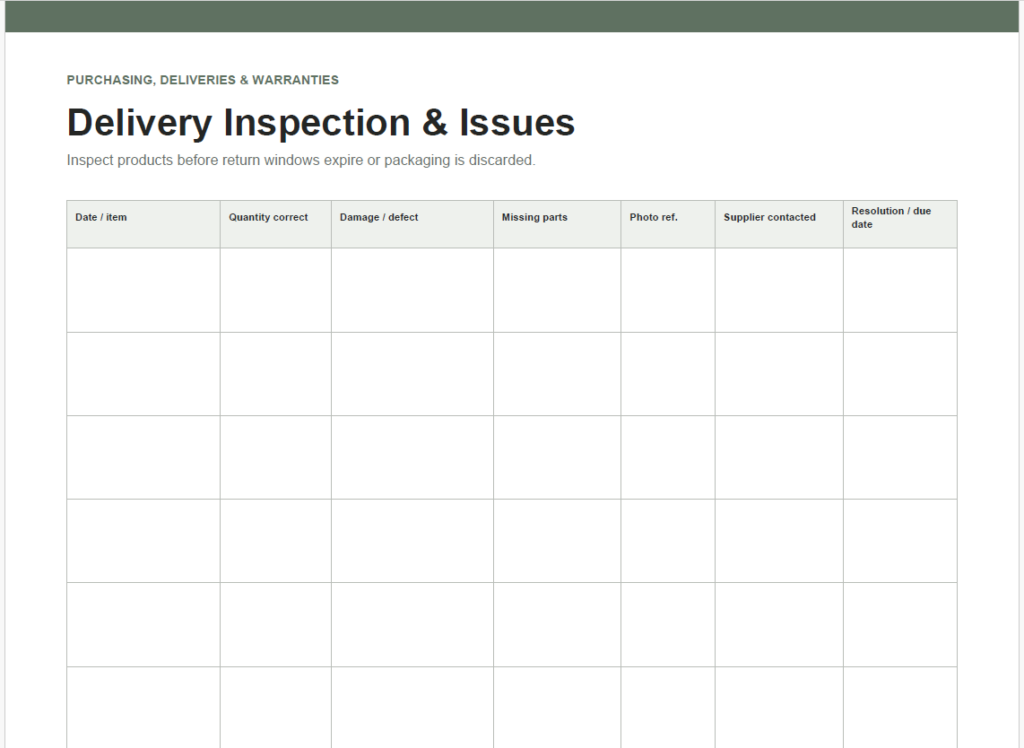
Report problems immediately and photograph them clearly. Waiting until installation day may leave too little time to return or replace the item.
The planner includes a purchase log, delivery schedule, inspection record, returns tracker, and warranty register so orders do not disappear into emails and receipts.
11. Building the Schedule Around a Best-Case Scenario
A construction schedule needs to reflect dependencies, not just preferred dates.
Work may depend on permits, inspections, product deliveries, drying times, trade availability, and earlier tasks being completed correctly. Cabinets cannot be installed before the room is ready. Measurements for countertops may need to wait until the cabinets are fixed in place. Walls should not be closed before required rough-in inspections are complete.
Create clear milestones with specific completion criteria. “Bathroom nearly done” is not a useful milestone. “Waterproofing inspected and approved” is.
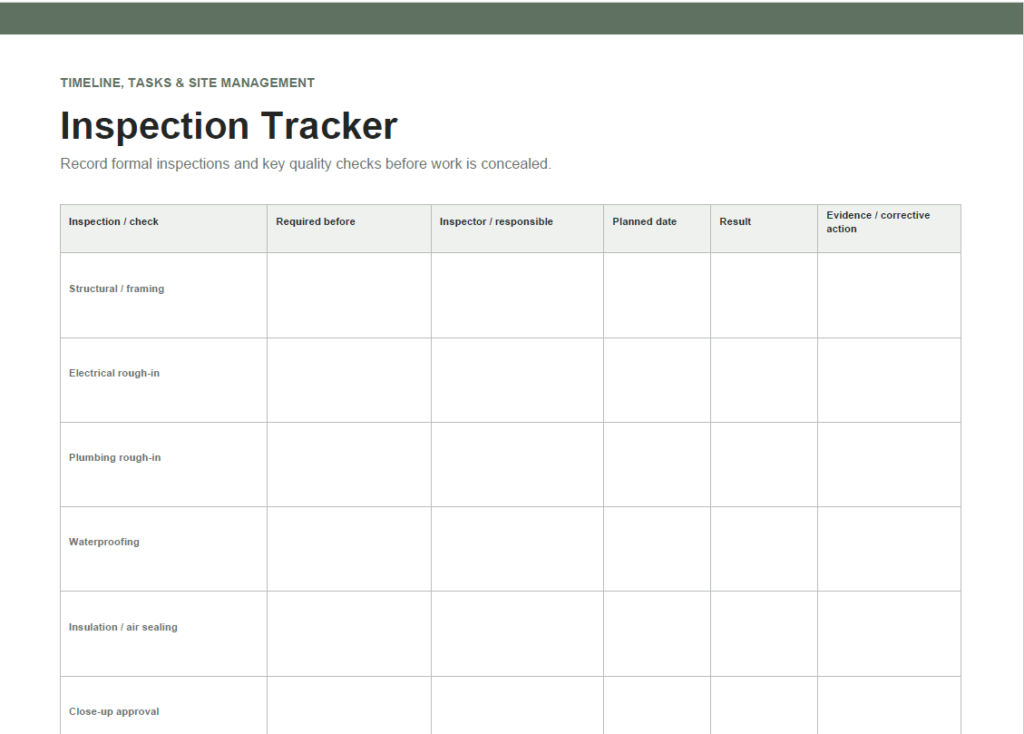
Include deadlines for homeowner decisions and product orders. These are part of the schedule too.
Review progress weekly and update later dates when delays occur. The planner includes milestone tracking, weekly work plans, inspection records, decision lists, and space for risks that need to carry into the following week.
12. Approving Changes Verbally After Work Has Started
Changes happen during renovations, but they should not be handled with a quick conversation and a hopeful memory.
Before changed work begins, ask for a written change order showing:
- What is changing
- Why the change is needed
- Added or reduced cost
- Effect on the schedule
- Materials or work being removed
- Required approvals
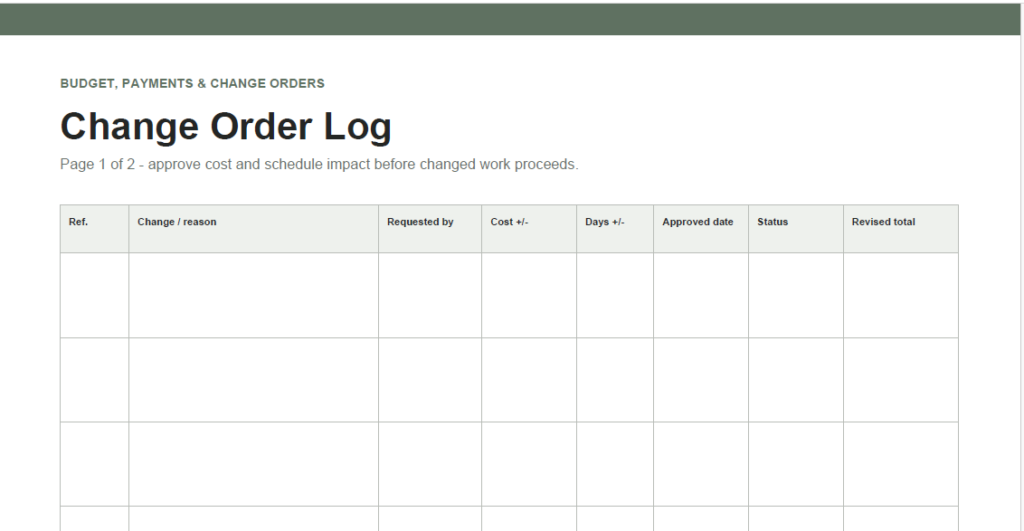
Review the effect on nearby work as well. Moving one fixture may affect plumbing, electrical work, cabinetry, flooring, and wall repairs.
Keep a running total of approved changes rather than looking at each cost in isolation. Five “small” changes can form a surprisingly large number once labor joins the meeting.
Record the approval date and confirm who authorized the work. This protects both the homeowner and contractor by making the decision clear.
13. Paying Ahead of Verified Progress
Payments should be tied to defined work milestones, not simply to calendar dates.
Before approving a payment, confirm what work the milestone covers and what evidence shows it has been completed. This may include an inspection result, photographs, delivery records, or an in-person review.
Track the contract amount, approved changes, previous payments, current payment, and remaining balance. Question invoices that do not match the agreed schedule or completed work.
Do not release final payment while contract work, defect corrections, required certificates, or handover documents remain outstanding. Check your contract and local requirements before withholding or releasing funds, since payment rules vary.
The planner’s payment schedule pairs each payment with required evidence, an approval date, a paid date, and the remaining balance.
14. Failing to Plan How the Household Will Live Through Construction
A renovation affects daily life long before the new room is ready.
Decide whether you will remain in the home, move out temporarily, or complete the work in phases. If you are staying, plan temporary cooking, washing, sleeping, and storage arrangements.
Agree on site logistics before work begins, including:
- Contractor access and keys
- Working hours
- Parking
- Delivery routes
- Material storage
- Dust barriers
- Waste location
- Security
- Pet and child safety
- Neighbor notifications
Create a protected living area that workers do not need to cross. Store valuables and sensitive documents away from the work zone.
Also plan for interruptions. Know what you will do if water, electricity, heating, or bathroom access is unavailable longer than expected.
15. Treating the Last Day of Construction as the End of the Project
Construction is not complete just because the main tools have left the building.
Walk through every room systematically. Test plumbing fixtures, outlets, switches, lighting controls, appliances, ventilation, heating, doors, windows, drawers, and cabinet hardware. Check paintwork, sealants, tile, flooring, and surrounding surfaces for damage or unfinished work.
Create a written punch list showing the location, issue, responsible party, due date, correction date, and verification status. Photograph defects so everyone is discussing the same item.
Before final payment, collect:
- Final approvals and certificates
- Manuals and warranties
- As-built drawings where applicable
- Product names, codes, and finishes
- Spare materials
- Maintenance instructions
- Final invoices and receipts
- Contractor and supplier contacts
The Home Remodel Planner includes punch-list pages, a final inspection checklist, and a handover checklist covering documents, warranties, change orders, outstanding work, and final payment approval.
Plan the Remodel Before the Remodel Starts Managing You
You do not need to become a contractor to manage a home renovation well. You do need a clear scope, a realistic budget, documented decisions, and a reliable way to track what has been agreed.
Define what the project needs to achieve. Compare quotes based on the same work. Make product and technical decisions early. Record changes before approving them. Inspect the finished work before closing the project.
The Home Remodel Planner provides a single place to organize those details from the first project brief through final handover, helping first-time renovators stay informed without relying on memory, scattered emails, and whichever receipt is currently hiding at the bottom of a bag.