This blog post is all about How to Plan a Home Renovation From Start to Finish.
Posh Chic Cool is a participant in the Amazon Services LLC Associates Program, an affiliate advertising program designed to provide a means for sites to earn advertising fees by advertising and linking to Amazon.com. As an Amazon Associate, I earn from qualifying purchases at no extra cost to you. Disclaimer, Privacy Policy and Terms and Conditions

The most expensive renovation mistakes often happen before construction begins.
A homeowner falls in love with a kitchen, orders a bath, asks a contractor for a quick price or starts choosing paint colours. Each decision feels productive. Yet the project may still have no confirmed scope, tested layout, realistic budget or agreed process for handling changes.


That is when the problems begin.
A contractor may price different work from the work you had in mind. Cabinetry may be ordered before appliance dimensions are confirmed. An electrical layout may be discussed after walls have already been built. Small additions may be approved one conversation at a time, with no clear record of their combined cost.
Good home renovation planning does not remove every surprise. It gives you a way to make decisions in the right order, record what has been agreed and see when the project starts moving away from the original plan.
The process can be divided into four broad phases:
- Define the project.
- Design and price it.
- Prepare for and manage construction.
- Inspect the work and close the project properly.
A renovation planner can support that process by keeping measurements, specifications, quotes, purchases, decisions and costs together instead of scattering them across notebooks, emails, text messages and saved screenshots.
Here is how to plan a home renovation from the first idea through to final handover.
You will also like: 15 Home Remodeling Mistakes First-Time Renovators Should Avoid
Before you begin: This guide is an organisational resource. Permit requirements, structural work, electrical systems, plumbing, waterproofing and other technical matters should be assessed by suitably qualified professionals. Requirements vary by property and location.
Don’t forget to save this article for later
1. Define What You Want the Renovation to Achieve
Start with the outcome, not the products.
A renovation should solve a set of real problems. Those problems may be practical, technical or related to the way your household has changed. Until they are clearly described, it is difficult to judge whether a proposed layout or purchase is helping.
Identify the problems you are trying to solve
Walk through the home and record what is not working.
You may have too little storage, an awkward kitchen layout, poor movement between rooms, dark internal spaces, outdated electrical or plumbing systems, inadequate ventilation, limited privacy, rooms that no longer match the household’s routines, finishes that are difficult to clean or maintain, or accessibility or safety concerns.
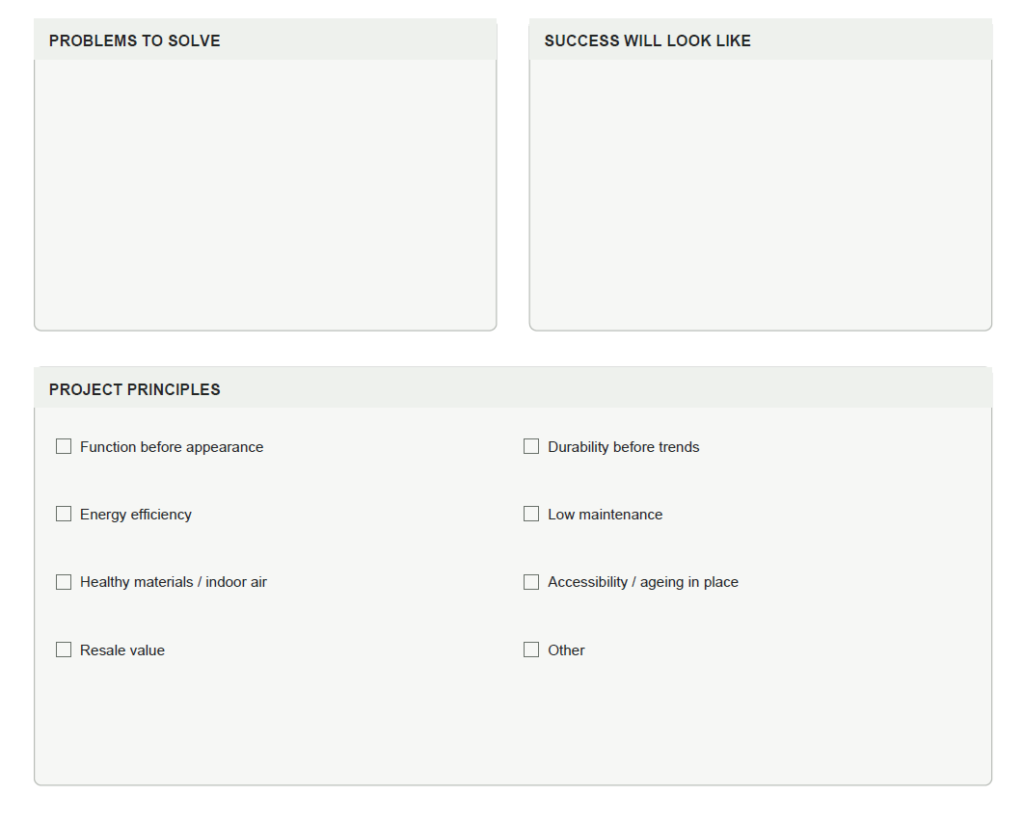
Describe each problem without jumping straight to a preferred solution.
“We need two people to prepare food without blocking each other” is more useful than “we need a kitchen island.” The first statement defines the need. The second assumes that one particular feature is the answer.
An island may solve the problem, but it may also make circulation worse in a narrow room. Starting with the need leaves room to test other layouts.
Write a short project vision
Your project vision should explain what will be materially better when the renovation is complete.
Consider:
- How the home should support everyday routines
- How you want people to move through it
- Which rooms need to feel calmer, brighter or more private
- Who will use each space
- How long you expect to remain in the property
- Whether children, older relatives, home working or mobility needs may affect future use
- How much maintenance you are prepared to take on
Keep the vision short enough to guide decisions. It is not a description of every finish. It is a statement of purpose.
For example:
“We want a practical family home with better kitchen storage, a more comfortable connection between the cooking and dining areas, durable finishes and enough flexibility for occasional home working.”
You can return to that statement whenever a new idea, product or expense appears.
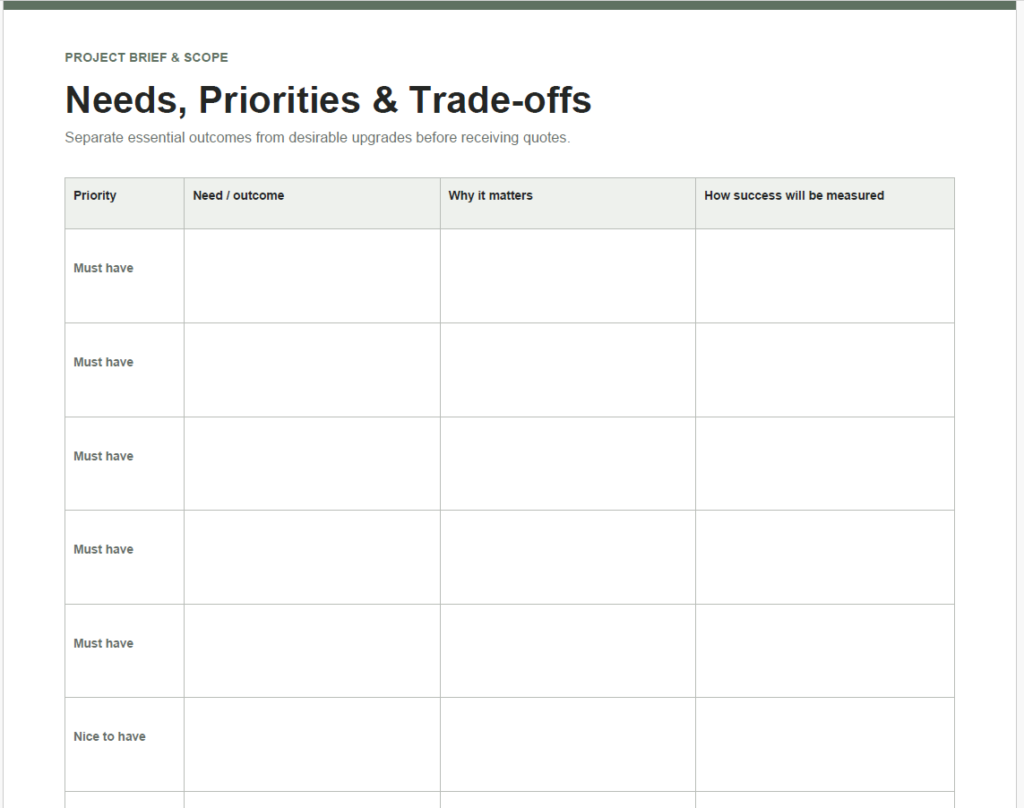
Separate must-haves from nice-to-haves
Create three groups:
Essential: The project will not have achieved its purpose without these items.
Desirable: These would improve the result but could be adjusted if the budget becomes tight.
Optional: These should only proceed if the main work is fully funded.
A leaking roof repair belongs in a different category from decorative wall panelling. More accessible circulation may be essential, while a larger format of tile may be optional.
This hierarchy gives you a fair way to reduce costs later. Instead of making rushed cuts after receiving quotes, you already know which outcomes must be protected.
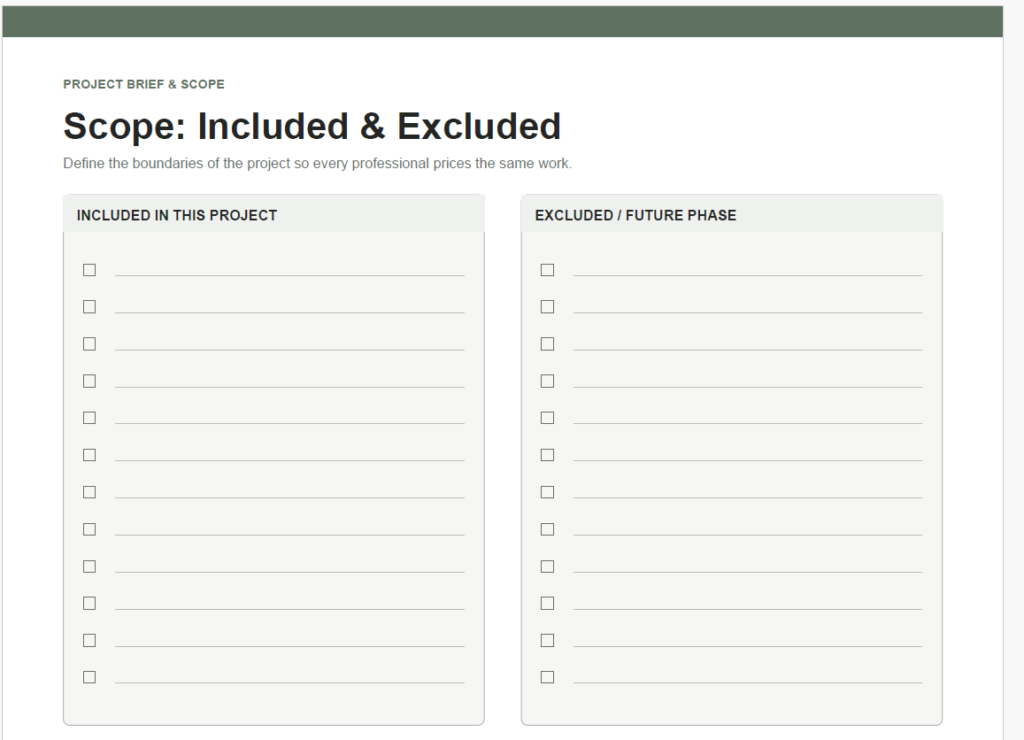
Establish what is included and excluded
List every part of the property included in the current project.
Be specific. “Renovate the ground floor” may not explain whether the staircase, entrance door, utility room, guest bathroom, lighting or window treatments are included.
Create a second list for work that is excluded or planned for a later phase. This helps prevent the project from quietly expanding once construction starts.
Also record assumptions that still need to be confirmed, such as:
- Whether a wall is load-bearing
- Whether existing flooring can be retained
- Whether the electrical panel has enough capacity
- Whether plumbing can be moved
- Whether a permit is required
- Whether an existing appliance will fit the new cabinetry
An assumption is not a decision. Mark it clearly until it has been checked.
Before moving forward: Can everyone involved explain the main purpose of the renovation in one or two sentences? If not, the brief needs more work.
2. Assess the Existing Home
A successful design responds to the property that actually exists, not the property you assume is behind the finishes.
Before developing the new plan, document the current layout and look for conditions that may affect the scope, budget or schedule.
Measure and record the existing layout
Record the basic dimensions of every room involved in the project, including:
- Overall room length and width
- Ceiling height
- Door and window locations
- Door swings
- Window-sill and head heights where relevant
- Columns, beams, steps and changes in floor level
- Existing cabinetry and built-ins
- Plumbing fixtures
- Radiators, vents and heating equipment
- Electrical outlets and switches
- Furniture and appliances that will remain
Do not rely on estate-agent plans or old drawings without checking them. They may be useful references, but the contractor and designer will need dimensions that relate to current site conditions.
Label your photographs by room and issue. “Kitchen 01—wall beside fridge” is much easier to discuss than searching through hundreds of unlabelled images. I would recommend creating a shared google drive folder for the photographs. Agree on numbering and naming convention, and include those references in the planner.
Look for conditions that may affect the renovation
Pay attention to:
- Dampness, mould or water staining
- Plumbing leaks or slow drainage
- Cracks or signs of movement
- Uneven floors and walls
- Roof, window or door problems
- Damaged insulation
- Outdated or unsafe wiring
- Limited electrical capacity
- Weak water pressure
- Poor extraction or ventilation
- Pest damage
- Materials that may require specialist testing
A damaged finish may be hiding a larger problem. Painting over a stain will not solve an active leak, and new cabinetry should not be installed against a wall with unresolved dampness.
Where safety, structural performance or hazardous materials may be involved, stop guessing and arrange a professional assessment.
Draw an existing floor plan
The drawing does not need to look like a presentation plan. It needs to show enough information to support accurate conversations.
Mark:
- Walls and openings
- Fixed services
- Main dimensions
- Furniture or equipment that must stay
- Areas requiring verification
- Known defects or constraints
Take the plan to site and check it again. A few centimetres can affect whether a wardrobe fits, whether a door opens fully, or whether kitchen circulation remains comfortable.
The Home Remodel Planner includes an existing-condition checklist, a photo and issue log, and separate grids for the existing and proposed floor plans, creating a direct link between what you observe and what you later decide to change.
3. Establish a Realistic Renovation Budget
Your budget should guide the design before the design becomes expensive to change.
Start by separating three figures:
- The amount you could technically access
- The amount you are comfortable spending
- The amount that must remain available for unexpected work
Those figures may not be the same.
Do not assign every available pound, dollar or euro to visible building work. A renovation budget also needs to cover professional services, approvals, temporary arrangements, delivery charges and other costs that are easy to overlook during the inspiration stage.
Divide the budget into useful categories
Your categories may include: architect, designer and engineering fees, surveys, tests and inspections, permits and approvals, demolition and waste removal, structural work, plumbing, electrical work, heating, cooling and ventilation, windows and external doors, internal doors and trim, cabinetry and joinery, flooring, wall and ceiling finishes, tiles and installation materials, plumbing fixtures, lighting, appliances, furniture and window treatments, delivery and storage, temporary accommodation while the property is not livable, cleaning, and contingency.
The categories should reflect your project. A bathroom renovation may need a separate waterproofing allowance, while a kitchen extension may require more money for structural and external work.
Set aside a contingency
A contingency is not spare money for upgrading finishes. It is a reserve for work that could not be priced with certainty at the start.
The appropriate amount depends on:
- The age and condition of the building
- How much information is available
- Whether walls and floors will be opened
- The amount of structural or service work
- The number of custom products
- The reliability of the initial scope
A well-surveyed project with a detailed design may carry less uncertainty than work starting in an older property with few drawings and several concealed systems.
When part of the contingency is used, update the remaining balance. Do not continue treating the original reserve as available.
Track budgeted, committed and paid costs separately
These three figures answer different questions.
Budgeted tells you what you planned to spend.
Committed includes signed contracts, accepted quotes and confirmed orders, even when you have not paid the full amount.
Paid records money that has left your account.
A project may appear comfortably under budget when you look only at payments. Yet several large orders and upcoming contract instalments may already be committed.
The planner’s budget pages follow this distinction and connect category totals with invoices, payment milestones and approved changes.
4. Check Permissions and Assemble the Project Team
Do not set a construction start date until you understand which approvals and professionals the project may require.
Check which permissions apply
Depending on the property and proposed work, you may need to investigate:
- Planning or building approval
- Homeowners’ association permission
- Apartment-building or property-management rules
- Structural engineering documents
- Utility-company requirements
- Heritage or conservation restrictions
- Insurance notification
- Inspection stages
- Working-hour or access restrictions
Make enquiries early. Approval periods, requests for additional documents and inspection availability can affect the schedule.
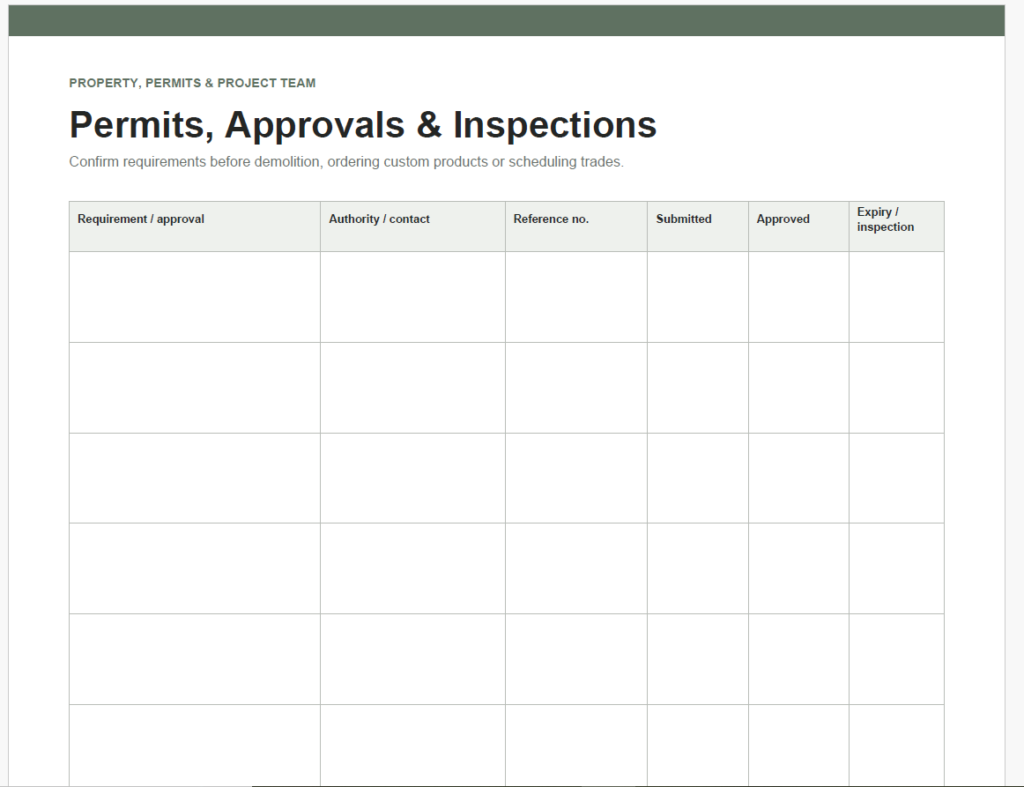
Keep a record of the authority or contact, reference number, submission date, approval status, expiry date and any conditions attached to the decision.
Decide which professionals you need
The scale and complexity of the project will shape the team. It may include:
- Architect
- Interior designer
- Structural engineer
- Building-services or MEP engineer
- Surveyor
- General contractor
- Electrician
- Plumber
- Heating or ventilation specialist
- Kitchen or cabinetry designer
- Building inspector
- Specialist suppliers
Clarify each person’s role. Do not assume that because a professional is involved, every part of the project falls within their appointment.
For example, an interior designer may prepare layouts and finish specifications but not structural calculations. A kitchen supplier may design cabinetry but not coordinate changes to the building’s electrical capacity.
Keep a contact and document register
Record:
- Contact details
- Scope of appointment
- Contract or quote reference
- Insurance or licence information where applicable
- Dates of key decisions
- Location of drawings and documents
- Who has received the latest information
Create one agreed location for current files. Old drawings should be clearly labelled so they are not mistaken for approved versions.
5. Plan the Layout Before Choosing Finishes
A paint colour can be changed with limited disruption. A badly positioned wall, doorway or plumbing connection is harder to correct.
Resolve the layout before spending too much time on decorative decisions.
Test furniture and circulation
A room is not successful simply because it can be labelled “bedroom,” “living room” or “kitchen.” It must hold the required furniture and allow people to use it comfortably.
Place scaled furniture on the plan and check:
- How people enter and leave
- The route between doors
- Space around beds, tables and seating
- Door and drawer openings
- Access to wardrobes and storage
- Working space around kitchen cabinetry
- Sightlines and focal points
- Accessibility needs
- How the room will be cleaned and maintained
Think through the routines, not just the static plan.
Can someone open the dishwasher while another person walks through the kitchen? Can dining chairs be pulled out without blocking the main route? Is there enough space to make the bed? Will an open bathroom door collide with a vanity drawer?
Coordinate the layout with technical services
The floor plan affects:
- Plumbing and drainage
- Outlet and switch positions
- Lighting
- Heating and cooling
- Ventilation
- Appliance locations
- Built-in cabinetry
- Data and charging points
- Structural requirements
A television wall may need power, data and reinforcement. A kitchen island may require floor outlets or plumbing. A wall light must be coordinated with the exact width and position of a mirror.
These decisions should be connected. Treating the electrical, plumbing, lighting and furniture plans as separate ideas often creates clashes on site.
Compare more than one option
The first layout that fits is not always the best one.
For each option, ask:
- Does it solve the original problems?
- Does it support daily routines?
- Is the circulation clear?
- Is there enough storage?
- What structural work does it require?
- Which services must move?
- Does it suit the available budget?
- Will it remain useful if household needs change?
A visually dramatic plan may require extensive service changes without producing a meaningful improvement. A simpler option may create better storage and movement while protecting more of the budget for durable materials.
6. Create a Detailed Plan for Every Room
Once the overall layout is working, move through the property room by room.
This step turns a broad concept into instructions that can be priced, ordered and built.
Define the room’s function
For each room, record:
- Primary activities
- Number of regular users
- Furniture to retain
- Items to remove or replace
- Storage needs
- Accessibility and safety needs
- Cleaning priorities
- Future uses
- Problems that remain unresolved
A kitchen brief might include food preparation, school lunches, occasional baking, recycling storage and seating for quick breakfasts. A guest room may also need to work as an office, which changes the furniture, power and storage plan.
Plan the technical elements
Work through:
- General lighting
- Task lighting
- Accent lighting
- Switches and controls
- Power outlets
- Data and charging
- Plumbing and drainage
- Heating
- Cooling and ventilation
- Built-in joinery
- Reinforcement or blocking
- Alarms and safety equipment
- Appliance requirements
- Window treatments
Test these elements against the furniture plan.
An outlet behind a fixed headboard is not useful. A pendant centred in the room may not be centred over the dining table. A floor vent beneath cabinetry may be blocked. A bathroom mirror may leave no suitable space for wall lighting.
If you are working with an experienced architect or an interior designer, those issues will be avoided, but it never hurts to check for yourself! All you have to do is check and mark it in the planner as checked.
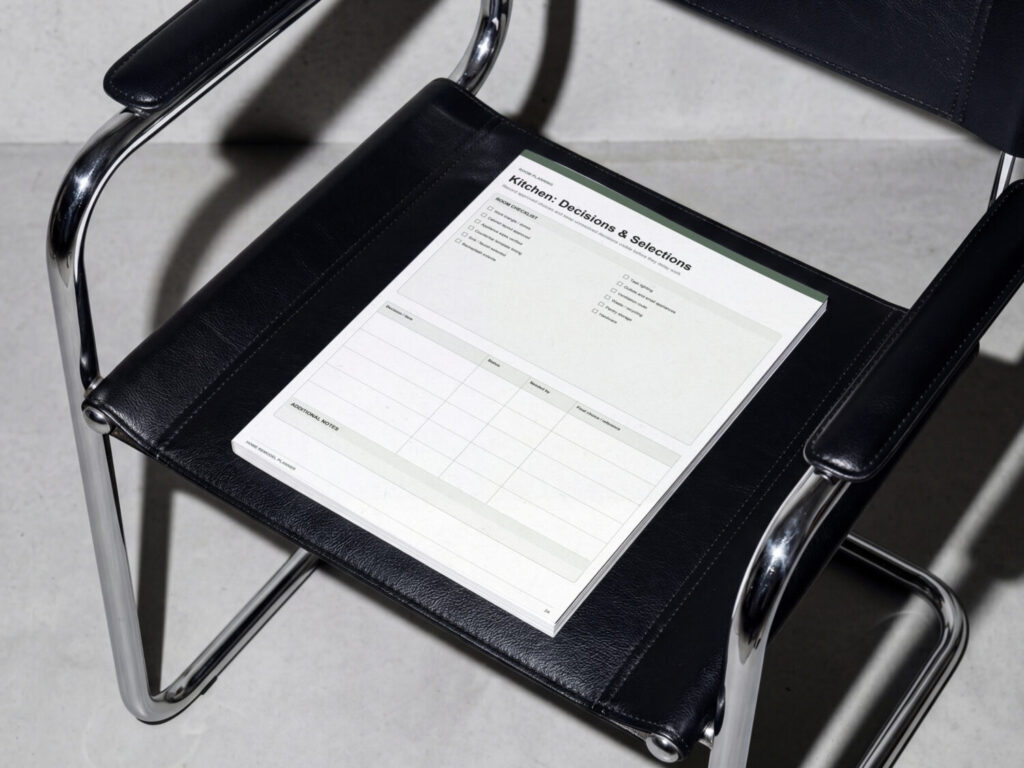
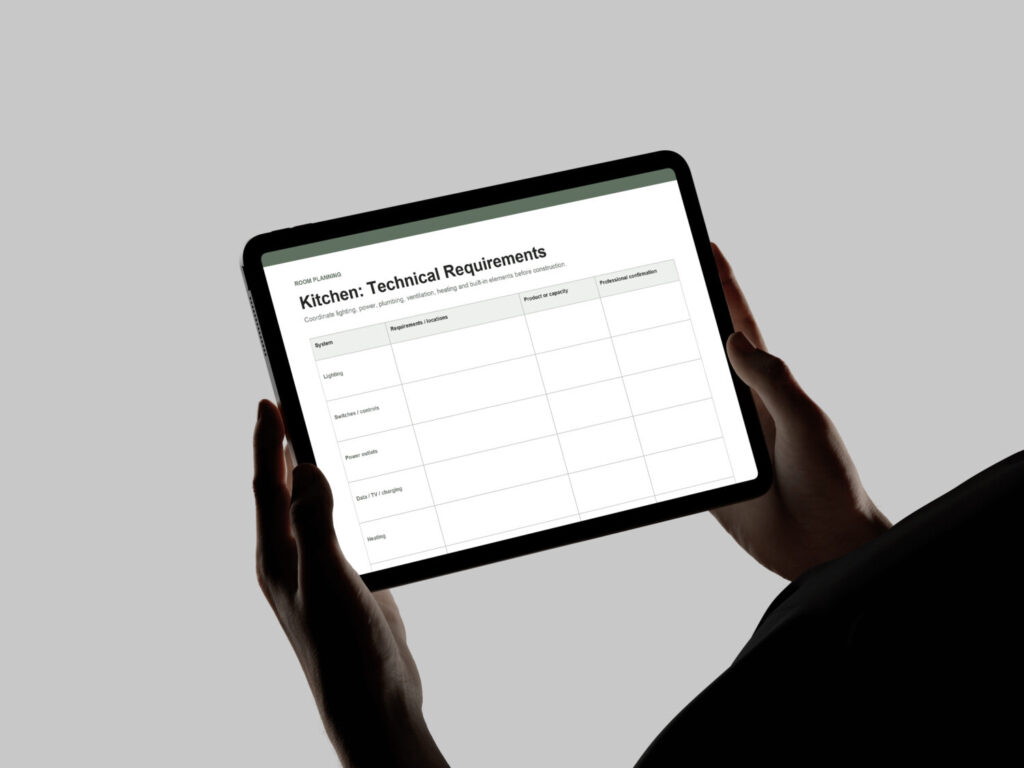
The planner’s technical-requirement pages place lighting, power, plumbing, ventilation, built-ins and professional confirmation in one room-by-room record so conflicts can be identified before construction.
Select finishes after practical decisions are resolved
Now record the exact finish information for:
- Flooring
- Wall treatments
- Ceiling finish
- Paint
- Tile
- Trim
- Doors
- Cabinetry
- Worktops
- Hardware
- Plumbing fixtures
- Lighting fixtures
- Appliances
Avoid descriptions such as “light oak flooring” or “warm white walls.” They are not specific enough for ordering or installation.
Record the manufacturer, product name, reference number, colour, size, finish and installation pattern where relevant.
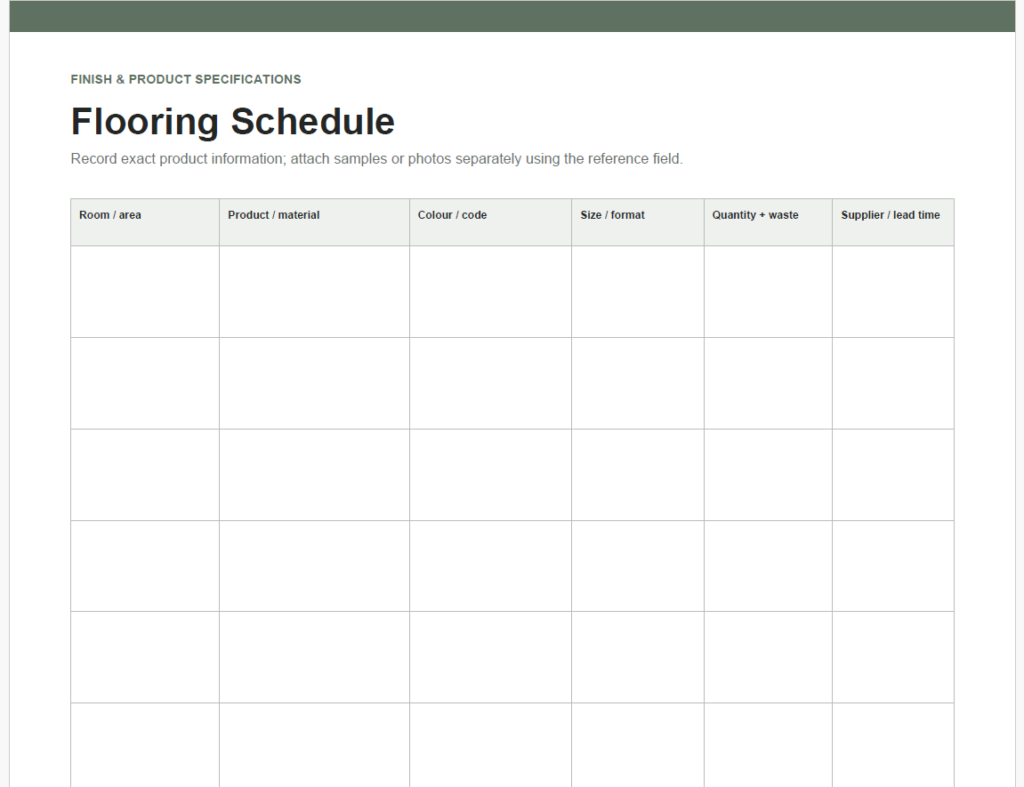
For tile, you may also need the grout colour, trim detail and laying direction. For paint, include the colour code, product range and sheen. For hardware, record the finish, size and quantity.
7. Prepare Specifications Before Requesting Quotes
A contractor can only price the information provided.
When one bidder assumes standard tiles, another includes a premium product and a third excludes the supply cost entirely, the final totals do not represent the same work.
Create a clear scope of work
Describe:
- What must be protected
- What must be removed
- What must be retained
- What must be repaired
- What must be supplied
- What must be installed
- The expected level of preparation
- Who is responsible for each product
- Who handles delivery
- Who removes waste
- Which approvals or inspections apply
- What is excluded
Be specific about the boundary between trades.
For example, who removes the old kitchen? Who disconnects the appliances? Who repairs the wall after electrical work? Who paints behind the new cabinetry? Who installs decorative lighting?
The more clearly these responsibilities are assigned, the fewer gaps remain between quotes.
Build a finish and product schedule
A useful schedule may include:
| Field | Information to record |
|---|---|
| Room | Where the product will be installed |
| Item | Flooring, tap, light, appliance or other product |
| Brand and model | Exact identifying details |
| Colour or finish | Supplier’s official reference |
| Dimensions | Product and installation dimensions |
| Quantity | Including agreed waste allowance where needed |
| Supplier | Company and contact details |
| Estimated cost | Supply, delivery and relevant taxes |
| Lead time | Time between ordering and expected delivery |
| Status | Considering, approved, ordered, delivered or installed |
This is where a structured renovation workbook becomes especially helpful. The same product details will be needed for quote requests, budget reviews, purchasing, delivery checks, installation and future warranty claims.
8. Request and Compare Contractor Quotes
Do not choose a contractor by looking only at the number at the bottom of the page.
A lower quote may exclude work that another contractor has included. A higher quote may contain more realistic allowances, better preparation or a longer warranty.
Send the same information to every bidder
Provide each contractor with the same:
- Drawings
- Scope of work
- Product schedule
- Finish requirements
- Site information
- Target dates
- Access restrictions
- Request for exclusions and assumptions
Set a deadline for questions and quote submission. When a bidder asks a useful question that changes the scope, send the clarification to the others so everyone continues pricing the same work.
Compare what is included
Review:
| Quote item | What to check |
|---|---|
| Labour | Which trades and tasks are included? |
| Materials | Are they fixed products or allowances? |
| Preparation | Protection, demolition, levelling and repairs |
| Waste | Removal, skips, permits and cleaning |
| Taxes | Included or added later |
| Exclusions | Work you will need to arrange separately |
| Allowances | Whether the amount is realistic for your selections |
| Programme | Proposed start date and duration |
| Payments | Deposit and milestone structure |
| Warranty | Length, scope and exclusions |
| Validity | When the quote expires |
Translate narrative quotes into one comparison sheet. This exposes missing items that are difficult to see when each contractor uses a different format. The planner uses a shared scope-of-work comparison for this purpose rather than treating the headline total as the deciding factor.
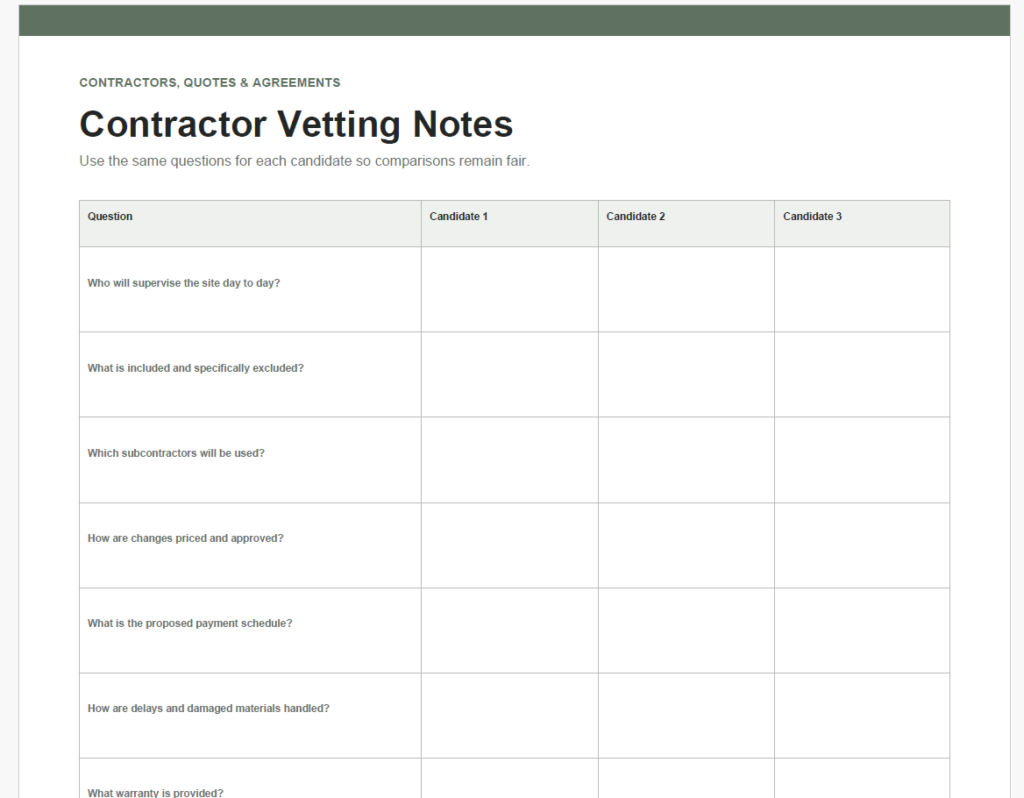
Investigate the contractor
Check:
- Experience with similar work
- References
- Completed projects
- Insurance and licences where required
- Availability
- Who will supervise the site
- Which subcontractors may be used
- Communication habits
- Proposed contract
- Process for defects and changes
Pay attention to how questions are answered. Clear communication during pricing is not a guarantee of perfect construction, but vague or inconsistent answers are worth examining before a contract is signed.
Clarify gaps in writing
Do not assume something is included because it was mentioned during a site visit.
Ask direct questions:
- Is wall repair after rewiring included?
- Does the tile price include waterproofing and grout?
- Who supplies the door hardware?
- Is final cleaning included?
- Does the cabinetry quote include installation?
- Who pays for parking or delivery access?
Add every clarification to the final scope or contract.
9. Finalise the Contract, Costs and Payment Schedule
The accepted quote is not the end of the pricing process. The final agreement should connect the price to a defined scope, set of drawings and specification.
Confirm the contract value
Before signing, check that the documents identify:
- The parties
- Project address
- Agreed scope
- Referenced drawings and specifications
- Contract value
- Allowances
- Exclusions
- Start and completion arrangements
- Payment terms
- Insurance requirements
- Change-order process
- Delay arrangements
- Defect-correction process
- Warranty terms
- Termination conditions
Seek appropriate legal or professional advice where needed.
Link payments to clear milestones
A payment should not become due simply because a date has arrived.
Define what must be completed and what evidence is required. A milestone may need an inspection, photograph, signed confirmation or completed section of work.
Track:
- Milestone
- Contract amount
- Evidence required
- Planned date
- Approval date
- Invoice date
- Payment date
- Remaining balance
The planner’s payment schedule specifically separates the planned date from evidence that the milestone has actually been completed.
Agree on the change process
No change should begin without an agreed record of:
- What is changing
- Why it is changing
- Who requested it
- Additional cost or saving
- Effect on the schedule
- Approval date
- Revised contract total
This process protects both the homeowner and contractor. It gives the contractor clear authority to proceed and gives the homeowner a chance to understand the full consequences before committing.
10. Build a Realistic Renovation Timeline
A timeline is more than a start date and an optimistic completion date.
It should show the order of work, the relationship between tasks and the decisions that must be made before each stage can proceed.
Identify the main phases
A broad renovation sequence may include:
- Surveys and existing-condition checks
- Design and approvals
- Contractor pricing and appointment
- Long-lead purchasing
- Site preparation and demolition
- Structural work
- Plumbing, electrical and mechanical rough-ins
- Inspections and checks
- Closing walls and ceilings
- Wall, ceiling and floor finishes
- Cabinetry and built-ins
- Fixtures, lighting and appliances
- Decoration
- Testing and defect correction
- Final handover
The order will vary. Flooring may be installed before or after cabinetry depending on the product and installation method. Decorating may be completed in several stages. External conditions may affect roofing, drainage or landscaping work.
Ask the contractor and project professionals to confirm the sequence for your property.
Record dependencies
A dependency is something that must happen before another task can begin.
For example:
- Cabinetry dimensions may require finished wall positions.
- Worktops may be templated only after base cabinets are installed.
- Appliance details may be needed before electrical and cabinetry drawings are finalised.
- Concealed plumbing must be checked before walls are closed.
- Flooring may need time to acclimatise.
- Paint colours may need approval before the decorator’s scheduled start.
- A room may need to be dry before timber products are stored there.
Recording these relationships helps explain why one delayed decision can affect several trades.
Add decision and ordering deadlines
A construction programme should include homeowner actions as well as contractor tasks.
Mark the dates by which you need to:
- Approve layouts
- Confirm appliance models
- Select finishes
- Release cabinetry for production
- Order lighting
- Approve samples
- Arrange access
- Make milestone payments
- Inspect completed work
A decision deadline is often earlier than the installation date. A product that is needed on site in September may need to be approved and ordered months before.
11. Prepare the Home and Household for Construction
The design and contract may be ready, but daily life also needs a plan.
Decide how you will live during the work
Consider:
- Whether the home can remain occupied
- Temporary accommodation
- A temporary kitchen
- Bathroom access
- Renovating in phases
- A protected living area
- Storage for furniture
- Laundry arrangements
- Children’s routines
- Pets
- Utility interruptions
Living through construction is not simply inconvenient. Dust, noise, reduced access and temporary loss of facilities can affect work, sleep and family routines.
Discuss the practical conditions honestly before deciding to stay.
Plan site logistics
Agree on:
- Working hours
- Contractor access
- Key control
- Parking
- Delivery routes
- Waste or skip location
- Material storage
- Dust barriers
- Floor and furniture protection
- Neighbour notifications
- Security
- Emergency contacts
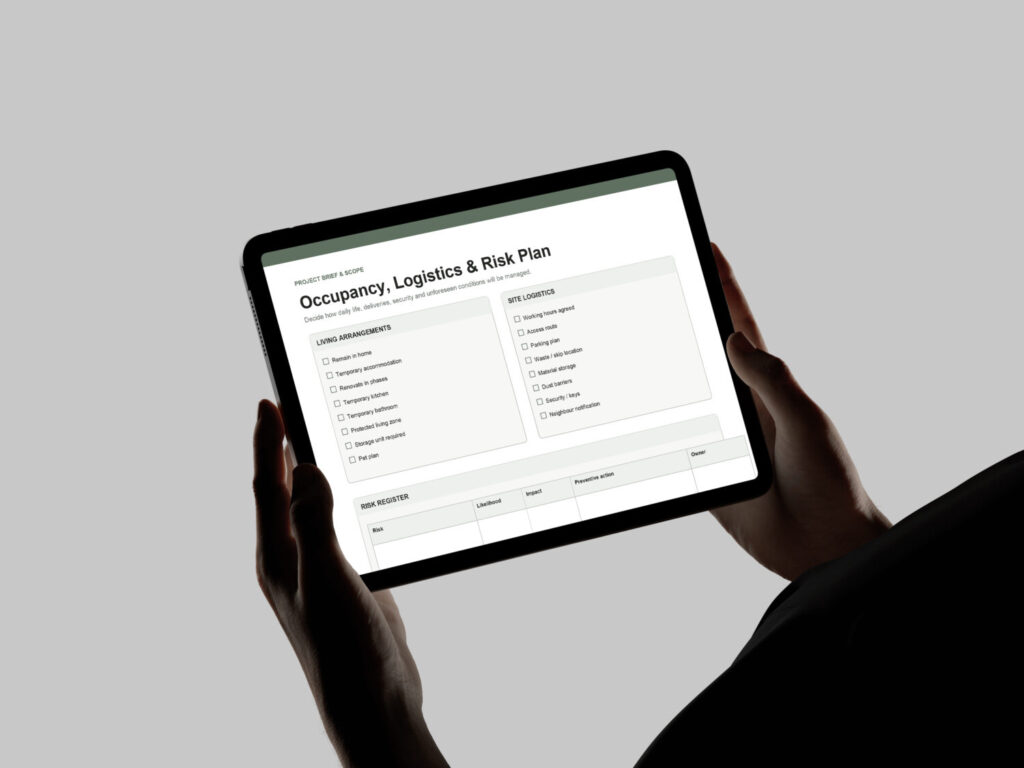
The planner’s occupancy and logistics page combines living arrangements, access, dust control, deliveries, security and a risk register, reflecting how closely these issues affect one another.
Pre-construction checklist
Before the first day on site, confirm that:
- The contract is signed.
- Current drawings and specifications have been issued.
- Permit and inspection requirements are understood.
- Insurance has been checked.
- The initial programme has been agreed.
- Access and working hours are confirmed.
- Furniture and belongings are protected or removed.
- Children and pets have a safe plan.
- Utilities and temporary facilities are arranged.
- Long-lead orders have been reviewed.
- Site contacts and communication methods are agreed.
- Existing conditions have been photographed.
- The first payment and evidence requirements are clear.
12. Manage Tasks, Decisions and Communication During Construction
Once work begins, your role changes from developing the plan to monitoring whether the agreed plan is being followed.
Maintain one source of project information
Decide where current information will be stored.
The site team should be able to identify the latest:
- Drawings
- Specifications
- Finish schedule
- Approved changes
- Product details
- Programme
- Contact information
- Site instructions
Avoid sending isolated decisions through several channels without updating the main project record. A choice buried in a text message can be missed by the person placing the order or carrying out the work.
Hold regular progress reviews
Use a consistent agenda:
- Work completed
- Work planned next
- Decisions required
- Delays or risks
- Upcoming deliveries
- Access needs
- Quality concerns
- Cost changes
- Responsible person
- Deadline
Write down the outcome. A useful site note records actions, not only discussion.
Instead of “talked about bathroom tiles,” write:
Contractor to confirm additional labour cost for the revised tile pattern by Thursday. Owner approval required before setting-out begins.
Keep a decision log
For each meaningful decision, record:
- What was decided
- Room or trade
- Person who approved it
- Date
- Related drawing or product
- Cost effect
- Schedule effect
- Who needs to be informed
This prevents the same question from being reopened several weeks later and provides a record when different trades need the same information.
Photograph concealed work
Before walls, floors and ceilings are closed, photograph:
- Wiring routes
- Plumbing
- Heating pipes
- Waterproofing
- Underfloor systems
- Structural reinforcement
- Built-in supports
- Data cables
Include a room name and reference point. A wide room photograph followed by closer images is often more useful than an unlabelled close-up.
These records may help with future drilling, repairs, maintenance or later renovation work.
Check progress without taking over the contractor’s role
Homeowners should monitor whether the agreed work appears to be completed and raise questions when something looks wrong.
Construction methods, safety procedures and technical sign-off remain the responsibility of the contractor and appointed professionals. Do not instruct a trade to alter structural, electrical, plumbing or waterproofing work based on an improvised site decision.
Ask for the relevant professional to review it.
13. Track Purchases, Deliveries and Returns
Purchasing is a separate workstream. A correct design can still be delayed by a missing component, damaged delivery or product ordered in the wrong finish.
Create an order schedule
Record:
- Room
- Product
- Brand and reference
- Quantity
- Supplier
- Order number
- Order date
- Expected delivery
- Actual delivery
- Amount paid
- Balance due
- Return deadline
- Installation date
- Status
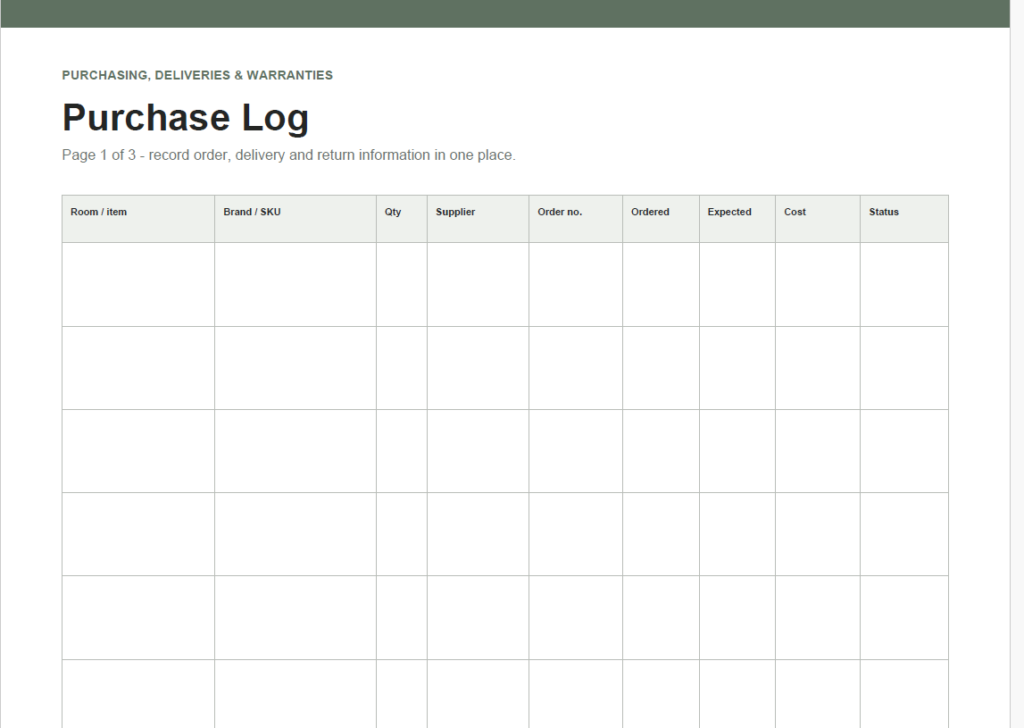
Do not rely solely on the supplier’s account page. Keep your own record linking the order to the room and construction programme.
Prioritise long-lead products
Review lead times early for items such as:
- Custom cabinetry
- Windows
- Internal and external doors
- Made-to-order furniture
- Specialist lighting
- Stone
- Bespoke metalwork
- Imported fixtures
- Unusual appliance models
Confirm whether the stated lead time begins when the deposit is paid, when final measurements are approved or when production drawings are signed.
Inspect deliveries immediately
When an order arrives, check:
- Quantity
- Product code
- Model
- Dimensions
- Colour and finish
- Visible damage
- Missing fittings
- Packaging condition
- Return or damage-report deadline
Do not leave boxed products unopened until installation day. By then, the reporting window may have passed and a replacement could delay the trade booked to install it.
Photograph damage before moving or unpacking the product further.
Store products correctly
Label products by room and protect them from:
- Moisture
- Dust
- Direct weather
- Impact
- Theft
- Extreme temperature
- Being used accidentally on another part of the project
Confirm manufacturer storage requirements for sensitive finishes and flooring.
The planner’s purchasing section connects order status, expected deliveries, receiving checks, returns, appliances and warranties so the information does not end at the point of purchase.
14. Control Changes Before They Control the Budget
Some changes are unavoidable. A concealed defect may need repair. A specified item may be discontinued. An inspection may identify additional work.
Other changes come from preference: a more expensive finish, added lighting or a late layout revision.
Both types need the same discipline.
Ask four questions
Before approving a change, ask:
- Why is the change needed?
- What will it add to or remove from the cost?
- How will it affect the programme?
- Will it require changes to other work?
A new tap may require a different connection. A wider doorway may affect an outlet, skirting, flooring and decoration. Added cabinetry may require lighting or ventilation changes.
Look beyond the price of the item itself.
Update the whole project cost
Do not record variations as a loose list of individual extras.
Each approved change should update:
- Contract value
- Total committed cost
- Remaining contingency
- Expected completion date
- Related drawings or specifications
Several small additions can consume the contingency without any one of them appearing serious.
Do not rely on verbal approval
Record the agreed description, price and schedule effect before the changed work begins.
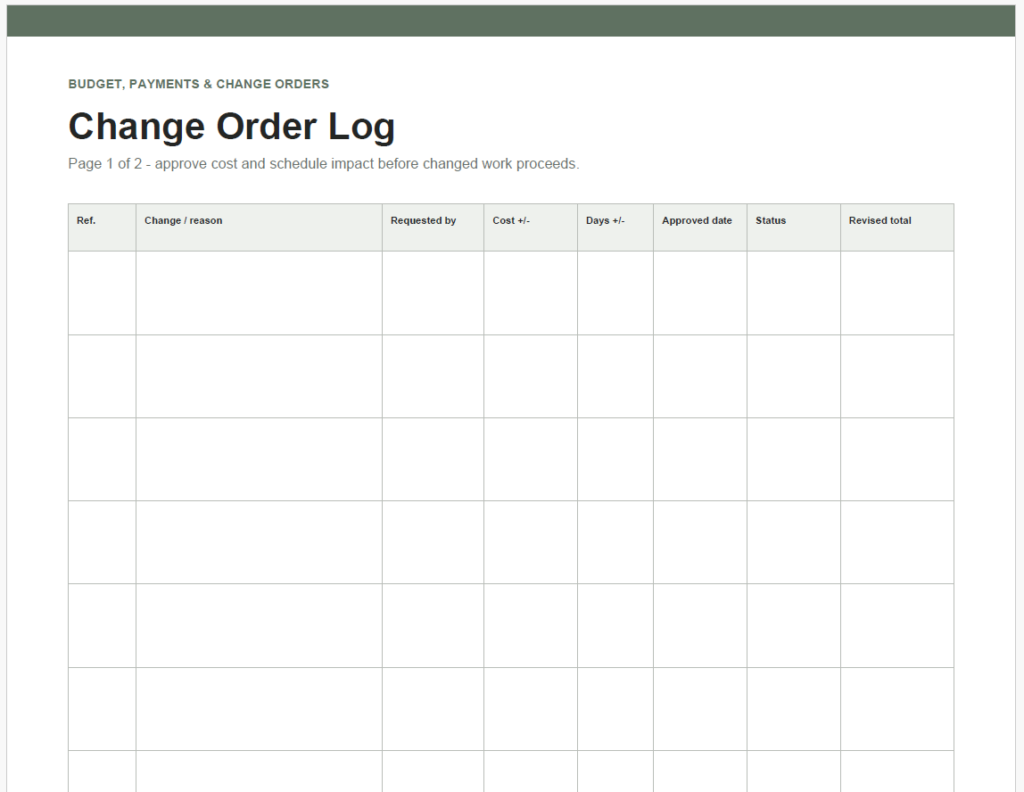
The planner’s change-order log includes both cost and day adjustments, approval dates and the revised total, keeping each change connected to the wider project rather than treating it as an isolated conversation.
15. Inspect the Work and Create a Punch List
Do not wait until moving day to examine the finished work.
Inspect throughout the project and complete a systematic room-by-room review near the end.
Check each room methodically
Review:
- Walls, ceilings and paint
- Flooring
- Tiles and grout
- Sealants and junctions
- Doors and windows
- Cabinet doors and drawers
- Hardware
- Worktops
- Plumbing fixtures
- Outlets and switches
- Lighting and controls
- Heating and ventilation
- Appliances
- Damage
- Missing work
- Cleaning
Test items rather than looking at them from the doorway. Open drawers. Run taps. Check drainage. Operate switches. Look at paint and joinery in natural and artificial light.
Technical systems should be inspected or commissioned by the appropriate professionals.
Make each punch-list item specific
“Paint needs fixing” is too vague.
A clearer entry would be:
Repair chipped paint beside the bedroom window, left side, approximately 20 centimetres above the sill. Photo B-07.
Include:
- Room
- Exact location
- Description
- Photograph
- Responsible contractor
- Date raised
- Target correction date
- Verification status
Specific entries reduce disagreement and make reinspection faster.
Reinspect corrected work
Do not close an item simply because someone says it has been completed.
Return to the location, test or inspect the correction and record the date it was accepted. Where professional sign-off is required, collect the relevant document.
The planner’s final walk-through covers operating doors and windows, cabinetry alignment, leaks, electrical devices, lighting controls, heating, ventilation, sealants, decoration, cleaning and unresolved defects.
16. Complete the Final Handover
The renovation is not finished when the tools leave the house.
Before authorising the final balance, confirm that the agreed scope has been completed, outstanding items are documented and the handover package is ready.
Collect:
- Final permits and inspection certificates
- Contractor guarantees
- Product warranties
- Manuals
- Appliance model and serial numbers
- Paint colours and finish codes
- Spare tiles, flooring and other materials
- Keys and access devices
- Final invoices and receipts
- Maintenance instructions
- Updated drawings where available
- Test or commissioning records
- Final photographs
- Contact details for future defects or servicing
Reconcile the financial record as well. Check the original contract, approved changes, invoices, payments and agreed deductions or retained amounts.
Do not make the final payment merely because most of the work looks complete. Follow the contract and confirm the required evidence.
17. Create a Maintenance Record for the Renovated Home
Good project documentation continues to be useful long after construction.
Create a record of:
- Filter replacements
- Heating and cooling servicing
- Sealant inspections
- Timber or stone maintenance
- Manufacturer cleaning instructions
- Warranty-expiry dates
- Contractor contacts
- Product codes
- Paint references
- Appliance details
- Spare-material locations
- Dates of inspections and repairs
This saves time when a finish needs touching up, an appliance requires service or one damaged tile needs to be replaced.
It also creates a clear history for future renovation work or a later owner.
Home Renovation Planning Checklist
Use this condensed checklist to review your progress:
- Define the renovation goals.
- List the problems the project must solve.
- Separate essentials from optional upgrades.
- Confirm what is included and excluded.
- Document existing conditions.
- Measure the property and photograph key areas.
- Set the budget and contingency.
- Check permit, insurance and approval requirements.
- Appoint the required professionals.
- Test the proposed layouts.
- Coordinate furniture with lighting, power and plumbing.
- Prepare room plans and product specifications.
- Send the same pricing information to each contractor.
- Compare inclusions, allowances and exclusions.
- Finalise the contract and payment schedule.
- Agree on a written change-order process.
- Build a timeline with decision and ordering deadlines.
- Order long-lead products.
- Prepare the household and property for construction.
- Track tasks, decisions and site discussions.
- Photograph concealed installations.
- Inspect deliveries and record returns.
- Update committed costs and remaining contingency.
- Complete a detailed punch list.
- Reinspect corrected work.
- Collect handover documents and warranties.
- Reconcile payments before releasing the final balance.
- Create a maintenance record.
Frequently Asked Questions
What is the first step in planning a home renovation?
Define the problems you need the renovation to solve.
Before contacting contractors or selecting finishes, write a short project vision, identify the rooms involved and separate essential outcomes from optional upgrades. This gives the design, budget and quote process a clear direction.
How far in advance should I plan a renovation?
Planning should begin well before the intended construction date because design, surveys, approvals, contractor availability and product lead times can take longer than the physical building work.
The required period depends on the project. A cosmetic room update will usually need less preparation than an extension, structural renovation or whole-house remodel. Build the programme backwards from the target completion date and include time for decisions, pricing, approvals and purchasing.
In what order should a home renovation be completed?
The broad order is:
- Define the scope and budget.
- Inspect and measure the property.
- Develop the design.
- Check approvals.
- Prepare drawings and specifications.
- Obtain and compare quotes.
- Sign the contract.
- Order long-lead products.
- Complete demolition and structural work.
- Install and inspect concealed services.
- Complete walls, floors and fixed finishes.
- Install cabinetry, fixtures and appliances.
- Decorate, test and correct defects.
- Complete handover.
The exact construction order should be confirmed by the contractor and project professionals.
How can I stop a renovation from going over budget?
Start with a defined scope, realistic allowances and a separate contingency. Request comparable quotes based on the same information, track committed costs as well as payments and require written approval for every change.
Update the total project cost whenever a variation is approved. Do not wait until the end of the month to discover what several smaller decisions have added.
What records should I keep during a renovation?
Keep the current drawings, specifications, permits, contracts, insurance documents, quotes, decisions, change orders, invoices, receipts, purchase records, delivery photographs, warranties, manuals, inspection reports and progress photographs.
Organise them by project stage or room and make sure the current version can be identified quickly.
Turn the Renovation Into a Manageable Process
You do not need to predict every issue before construction begins. You do need a clear way to define the work, test decisions, monitor money and record what changes.
When the renovation is organised as a sequence, each stage prepares the information needed for the next one. The project brief guides the layout. The layout informs the technical plans. The specifications support accurate quotes. The approved scope feeds the contract, budget, purchasing schedule and site checks. The punch list and handover records close the loop.
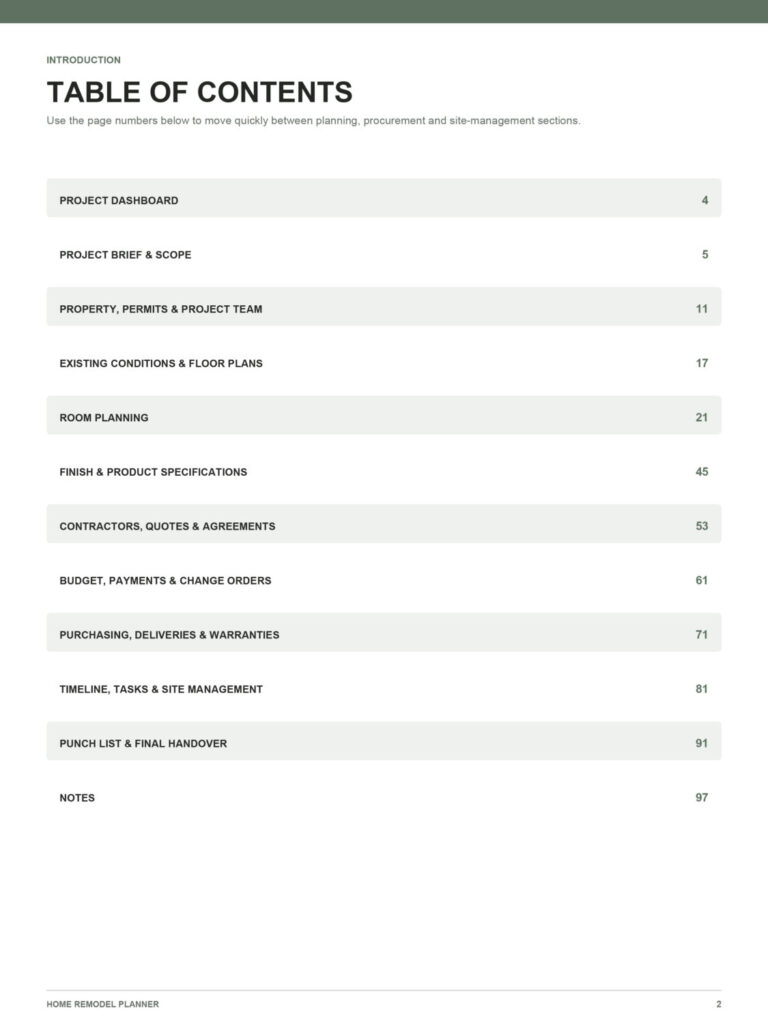
To keep that information organised, I created an architect-designed Home Remodel Planner that follows the same process covered in this guide—from defining your scope and planning individual rooms to comparing quotes, controlling changes and completing final handover. It is designed as a working companion for the renovation, not simply a collection of blank notes pages.
Explore the Home Remodel Planner




One Comment
Comments are closed.