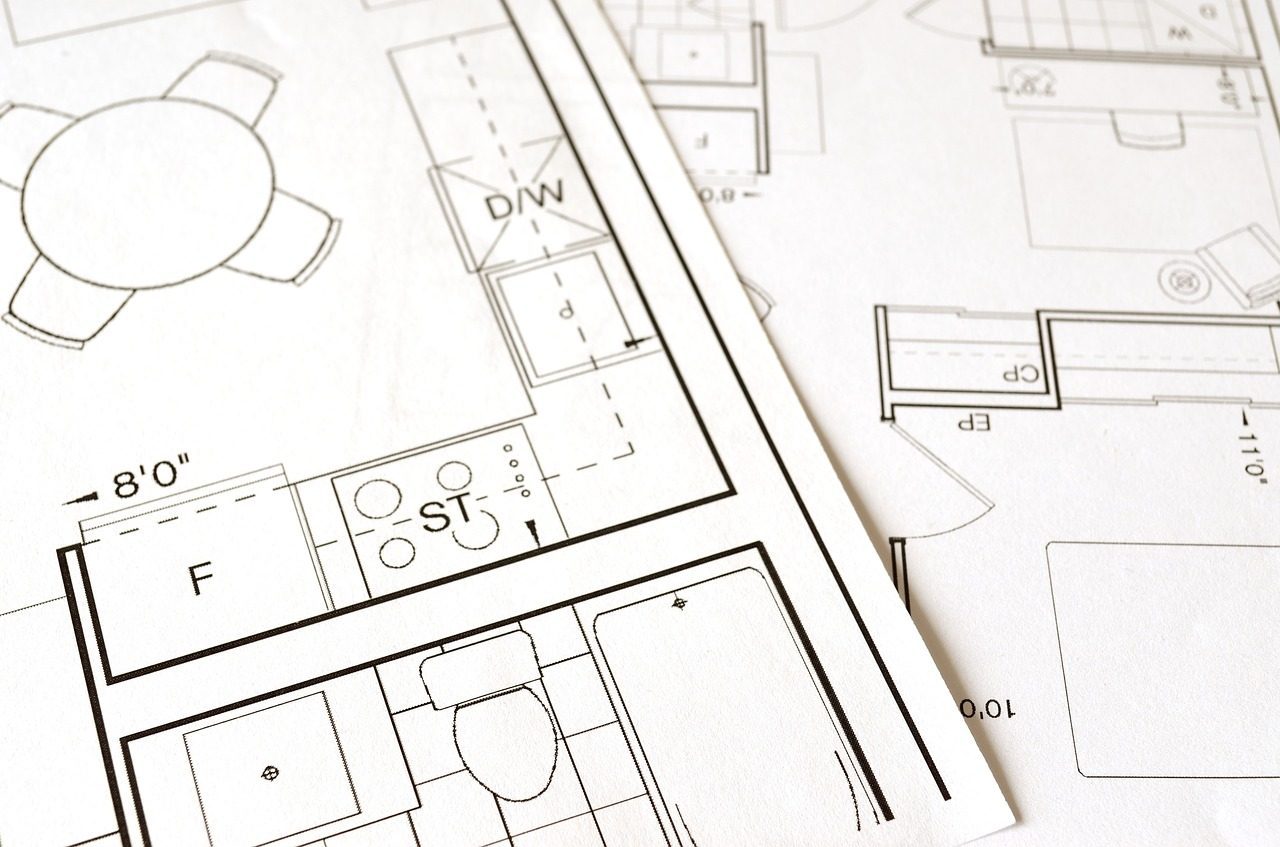
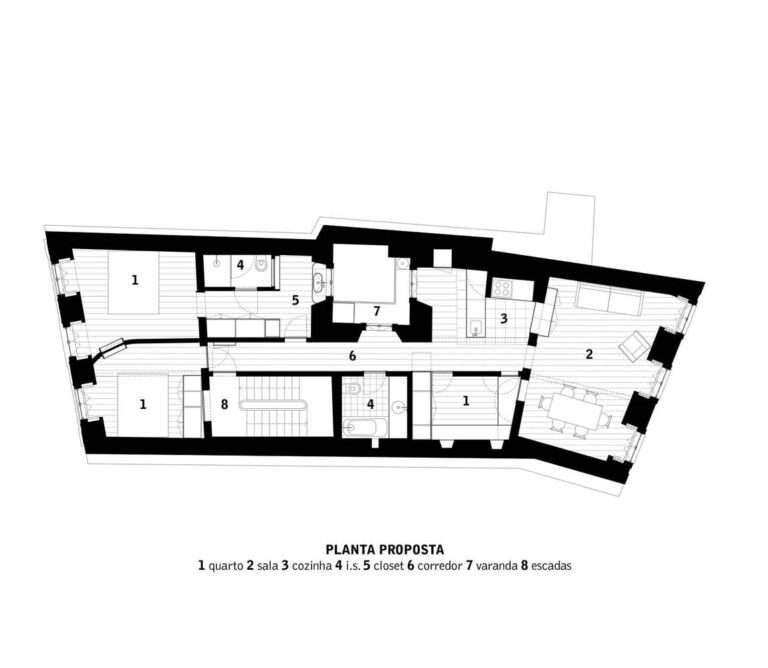
Planning the kitchen remodel or designing it from scratch might be an intimidating task for anyone. You might find yourself asking: Oh my god, how to plan my kitchen layout? What comes first in a kitchen remodel? In what order do you design a kitchen? Where do I start when planning a kitchen? Here is the sequential order of steps to plan your kitchen remodel like a pro.
- Define your budget
- Decide: Does your budget allow a full remodel, partial renovation, or minor updates.
- Take precise measurements of an existing situation
- Figure out which structural elements can be demolished
- Collect references and ideas
- Plan the kitchen layout: Cupboards, drawers, and shelves, food storage, washing area, cooking area, kitchen extras
- Choose materials and finishes
- Estimate the cost
- See where you can save some money
- Bring your design to life: see our article about how to execute the kitchen remodel
- Final touches
Posh Chic Cool is a participant in the Amazon Services LLC Associates Program, an affiliate advertising program designed to provide a means for sites to earn advertising fees by advertising and linking to Amazon.com. As an Amazon Associate, I earn from qualifying purchases at no extra cost to you. Disclaimer, Privacy Policy and Terms and Conditions
Table of Contents
- In what order should you plan a kitchen remodel?
- Kitchen remodel checklist
- #1: What is the first step in designing a kitchen renovation?
- #2: Figure out which structural elements can be demolished
- #3: Collect references and ideas
- DIY HOME REMODEL PLANNER
- #4: Plan the kitchen layout
- 4.1: Guide to Standard Kitchen Cabinet Dimensions: lengths, depths, heights, distances
- 4.2: Plan the storage: Cupboards, drawers, and shelves
- 4.3: Plan the food storage: fridge, freezer, and pantry
- 4.4: Plan the washing area
- 4.5:Plan the cooking area
- 4.6: Can you fit the kitchen island or not?
- 4.7: Plan kitchen extras
- #5: Estimate the cost
- #6: Bring your design to life
- #7: Final touches
In what order should you plan a kitchen remodel?
Kitchen renovation or remodel is a large financial and time commitment. It’s important to set the goal straight to avoid disappointment and waste of time. Full remodel is a different scope of work than updating just several parts of your kitchen. The effect will be different too.
The biggest constraint is always the money. It dictates the scale and scope of an update. Therefore, it’s important to know what your budget is and plan accordingly.
The cost will be affected by the size of the space, your quality expectations, and your location too. Here are some general price ranges for a full kitchen remodel. Keep in mind that the prices will dramatically differ between basic, average, premium, and luxury kitchens.
- $60-$100+ for a Large Kitchen
- $50-75+ for a Medium Kitchen
- $30-50+ for a Small Galley Kitchen
Once you set the budget and expectations straight, it’s time to move to the next step:
Take precise measurements of an existing space. The next step is to figure out what the structural elements are. You might need to consult with a local tradesperson or a certified engineer. Meanwhile, you can start collecting references to figure out what kind of kitchens you really like. Try to capture what you exactly like about them: layout? colors? style? certain design elements?
The next step is to plan a kitchen layout. The main point here is to respect the work triangle, requirements for accessibility, and standard dimensions.
In order to estimate the cost, choose materials for your layout: this includes cabinet boxes, countertops, doors, handles, lights, backsplash, floors, and doors (if you are changing them). Try to be careful and not miss anything.
After estimating the cost, see if there is anything you can save money on. Some materials do have cheaper alternatives that look great too. One of the ways to save a lot of money is to use modular kitchen cabinetry (such as IKEA) and update them with custom doors and hardware.
Once you are happy with your budget, order everything and start remodeling.
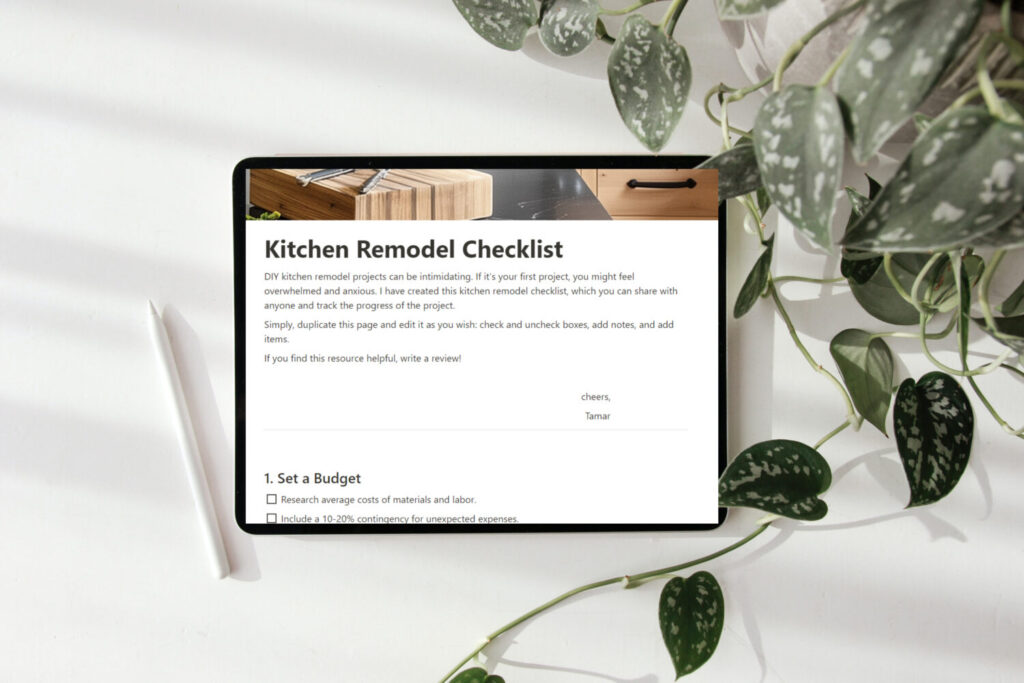
Kitchen remodel checklist
DIY kitchen remodel projects can be intimidating. If it’s your first project, you might feel overwhelmed and anxious. I have created this kitchen remodel checklist, which you can share with anyone and track the progress of the project.
Simply, duplicate this page and edit it as you wish: check and uncheck boxes, add notes, and add items.
If you find this resource helpful, write a review!
#1: What is the first step in designing a kitchen renovation?
For this you will need:
- Tape measure (you can use a laser measure for overall dimensions and ceiling heights)
- pencil
- grid paper
- a ruler
step1: Roughly sketch out the room on the grid paper. It does not need to be precise. The sketch should show the locations of all windows and doors, and swing directions. drawn anything that you are going to keep after remodel / renovation.

Step 2: draw two rows of dimension lines. One is for overall measurements, and the other is for specific elements and distances between them.

Step 3: take measurements. You can do it alone or ask someone else to help you. Be as precise as you can. Round the dimensions to the nearest 1/2 cm or 1/4 inch.

If two of you are engaged in the task, the one who is writing down the measurements on paper should always repeat back to the person who is measuring. This way you will avoid any mistakes.
As a rule, if you are measuring doors or windows, always measure the opening, not the trim or frame. However, in some cases, you might need to make a note of the frame dimensions as well.
Begin by taking the overall measurements first, and then continue with taking incremental measurements. Start from one corner and follow one direction.
Step 4: Mark the location of all outlets, switches, vents, plumbing fixtures, or any HVAC elements.
Step 5: Mark the location of light fixtures. You need to know where the existing Junction boxes are. In some cases, you might also need to note the location of existing lights.
To mark down lights properly, one person can use some small thing on a thread and hang it from the center of the light to the floor. Another person would measure the perpendicular distance between the light’s projection on the floor and two nearby walls.
#2: Figure out which structural elements can be demolished
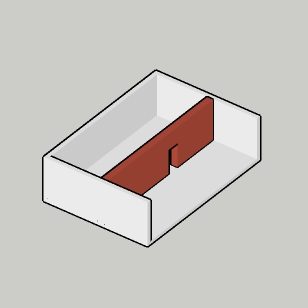
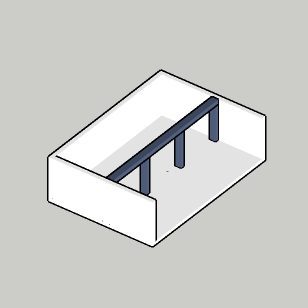
This part is essential if you are planning to join two adjacent spaces that have been separated by a wall before. Before going ahead and demolishing the wall between the living room and the kitchen, you need to know whether or not this wall is load-bearing. Load-bearing means that it is carrying a structural load of the roof or the upper floor.
In the beginning, you can ask a local tradesperson to have a look. If the wall is just a space divider, you are allowed to knock it down. However, if the tradesperson concludes that the wall is a load-bearing one, you need to hire a structural engineer, who will calculate the exact dimensions and material of a beam and posts that can replace the load-bearing wall.
#3: Collect references and ideas
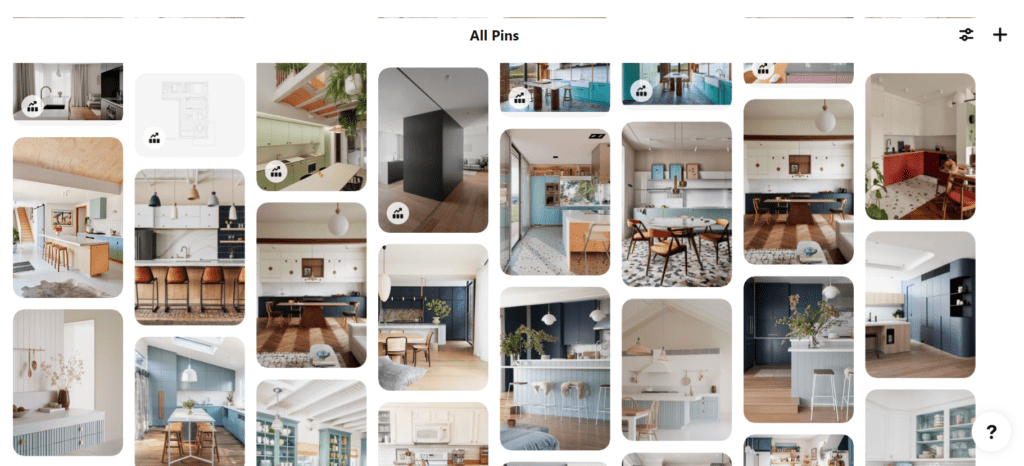
Collecting ideas and reference images is an extremely important step. This way you can figure out your personal preferences and clearly see what kind of space and designs you find attractive.
Observe your existing kitchen too. There are probably things that work nicely and create a good experience for you.
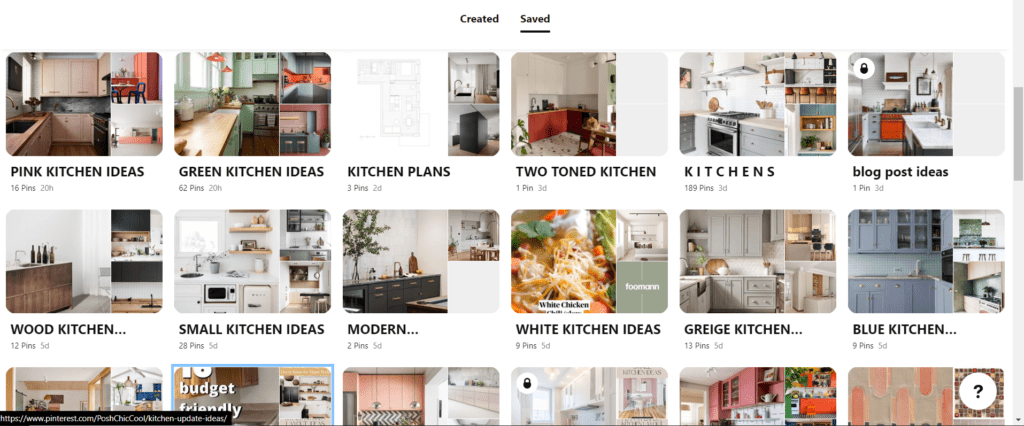
Where can you find kitchen inspirations? Besides Pinterest, you can see many great examples of kitchen designs on Houzz or interior design blogs, such as My Domaine, House Beautiful, Edecor, and Homes & Gardens.
The Ultimate Home Remodel Planner For Stress-Free Project Management: Record and Track EVERYTHING

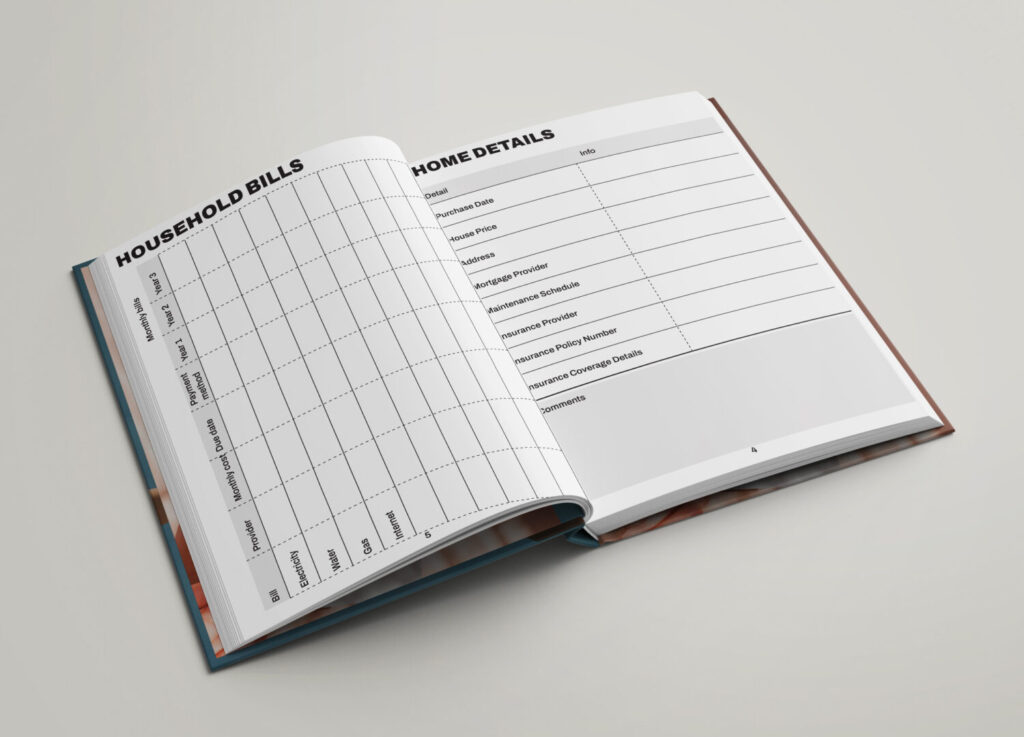
If you are into more modern, plain minimalistic designs, you can check Archdaily as well. However, the type and style of the projects they share here are more minimalistic and modern, designed by Architects.
When you get your inspirations collected, you will find that it’s a mix of different styles and eras (usually). Sometimes there is some common trend/pattern and it’s easier to see exactly what you like. If that is not the case, you might need to be very careful not to tastelessly mix everything together.
It might be a good idea to outsource design services from a professional who will guide you in choosing your style.
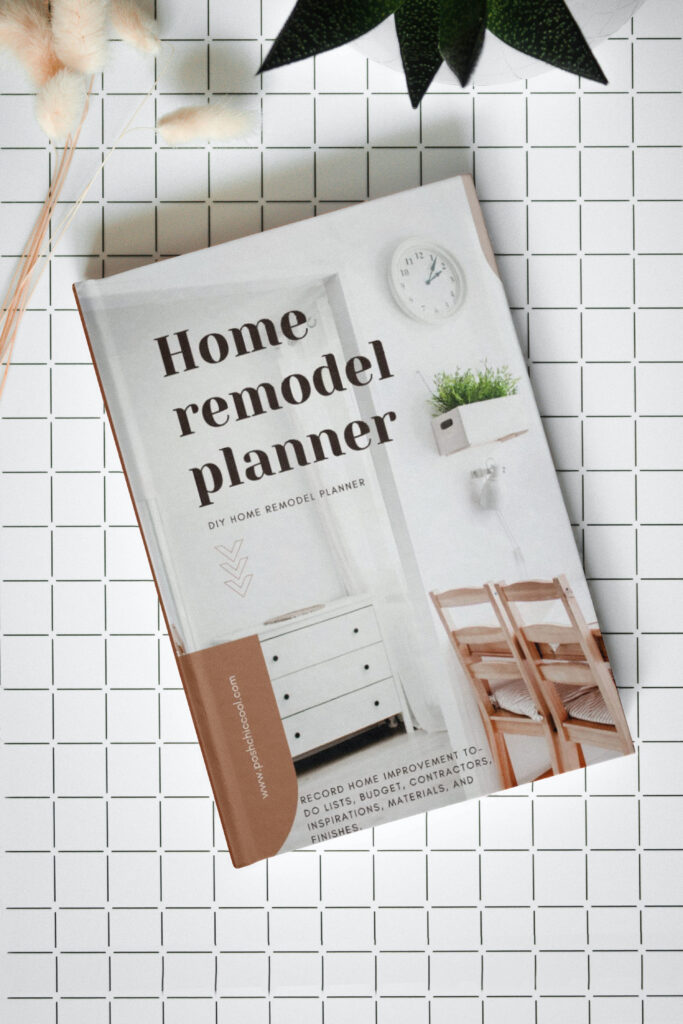
DIY HOME REMODEL PLANNER
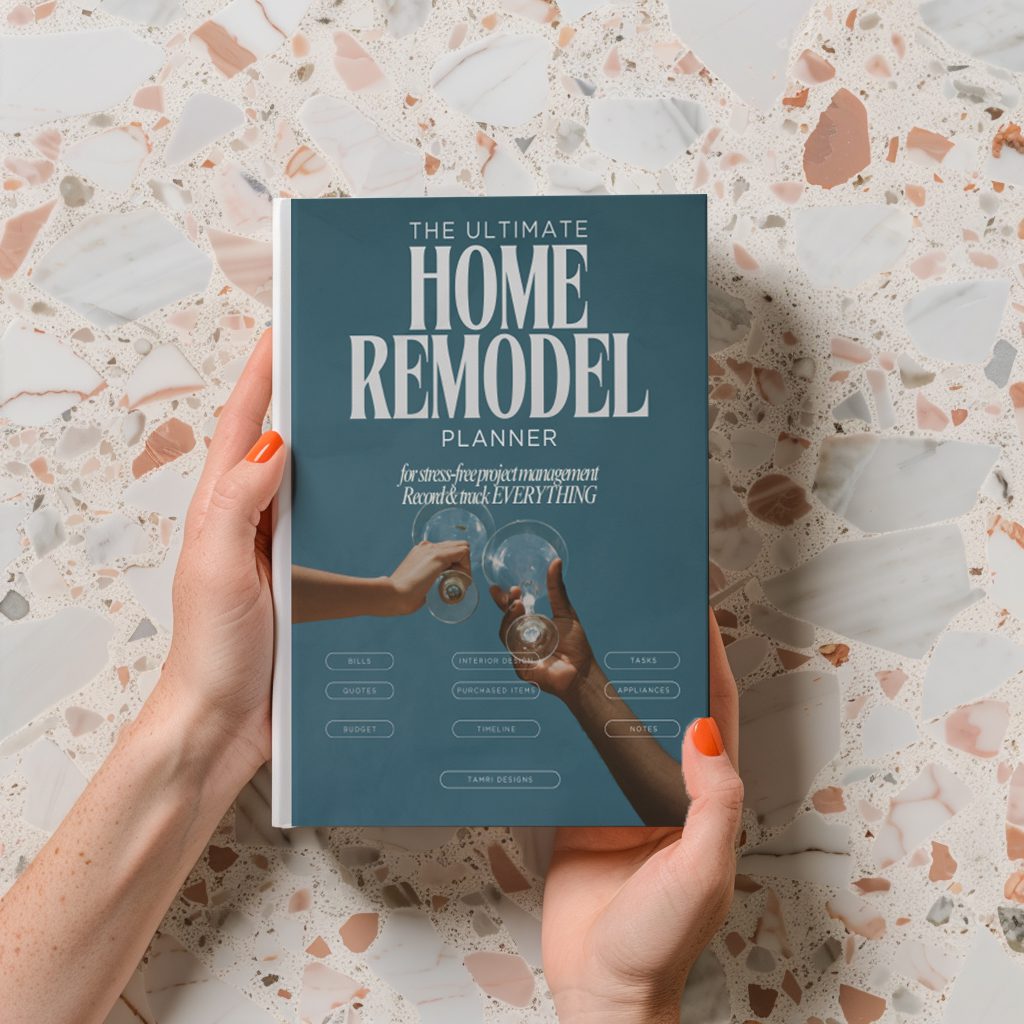
Renovating your home is one of the biggest tasks. It can be intimidating to track all the tasks, budget, contractor info and offers, inspirations, finishes, and details.
This simple-to-use home renovation planner will help you to accomplish everything smoothly and easily by keeping a record of every important detail in one place.
This house remodel planner is divided into five parts – five rooms.
For each room you will have enough space to record:
– goals to be accomplished
– inspirations (place for images to be printed out and glued into the planner)
– dot grid pages to sketch your new plan of arranging furniture or making structural changes
– tasks that need to be done
– budget
– materials, finishes, and details
– suppliers for sourcing materials, finishes, and items
– contractors
– two pages to print and store fun pictures of the process
– notes and lessons learned
#4: Plan the kitchen layout
Some spaces directly dictate the type of layout you are going to use for your kitchen. However, in some cases the decision is not that easy to make: multiple options can fit and you might have a hard time choosing.
There are four basic types of kitchen layout: one-wall, galley, L-shape, and U-shape, which can be extended by adding a kitchen island or a bar.
It is always a good idea to explore all possible layout options in your space. You will see, that some of them work better than others in your particular case. Check the more detailed article about how to plan a kitchen layout.
The main thing to keep in mind is the work triangle: the fridge, sink and range should be located in a way that an uninterrupted workflow is guaranteed. Those appliances should not be placed way too far from each other.
Ideally, you want the fridge, sink and the range to be placed in a close proximity to each other, while also leaving enough countertop space between them.
Ideally, you want the fridge, sink and the range to be placed in a close proximity to each other, while also leaving enough countertop space between them.
The plan of the kitchen should follow the workflow. Think about what specific tasks are performed at particular zones (storing, prepping, washing, cooking) and plan the storage and appliances accordingly.
This task is crucial and even experienced designers spend hours to find the most functional configuration for the space.
If you work with a designer, he or she will usually provide the layout options at the beginning. If you are not planning to use expensive designer services in your area at the moment, there are great e-design options out there. The designer will help you in creating just a layout of your kitchen.
However, you can also do it using free versions of software, like SketchUp. It’s easier than you think if you know basic kitchen layout standards.
In order to be able to create a functional ergonometric kitchen layout, you need to know standard guidelines for kitchen design: lengths, depths, heights, and distances between cabinetry and appliances.
4.1: Guide to Standard Kitchen Cabinet Dimensions: lengths, depths, heights, distances
In order to properly plan your kitchen cabinets, you need to know basic kitchen cabinet dimensions and standards. Those standard dimensions and distances are not restrictive, but rather liberating. By following those standards you will avoid ridiculous mistakes and will make sure that your kitchen is perfectly functional.
Kitchen base cabinet and countertop depth, height, and width
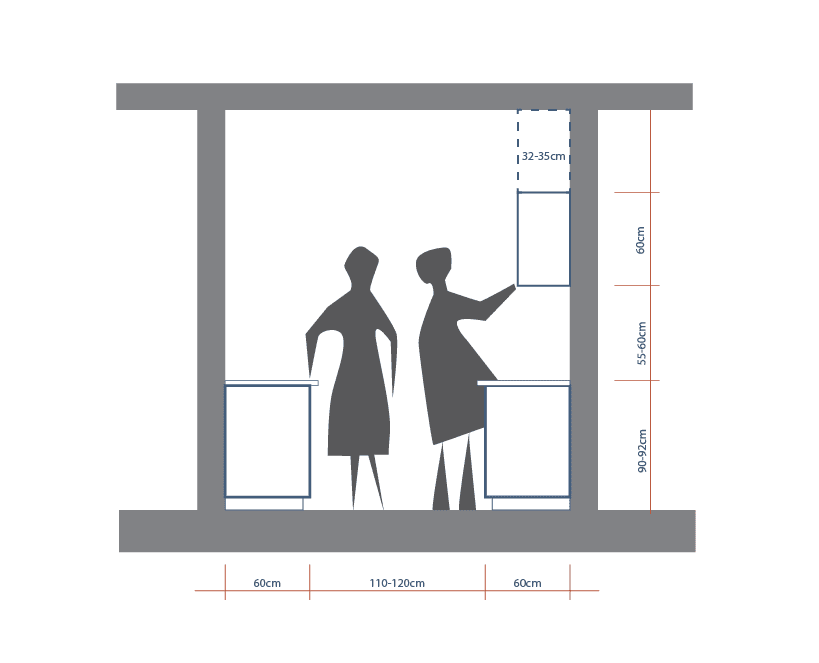
The standard for base cabinet depth is 600mm. However, if you are planning the fridge along with the cabinetry instead of a separate pantry, you might want to increase the countertop depth a little bit to ensure it is in line with the fridge. That is 635mm or so including the countertop overhang.
Tip: don’t go crazy and dramatically increase the depth of the countertops. You will have a hard time reaching items in the blind corner (junction of two rows of cabinetry at 90° angle)
Some manufacturers also offer 30cm deep base cabinets for smaller spaces. Sometimes, you can conveniently combine 60cm and 30cm deep cabinetry, as in this picture:

Base cabinets vary in widths: 30, 40, 50, 60, and 80cm. The leftover spaces at the end of the cabinetry can be filled with “fillers”.

Base cabinet standard height, including the countertop thickness and kickboard height (or toe kick height), is 900mm. However, if you are ordering RTA (ready-to-assemble) cabinetry from a manufacturer, the standard height they give usually does not include the countertop thickness, just a cabinet box.
The kickboard height ranges from 70 to 200mm.
I had a colleague who was always complaining about low kitchen cabinetry (he can easily be 2 meters, that’s my guess). So, taller people need taller cabinets in the kitchen. This can be achieved by using a custom box frame under standard cabinetry covered with a kickboard or molding.
The cabinetry interior is usually divided by 2cm shelf panels (horizontally) and 1.5cm thick end panels. Depending on the design, sometimes the doors of the cabinetry are aligned with the cabinetry frame or are placed in front of it.
countertop thickness
The countertop standard thickness varies: for some manufacturers, it’s 20mm, and some of the natural stone countertops come 30mm in thickness.
You can go for thicker (40mm) or ultra slim (12mm, for some porcelain premium products). This is very much dependent on the vibe and style of your kitchen.
Upper cabinet depth and height
Standard kitchen upper cabinet depth is 30-35cm. This is a good balance between having enough storage space and being able not to hit your head on the cabinetry while cutting onions.
Kitchen wall cabinet heights vary: in most cases, the heights are 60, 75 or 90 centimeters. However, I strongly recommend going for full-height upper cabinets and extending them up to the ceiling.
First of all, you will have more storage available. Secondly, you will prevent dust and dirt to be collected in the space between the ceiling and the top of the cabinetry. And thirdly: this is one of my tips to make the kitchen look significantly better.
Go for full height upper cabinetry.
distance between upper and base cabinets
distance between the countertop and the upper cabinetry should be at least 40cm, but ideally, you want to go for 50-60cm. This distance is especially important for tall people: if the upper cabinet is too low, they will have a hard time seeing the full surface of the countertop.
The hood needs to be higher than the regular wall cabinets.

Walkway dimensions
Ideally, you need to have 120cm in front of your cabinetry. This dimension is important not only to be able to reach the lowest shelves of your base cabinetry but also will let two people work together even when one of them has a cabinet (or a fridge) door open).
4.2: Plan the storage: Cupboards, drawers, and shelves
The next step is to ask yourself how to organize your kitchen cabinets and drawers. Planning the storage in your kitchen properly is super important. You want to have relevant items stored near the area where they will be used mostly.
At this stage, you might want to know how to organize the area under the kitchen sink, or the utensil drawer. Being super organized is crucial, especially if you have a kitchen with little cabinet space.
Let logic dictate the decisions. For example, keeping the spices next to the oven or a range is a better idea than storing them somewhere under the sink.
There are some common sense suggestions when it comes to storage planning: You need to plan cabinet drawers next to your sink or dishwasher to effectively store cutlery, dish towels, etc.
Another tip is to plan a set of deep drawers next to a range to keep large pans and pots at hand.
There should be some logic.
Drawers are more expensive than shelves or cabinets, but they also have an organizing superpower: they transform the airspace in your cabinetry into a storage space.
For an extended organization superpower, you can use drawer dividers and let them do the magic.
Drawers can be soft-closing or regular. Choose the one that fits your budget.
The drawers can be placed anywhere, and they do not have to be visible: hide them behind another door.
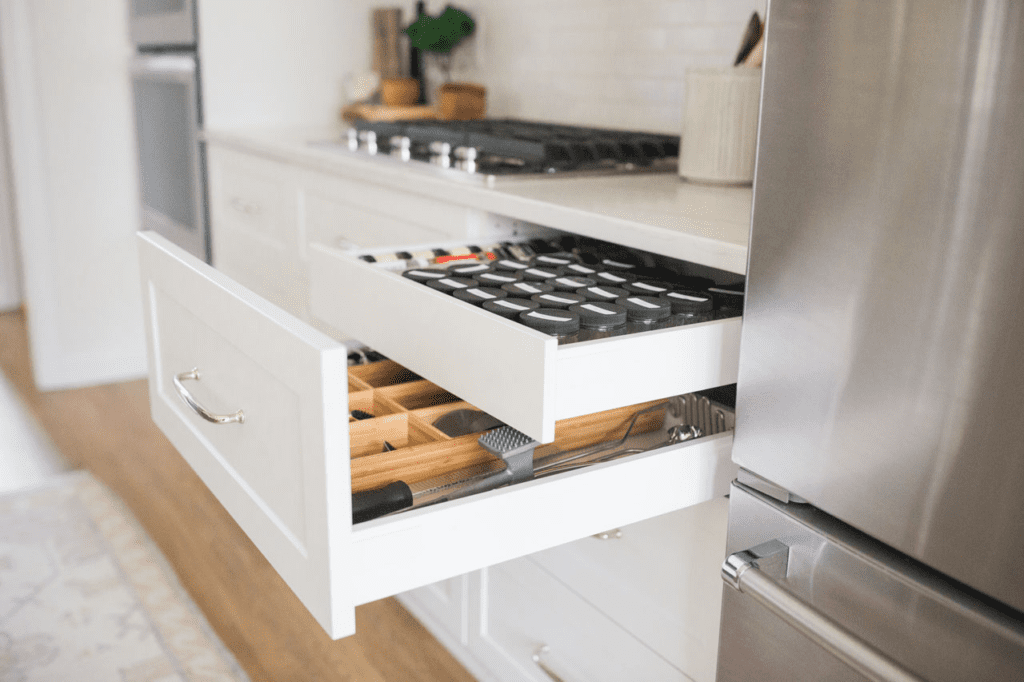
The big drawers can be aimed at bulky items: big-size pans and pots. You can use dividers to create a convenient place for storing cutting boards, baking trays, or saucepan lids.
Carrousels can be used in corner spaces to store kitchen appliances or large kitchen items.
Planning a smart waste sorting station under the sink is also important. The main point is to use an opening mechanism that lets you keep both of your hands on the job. An electric motor drawer sounds like a way to go.

Wall organizers are great to keep things in order. They take minimal space and keep the items organized, yet at hand. Plus, they are usually super affordable.
4.3: Plan the food storage: fridge, freezer, and pantry
Ideally, you want the food storage to be placed next to each other: fridge, freezer, and pantry. For extra convenience, plan a countertop space next to the food storage. This will make the grocery unloading process easier, and will also allow you to put the products from the fridge there before washing them in the sink.
There are certain common-sense rules when it comes to deciding where to put the fridge. Check my article for more details.
4.4: Plan the washing area
When it comes to the washing area, think about what appliances and items you need around there: a drainer next to the sink, an under-the-sink drawer or a cabinet for storing cleaning supplies in an organized manner, a waste sorting station, and a drawer for cutlery.
Ideally, the washing area is located between the fridge and the range. This ensures a logical workflow: store, wash, cook.
4.5:Plan the cooking area
Usually, there are two types of cooking areas: the oven located under the bench with an on-bench cooktop, or an oven located on the wall. In either case, you need to have enough worktop area in close proximity.
Plan enough storage next to the cooking/baking area for storing pans and pots, baking trays, and utensils. Don’t forget to plan a well-organized space for spices and herbs around here as well.

4.6: Can you fit the kitchen island or not?
The rule of thumb to decide whether or not you can fit the kitchen island is to keep 120cm clear space in front of your main cabinetry, and if the leftover space is enough, you can design a kitchen island.
However, the kitchen island should not become an obstacle that interrupts the working triangle.

4.7: Plan kitchen extras
Sometimes, your kitchen space is multifunctional: you might want to use part of it for work. In this case, make sure, the height of the table is lower than the usual standard cabinetry.
This space can be conveniently used for storing bills, cookbooks, and other items.

#5: Estimate the cost
The answer to the most important question: how much will a new kitchen cost is dependent on many different factors.
Are you going for a modular kitchen, or custom or semi-custom cabinetry? The modular kitchen is the cheapest option, while the semi-custom cabinetry is a good balance between modularity and the luxury of full customization.
How about the hardware? types of storage? the drawers are more expensive than shelves and cabinets but provide more efficient usable spaces.
Materials and finishes make a lot of difference as well: countertops, cabinetry materials, the hardware used, paint options, appliances, and tapware. Don’t forget to include the builder’s services (plumbing, electricity, lights, painting, floor installation, cabinetry installation, backsplash, etc).
High-quality finishes, materials, and appliances are priced accordingly, and the skilled tradesperson will charge you quite a lot as well, but you can always look for an acceptable balance.
It’s a good idea to request a preliminary bill for your project.
If you are working with a designer, they usually have connections with contractors. Ideally, you want someone who will manage the implementation of the project. The coordination between other subcontractors will become less of a pain in the butt.
Once the bill arrives, check it carefully if anything is missing. After it, if the total amount is over your budget, you can think about where you can save some money and find a good compromise.
5.1: Where can I save $$
There are some options when it comes to saving some money on your kitchen remodel.
If you are planning a complete remodel, then you need a proper plan or a design. Hiding a designer might be quite costly and in most cases, it is worth it. However, if you are tight on a budget, you can outsource just some parts of the design work, or do the whole research / planning yourself.
Some of the designers offer consultations, or the creation of just a kitchen layout plan, or help with color and material choices. Depending on your needs and budget, you can purchase just one or two services instead of a full design package.
In addition to that, you can save quite some money if you do some of the remodel work yourself.
More specifically, here are some ideas of where you can cut corners when remodeling a kitchen on a budget:
- The largest part of the kitchen remodels expenses comes from the cabinetry. Go for RTA modular cabinetry or semi-custom cabinetry instead of custom.
- Try to use your old cabinetry if you can: sometimes painting them or upgrading them with v-groove paneling will do wonders.
- Some wood species are more affordable than others. The same goes with paint brands and types
- drawers are more expensive than cupboards. Soft-close drawers are more expensive than regular ones
- Natural stones are great but very expensive. You can save money by using man-made materials, like Quartz, or even white laminate – this later works amazingly well in minimalistic spaces, and it is very versatile for the fraction of the price compared to natural stone.
- Cupboards with doors will cost more than open shelves, however, you will spend part of that saved money on organizer items. Otherwise, the open storage space will look cluttered.
- profiled cabinetry looks fancier but costs more than plain surface. However, you can DIY some of the designs, such as v-groove paneling. It’s not that difficult.
- built-in or integrated appliances generally cost more than free-standing.
- if possible, do not move the sink or appliances from old locations. Relocating gas or water outlets is no joke.
- buy the materials yourself wholesale. Even though sometimes the contractors actually suggest great deals, checking and comparing prices in different stores is always a good idea.
- Choose the fireclay sink over cast iron. The Cast iron sink is as durable as the fireclay sink, but it costs more than double.
#6: Bring your design to life
Once you have the whole project ready in your mind and on paper, the first step is to demolish the old kitchen. Do not forget to cut the water and gas first.
Once everything that doesn’t belong to the new kitchen plan is gone, the next step is to demolish structural elements to open the space if that’s what you decided after the consultation with the structural engineer. and finally, creating new walls, if needed according to the design.
If the design suggests the demolition of a load-bearing wall, you might need a licensed builder to do it for you. Switching the load-bearing structure with beam and (possibly) posts is not an easy task anyone can DIY.
Once the structural elements are placed and done, the next step is to install all the services: sink, oven, range, taps, power outlets, and light wires. This step needs to be taken before installing the plasterboard.
After that, you can take care of the flooring.
Once the services are placed, you can go ahead and install plasterboard, line the walls, sand, seal, and paint or install tiles.
Before installing the cabinetry, you need to once again carefully measure the space. This is an important step that prevents you from mistakes in the cabinetry dimensions. It ensures that the original design can actually fit perfectly in the updated space.
If there are some mismatches, adding a filler or altering some of the cabinetry sizes slightly can usually fix the problem.
When it comes to the order of installation, backsplash goes after cabinetry and countertops. All appliances should be in place before installing the countertops. This way, you will make sure that everything is aligned perfectly.
#7: Final touches
Once the cabinetry is installed, you can go ahead and put the rest of the furniture in place: chairs, accessories, hang those fancy lights and window treatments.
Finally, put the kitchenware in newly installed well-organized drawers and cupboards, style the shelves and take some pictures.
