Whether you are planning a new kitchen or remodeling an existing one, designing the kitchen layout is super important.
A well-designed kitchen layout can be a game-changer when it comes to effectively using your space and optimizing your workflow in the kitchen.
If you google “how to design a kitchen layout,” the majority of the time you will end up with a blog post talking about the work triangle.
The principle was quite useful, but currently, there is a better way of looking at things. Let’s dive into it.
You might also like:
- Best Lights Above Kitchen Island
- Small House Floor Plans with 1 Bedroom
- Top 4 Tips for Stress-Free Home Renovation
The Shift from the Work Triangle to Functional Zones
The traditional “work triangle” focuses on efficiency by placing the cooktop, sink, and refrigerator in a triangular configuration. However, this concept can be limiting in modern kitchens, where homeowners have more appliances and prefer open-plan spaces.
The modern zone-based approach emphasizes consolidating tasks and tools in functional zones, which aligns better with today’s lifestyles.
By grouping related activities, like prepping or cleaning up, in designated zones, you improve the flow, reduce walking distances, and make better use of the space.
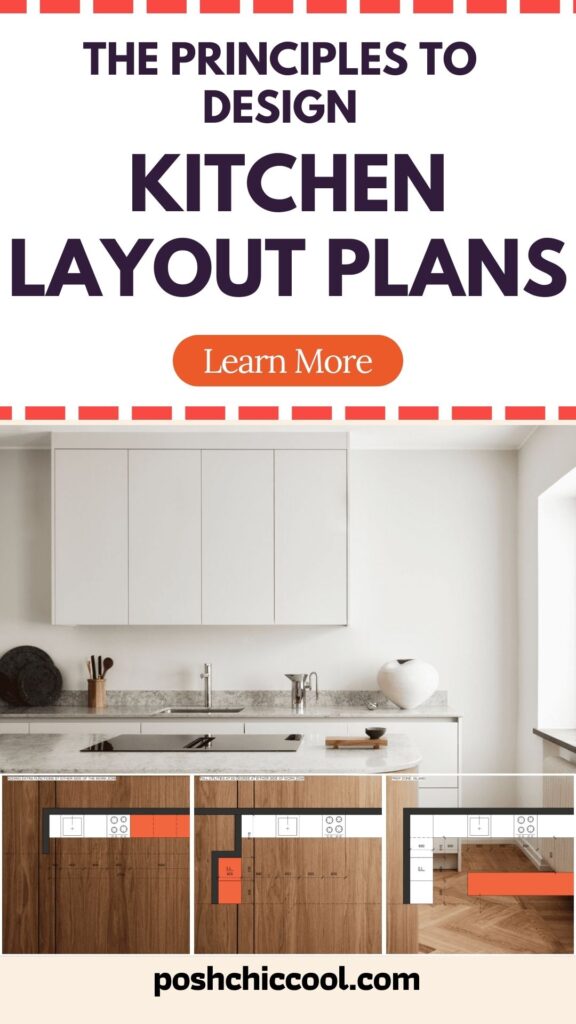
The Modern Approach for a Kitchen Layout Design: Consolidating Functional Zones
The best way to approach your kitchen layout design is to plan 4 zones and consolidate elements into them:
- Work zone
- Tall utility zone
- Clean-up zone
- Prep area
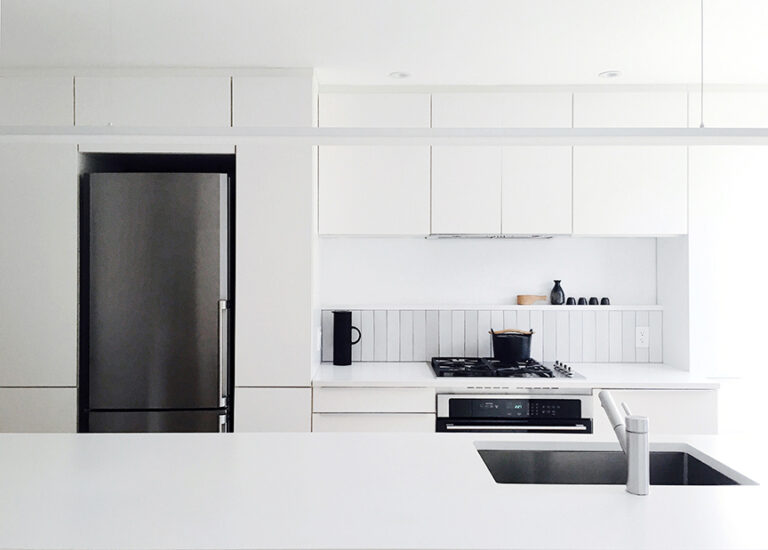
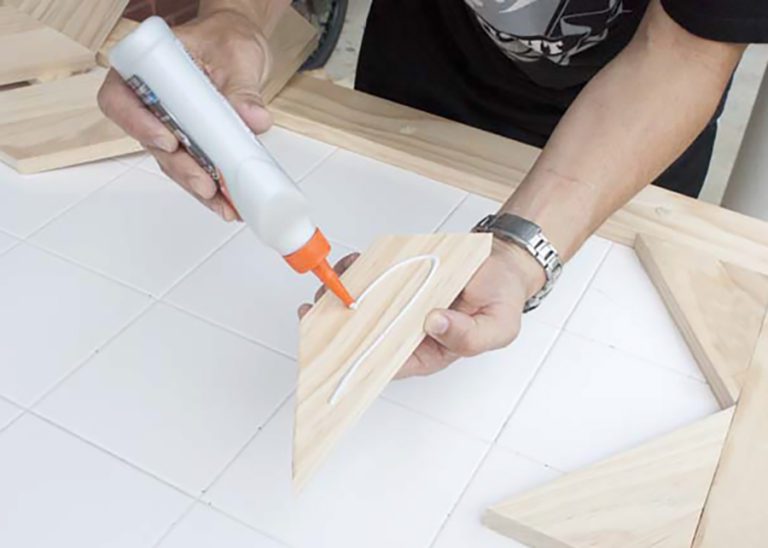
1. Work Zone
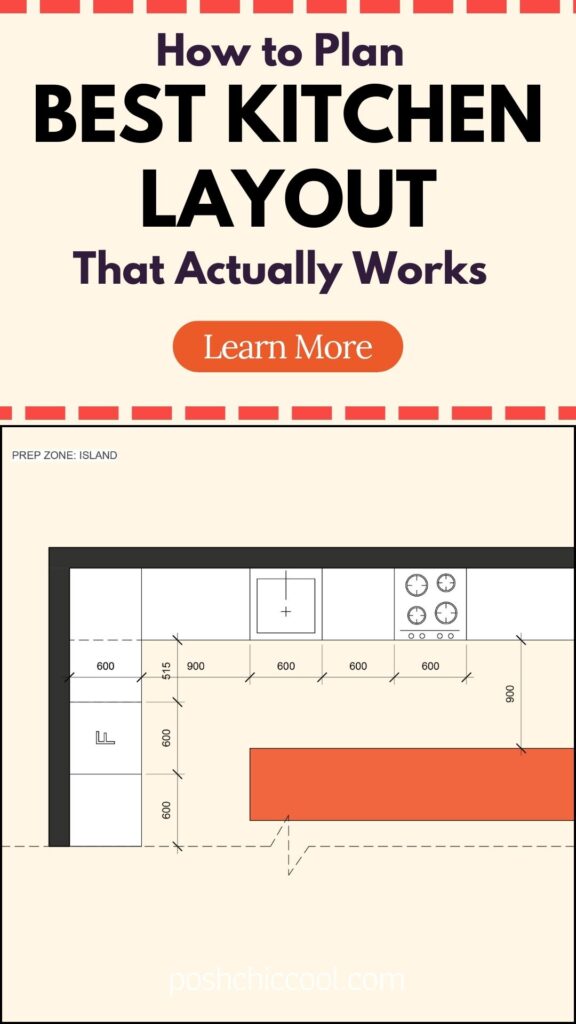
Your work zone should be a minimum of 2.4 meters. That gives you a cooktop and a sink 600mm apart with 300mm at either end.
Depending on your space, the oven will be under your cooktop or in your tall utilities.
Depending on your space, you might add extra countertop space and additional appliances (think about wine fridge) at either side of your work zone.

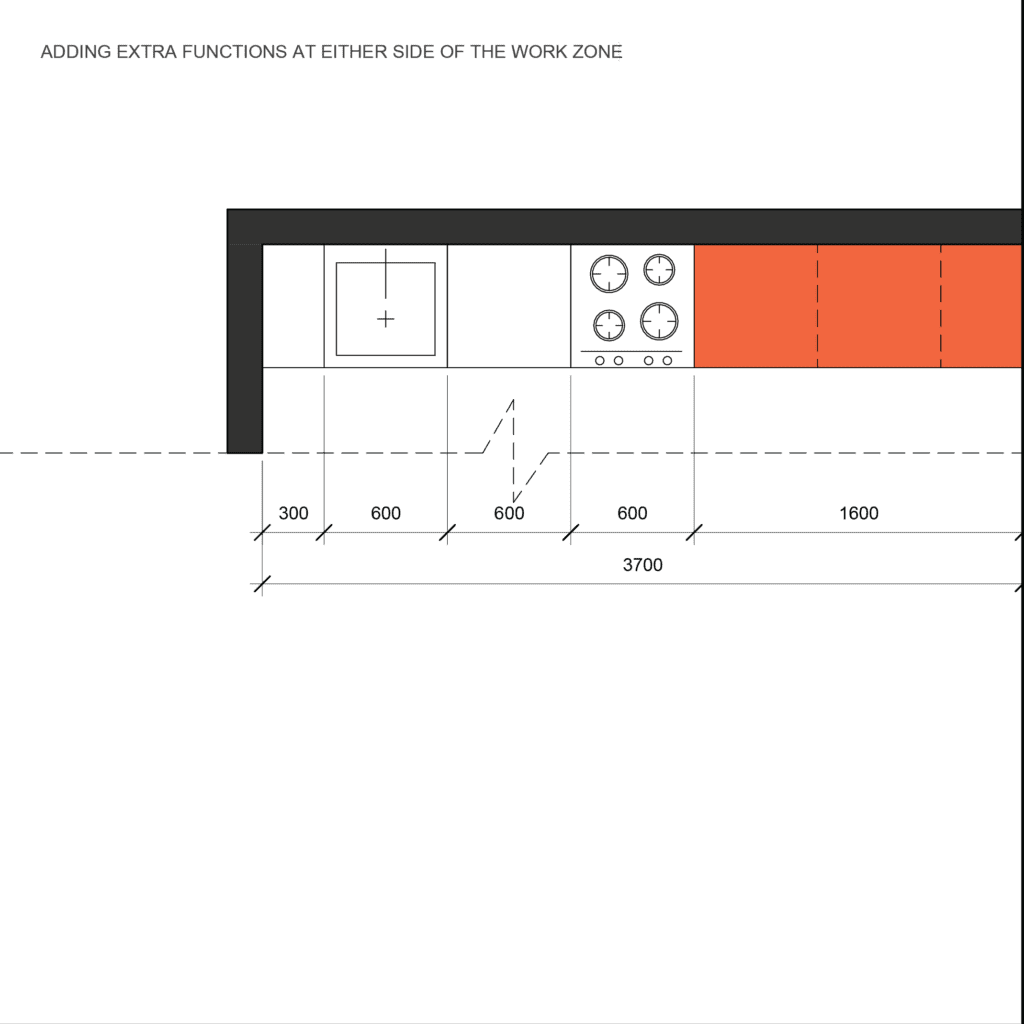
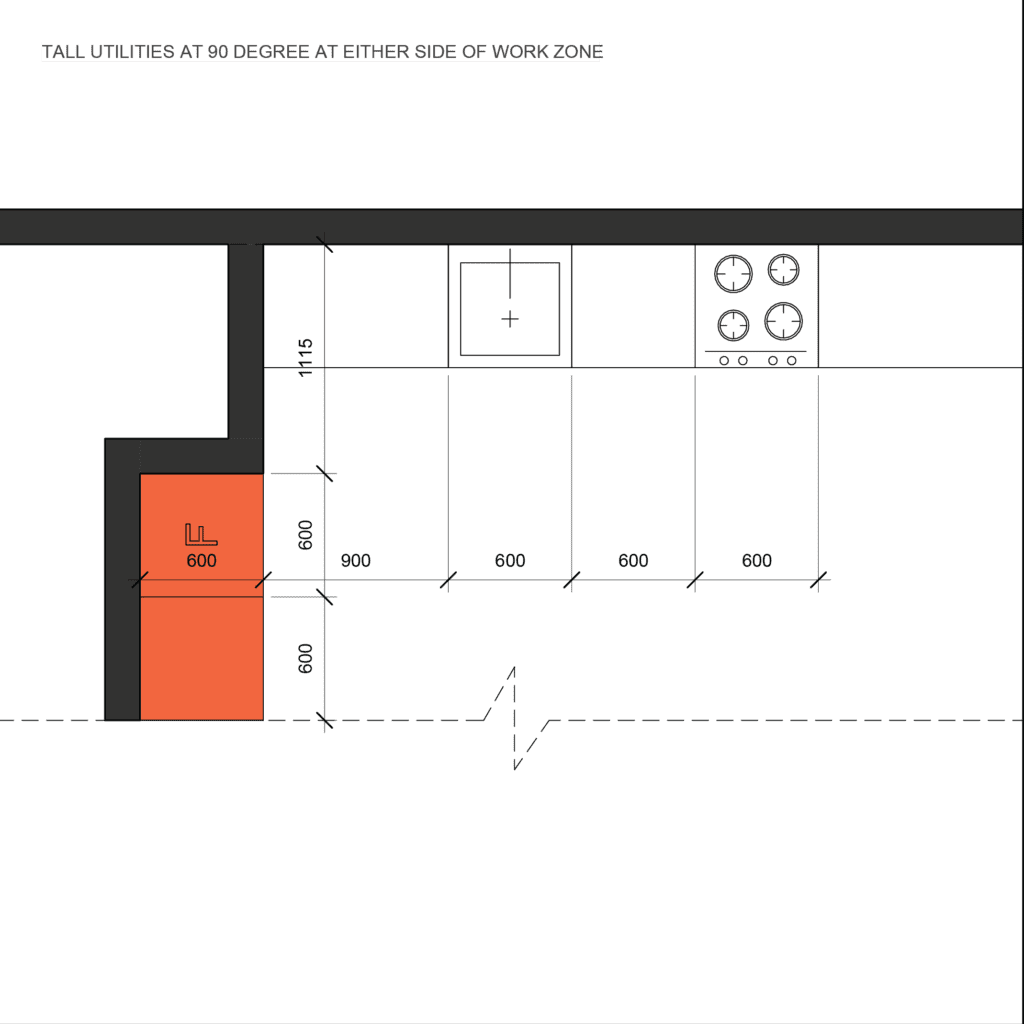
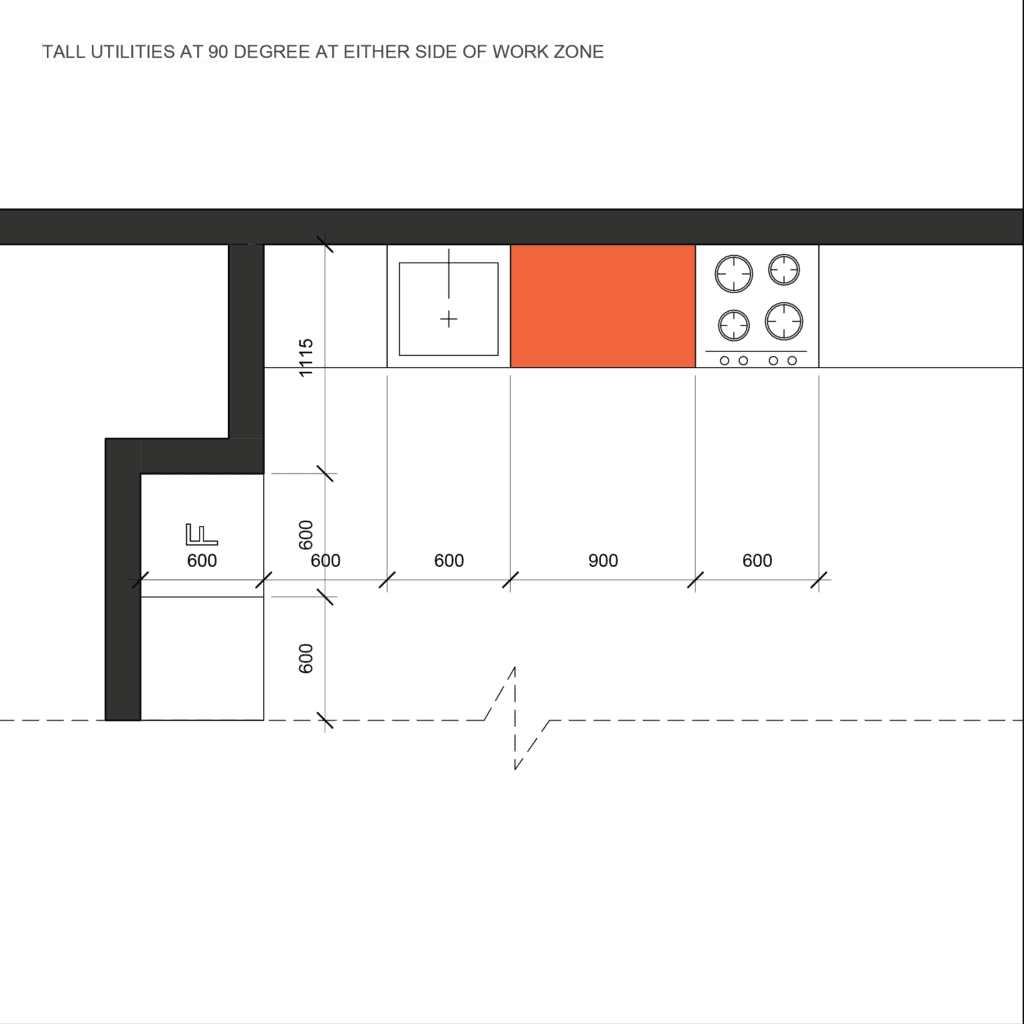
2. Tall Utilities
At its most basic, it’s just a fridge, but it can also include a fridge and pantry, and wall ovens, an appliance cupboard, wine fridge, etc.
This is typically placed at either end of the work zone or at 90 degrees.
The microwave and coffee machine can also be placed here, helping free up countertop space for other activities.
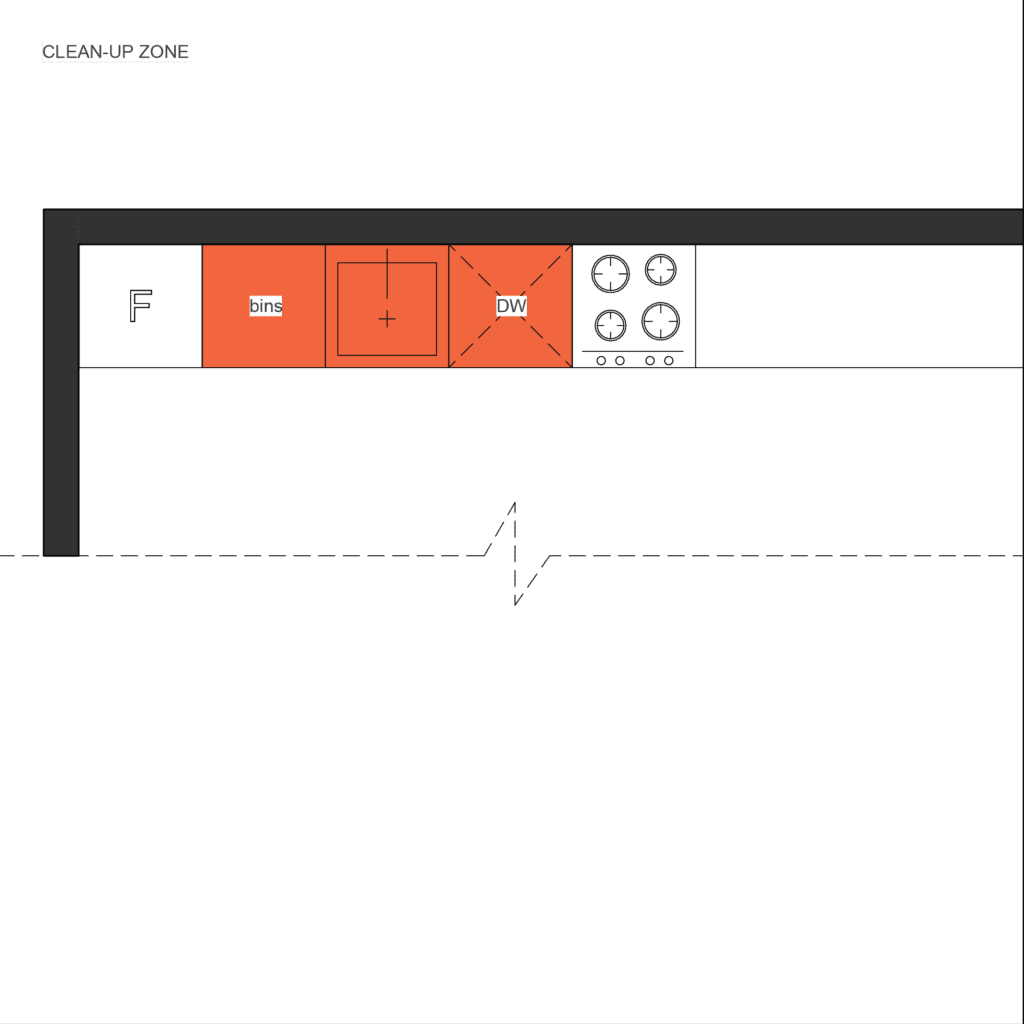
3. Clean-Up Zone
A clean-up zone should include a sink, dishwasher, and bins.
A clean-up zone is typically located at one end of your work zone, unless it’s an extra-large kitchen.
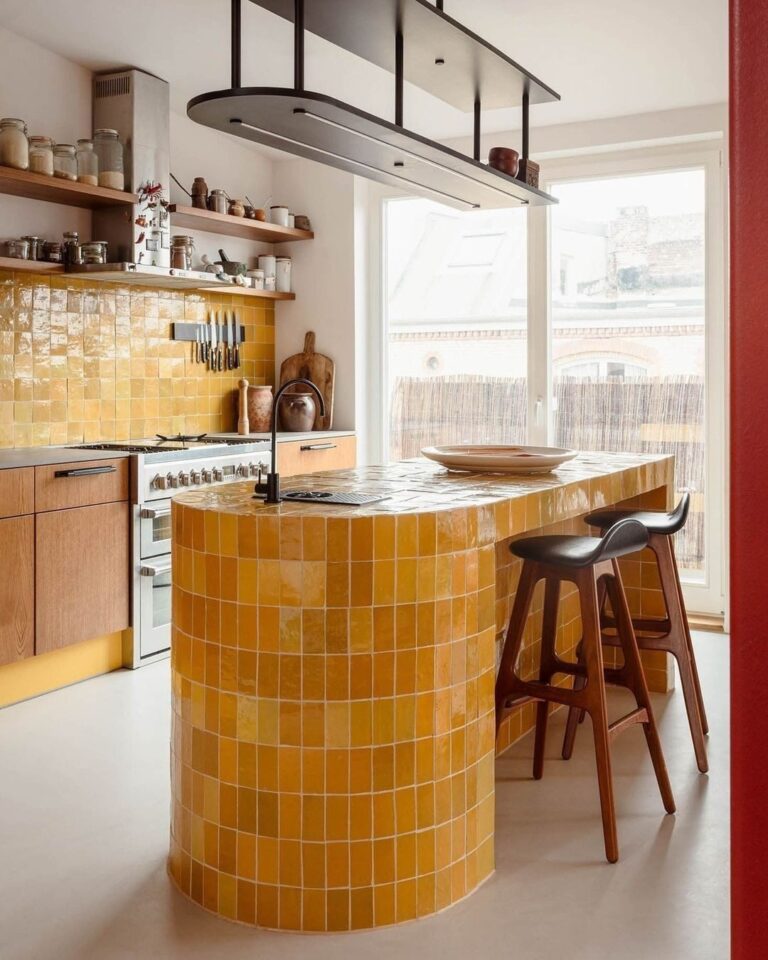
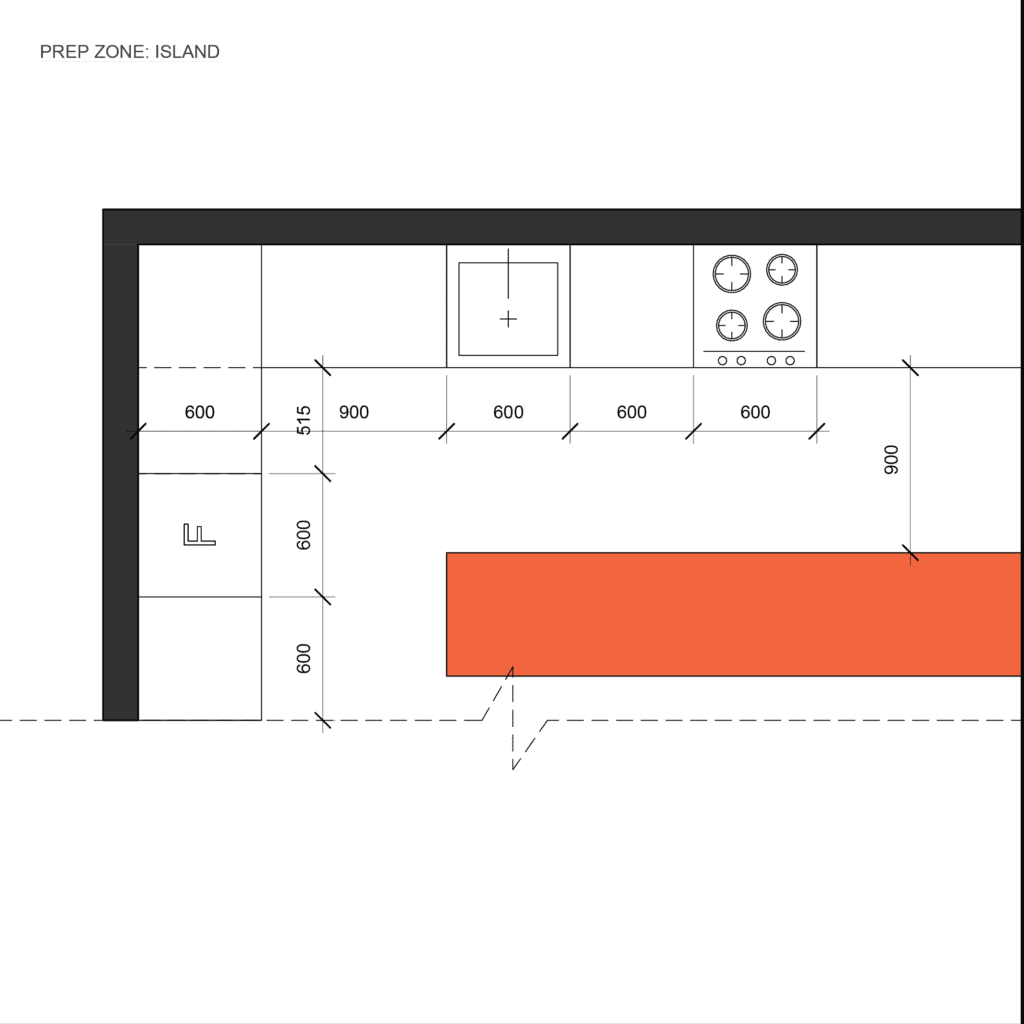
4. Prep Area
Your prep area is either in between your cooktop and sink in your work zone or it’s your kitchen island. It should be a minimum of 2000mm x 900mm. You will need a minimum of 900mm passage alongside it.
Here is another article about small mobile kitchen island ideas
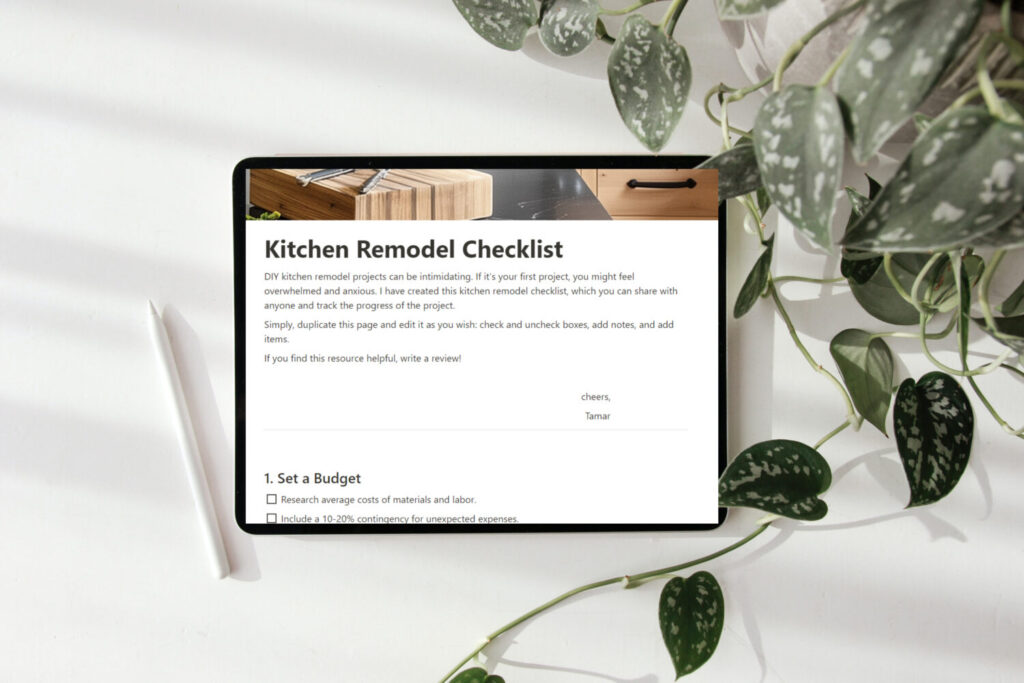
Kitchen remodel checklist
DIY kitchen remodel projects can be intimidating. If it’s your first project, you might feel overwhelmed and anxious. I have created this kitchen remodel checklist, which you can share with anyone and track the progress of the project.
Simply, duplicate this page and edit it as you wish: check and uncheck boxes, add notes, and add items.
If you find this resource helpful, write a review!
An island does not necessarily need to be detached from the wall. However, it’s not a good idea to place the island directly next to a window and block access to the outside.
It’s also important to keep the balance between the length of the island and the length of the work zone.
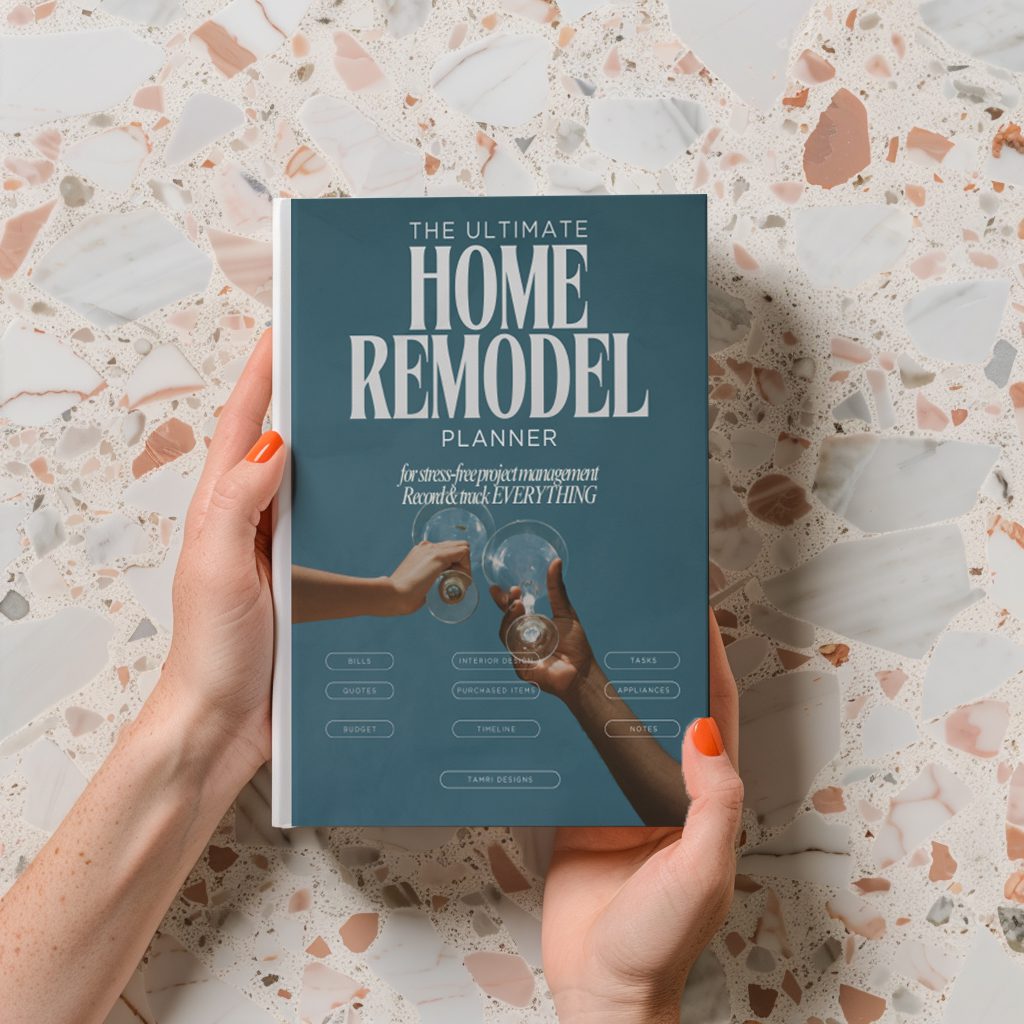
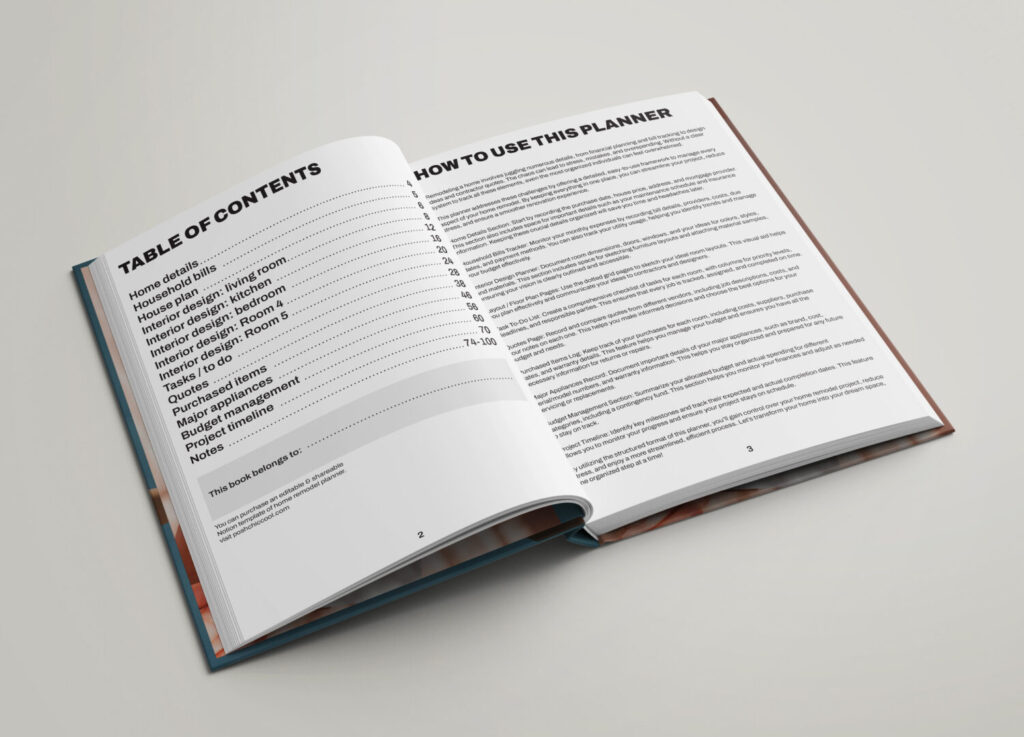
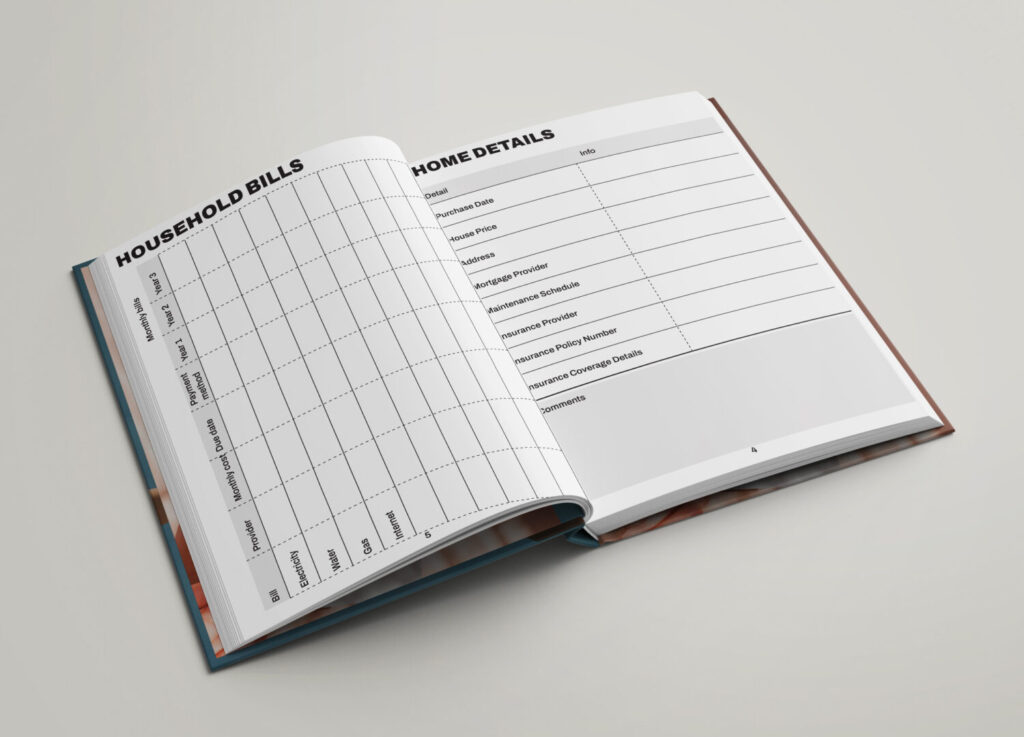
The Ultimate Home Remodel Planner For Stress-Free Project Management: Record and Track EVERYTHING
Conclusion
This blog post was all about planning an optimal kitchen layout by consolidating zones. The dimensions are applicable for a minimum space, but if you have a larger space, you can always increase the distances or sizes of the zones.