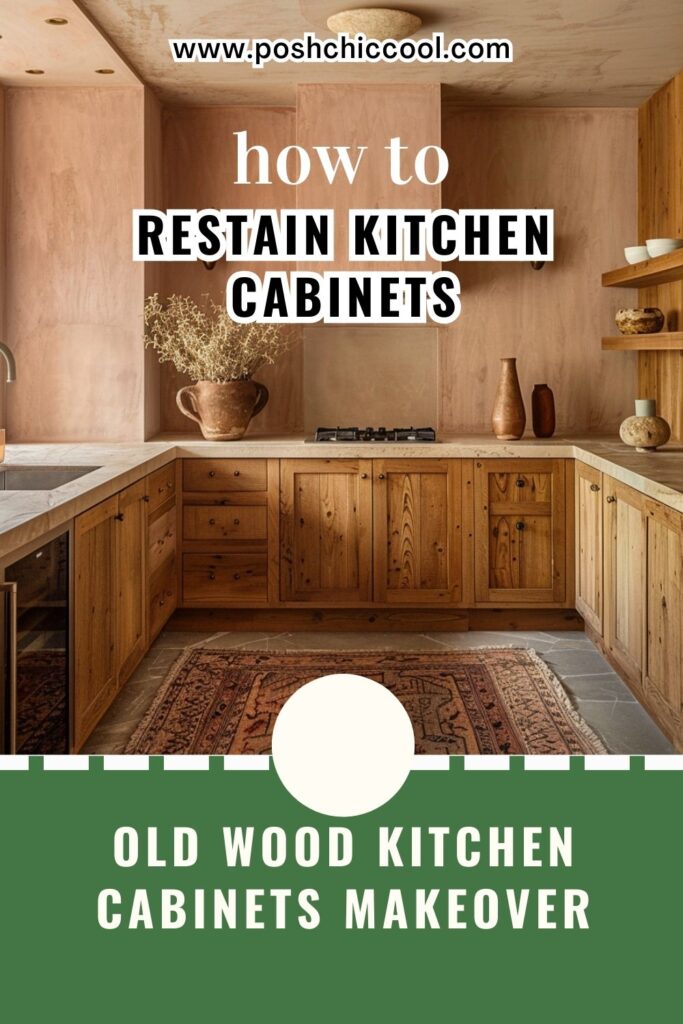
One of the simplest ways to update the look and feel of your kitchen is to Restain Kitchen Cabinets. Restaining kitchen cabinets can be a bigger job than many DIYers anticipate but with the proper knowledge, attitude, preparation, and tools it doesn’t have to be too daunting.
In this post, we’ll cover everything you need to know about restaining cabinets in your kitchen.
Save this pin for later!
can you restain cabinets that are already stained?
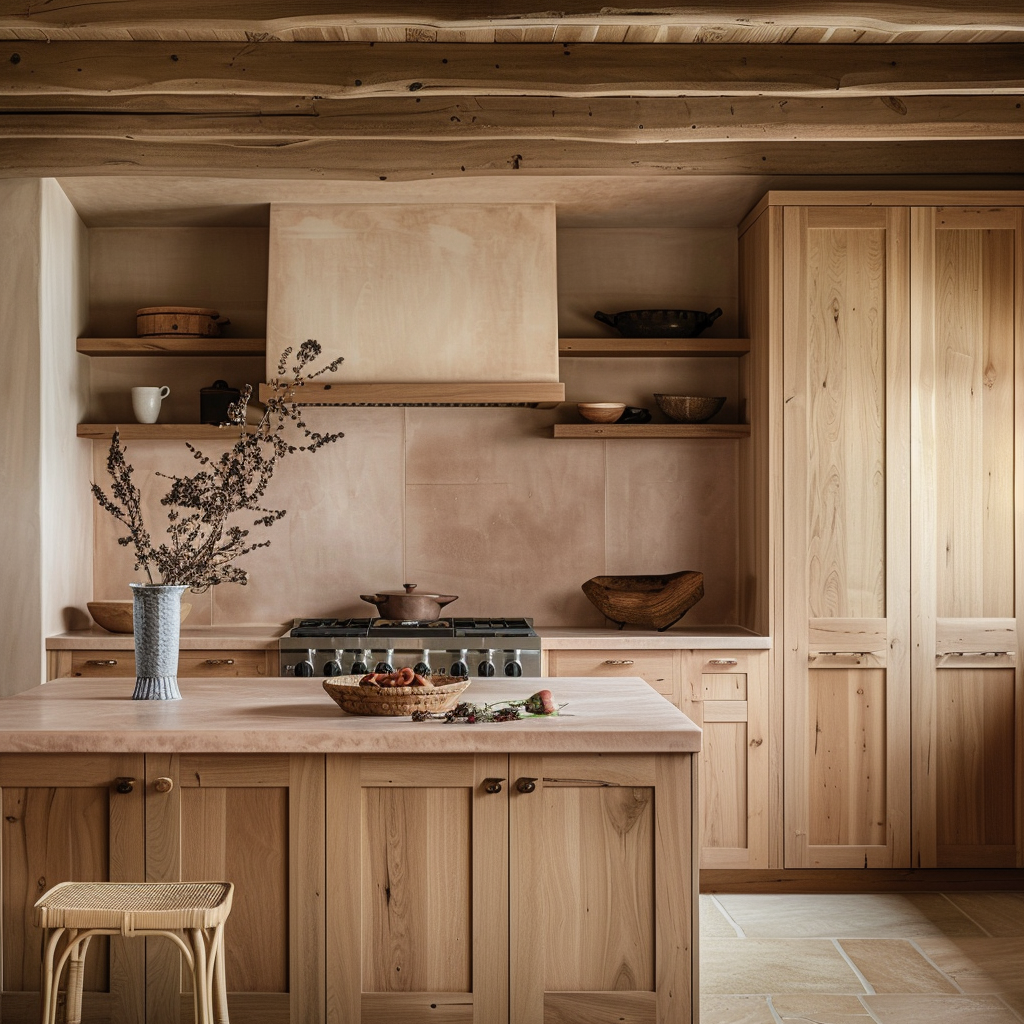
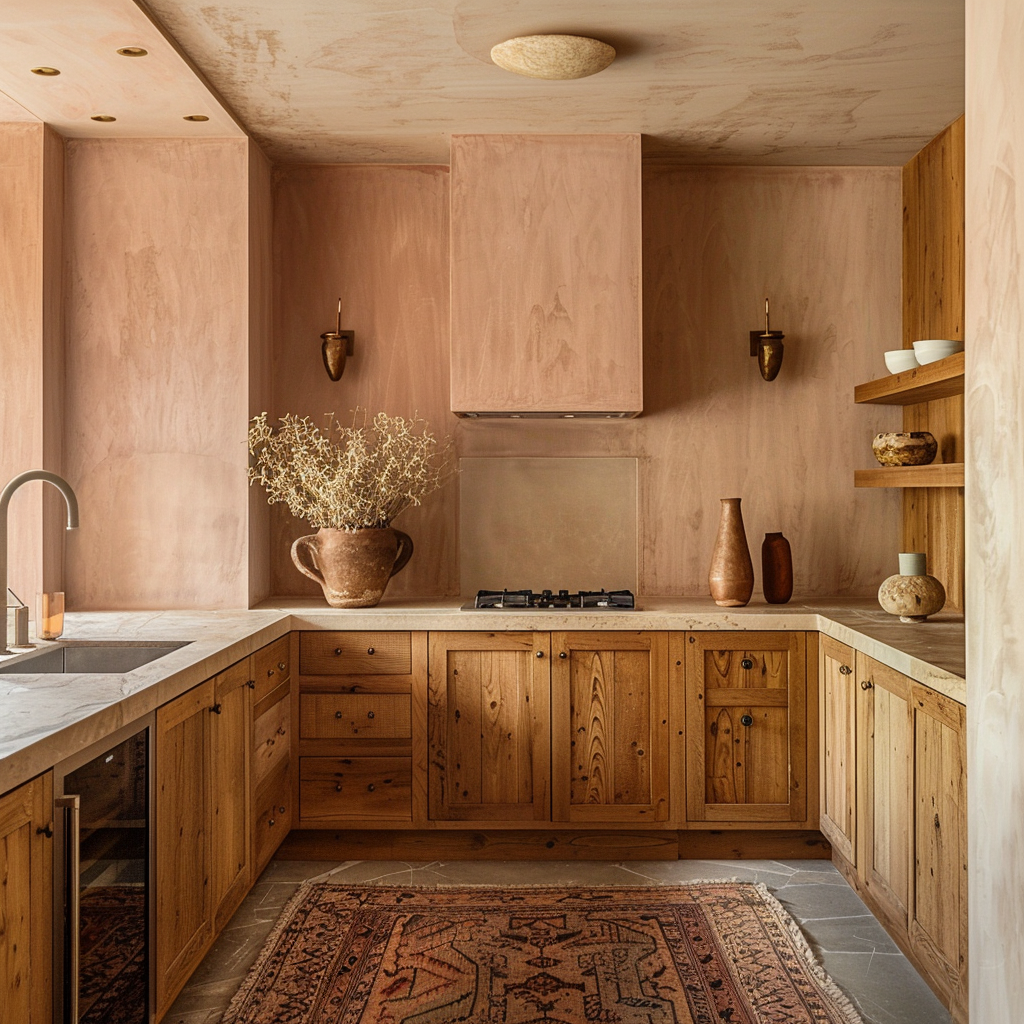
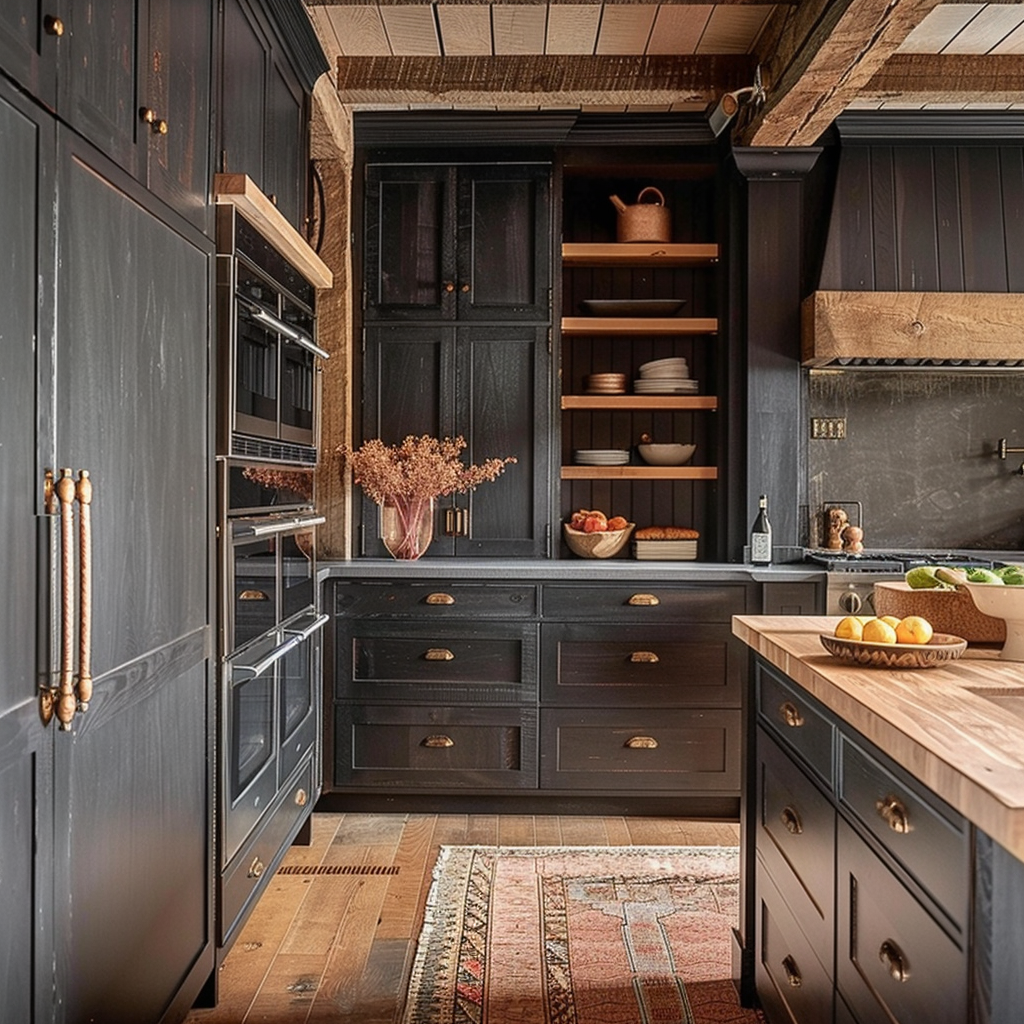
Restaining cabinets that are already stained is not a super easy DIY project, but it is definitely possible. The steps sometimes might be different, based on whether you are staining the cabinets darker, lighter, or matching the existing stain color. The process can be broken down into three parts: removing the old stain, staining, and finishing.
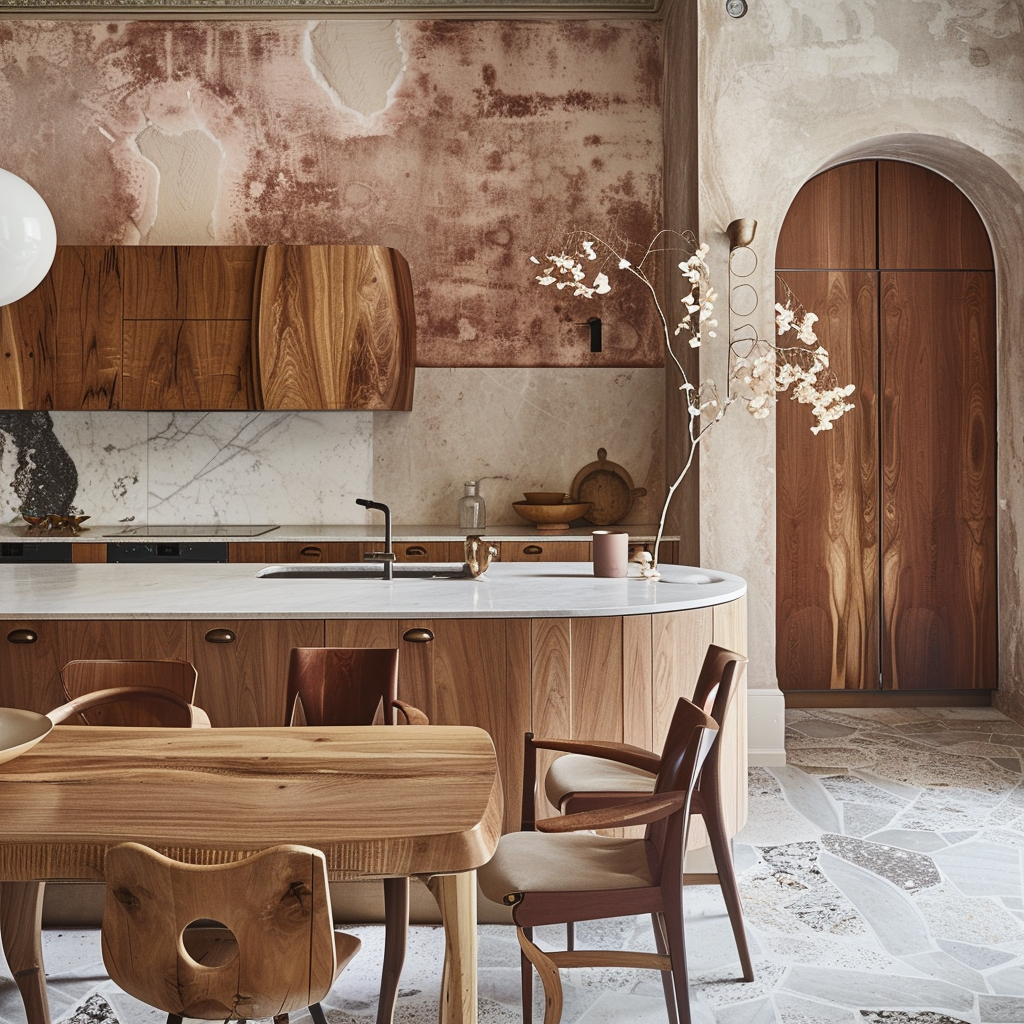
- clean the surface thoroughly with a cloth damp in soap water or TSP cleaner
- stripping: apply a stripper, like Citristrip, and leave it for at least 4-5 hours, or preferably overnight. Make sure you cover the surface so that the stripper does not dry out. This step can be left out if the old stain is in fairly good condition without damage, and you intend to restain it with the same or darker color.
- Remove the stripper and the old stain with a paint remover. Make sure not to damage the wood during the process, especially, if it’s a softwood like pine.
- clean any residue with mineral spirits. If you are using a water-based stain, do not use mineral spirits. Instead, clean the surface with a 50/50 mix of denatured alcohol and water.
- Sending
- clean any dust that might end up on the surface after sending
- Bleaching: this step is only relevant to those, who want to stain the cabinets lighter than the old color
- Stain the surface with an oil-based gel stain or water-based stain. If you are e beginner, oil-based gel stains are preferable, as they dry slower and are more forgiving
- Add 3-4 coats of finish: this can be oil-based or water-based
If you are restaining the cabinets
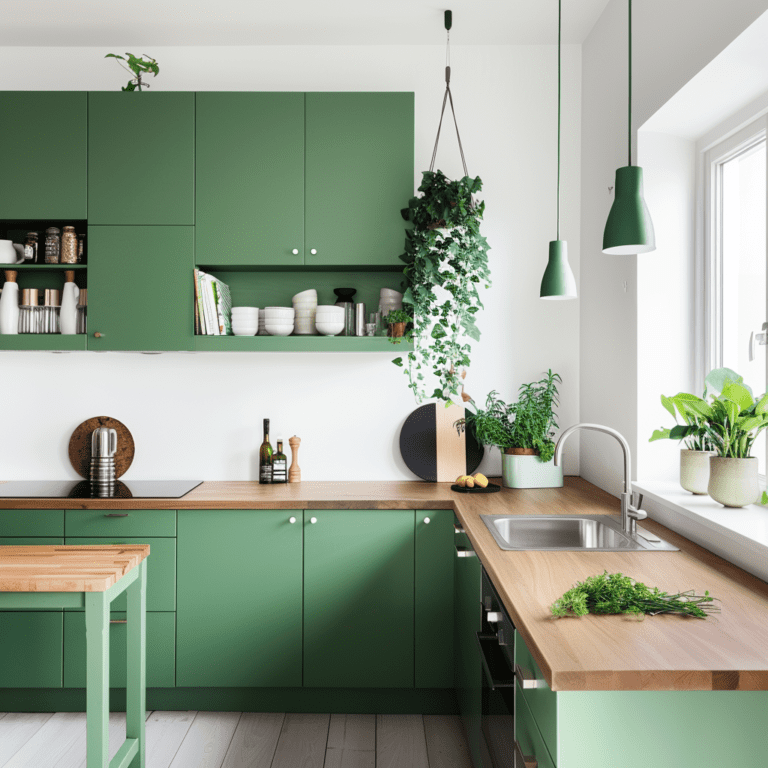
Can You Restain Cabinets a Different Color?
Staining cabinets a different color is totally possible. The difficulty of the project depends on whether you are staining the cabinets to a darker or lighter color. If you are going for a lighter color, you will have to include an additional step in the process: Bleaching. If your new color is much lighter than the old one, you might need to repeat this step several times.
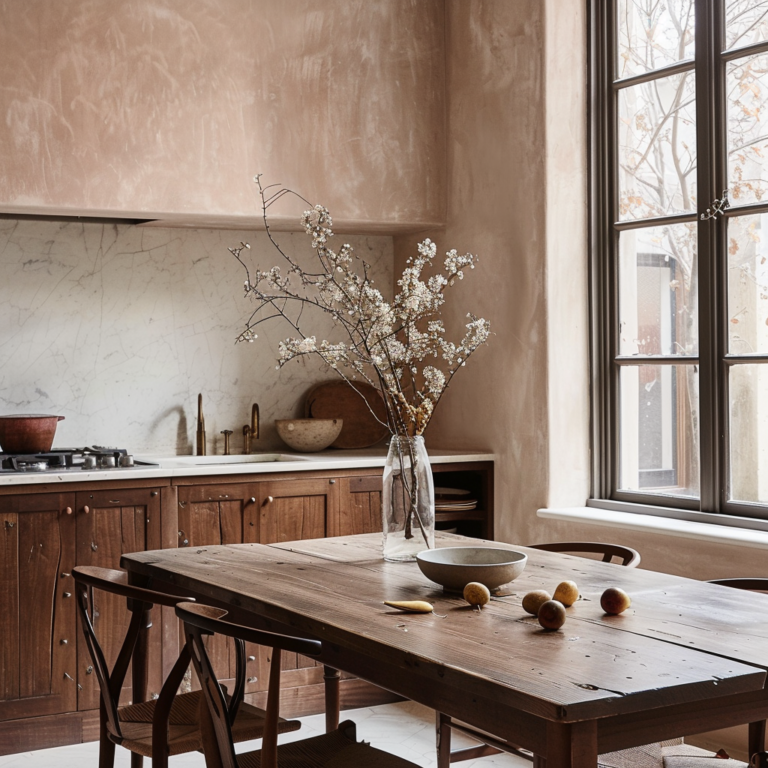
Can You Restain Cabinets Darker?
Staining cabinets darker is possible and it is an easier process than staining cabinets lighter.
- clean the surface thoroughly with a cloth damp in soap water or TSP cleaner. This is an absolutely critical step to get it right.
- stripping: In case of restaining cabinets darker, this step is not necessary unless the old stain is damaged or faulty. If the old stain is in a perfect condition, skip stripping and move onto straight light sanding. If not – apply a stripper, like citrostrip and leave it for at least 4-5 hours, or preferably overnight. Make sure you cover the surface so that the stripper does not dry out.
- Remove the stripper and the old stain with a paint remover. Make sure not to damage the wood during the process, especially, if it’s a softwood like pine.
- clean any residue with mineral spirits. If you are using a water-based stain, do not use mineral spirits. Instead, clean the surface with a 50/50 mix of denatured alcohol and water.
- Sending. If you decided to keep the old stain, then light sanding would do – use sandpaper or flexible sanding pads to sand just enough to break the finish film.
- clean any dust that might end up on the surface after sending
- Stain the surface with a darker stain
- Add 3-4 coats of finish: this can be oil-based or water-based
Can You Restain Cabinets Lighter?
You can stain cabinets lighter than their current color, however, it is always more challenging than restaining cabinets to a darker color. The process includes additional steps compared to staining cabinets darker or matching the old color.
Restaining cabinets lighter includes bleaching between the steps of sending and applying stain to the surface. Depending on how lighter your new color is, you might want to repeat the bleaching several times.
Best Way to Restain Cabinets
The best way to restain cabinets can be broken down into three parts: cleaning, removing the old stain, and applying new stain. Each of them contains several steps. In some cases, some of the steps can be missed out. For example, you don’t have to strip the existing stain if you are planning to restain cabinets with the matching color or darker using oil-based gel stains.
You also do not have to bleach the surface, unless you want to go lighter. However, the absolutely critical essential steps, in any case, are: cleaning, sanding, and refinishing.
Here are practically proven steps for restaining existing cabinets:
- clean the surface thoroughly with a cloth damp in soap water or TSP cleaner to remove any dust, grease or oil. Cleaning is absolutely critical so that the new stain has a proper surface to bond to.
- stripping: apply a stripper, like Citristrip and leave it for at least 4-5 hours, or preferably overnight. Make sure you cover the surface so that the stripper does not dry out.
- Remove the stripper and the old stain with a paint remover. Make sure not to damage the wood during the process, especially, if it’s a softwood like pine.
- clean any residue with mineral spirits. If you are using a water-based stain, do not use mineral spirits. Instead, clean the surface with a 50/50 mix of denatured alcohol and water.
- Sending
- clean any dust that might end up on the surface after sending
- Bleaching: this step is only relevant to those, who want to stain the cabinets lighter than the old color
- Stain the surface
- Add 3-4 coats of finish: this can be oil-based or water-based
Can you Restain Cabinets without Sanding?
Sanding is an essential step in the process of restaining cabinets. As much as you might hate it, it is there for a reason, and skipping it will get you a poor outcome. It serves three purposes:
- removes any residue of old stain
- smoothes out any scratches: if you leave out sanding, any scratch will be visible after staining, or even more visible than before staining
- Sanding will open up the pores of the wood so that it can absorb the new stain better
If your old stain is in fair condition, and you plan to match the new color with the old one or go darker, light sanding the existing finish and then applying Gel Stain would do.
Restaining Different types of cabinets
While restaining your old cabinets, you should be aware of what kind of wood you are working with. Generally speaking, wood species can be divided into two categories: hardwood and softwood.
This is important to know because if you are working with softwood, such as pine, you need to be extra careful during the stripping process not to leave deep scratches on the surface, and during bleaching – if it’s a soft wood you should leave the bleacher for a shorter amount of time compared to hardwood (5mins for softwood, 10mins for hardwood if you are using Zinsser Wood Bleach)
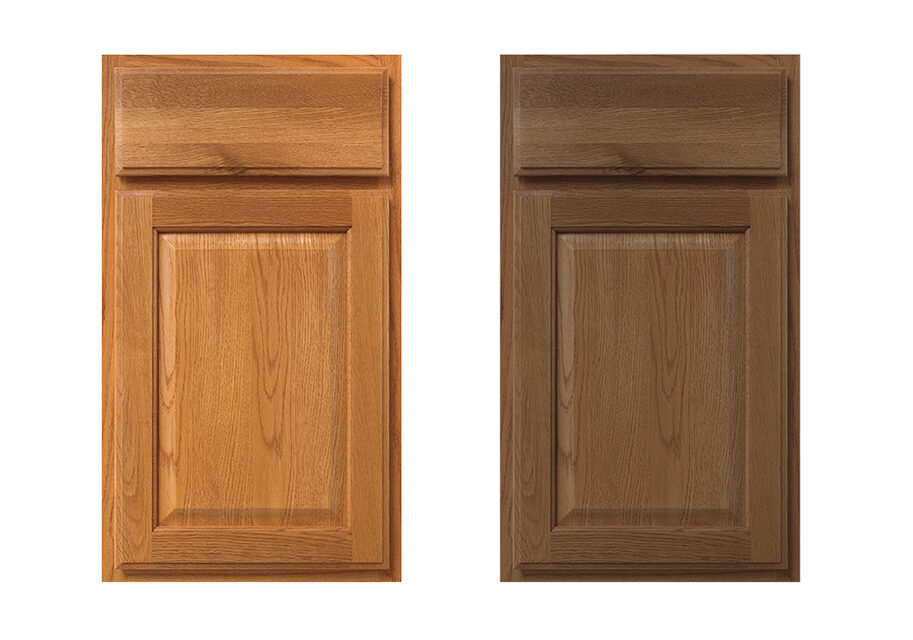
restain honey oak cabinets
The process of restaining honey oak cabinets depends on two factors:
- the state of old stain: is it damaged or not?
- The new stain: is it going to be lighter? or match the old one or darker?
If your old stain is in a fair condition, and you are planning to match the stain color with old one, or go darker, then the steps are as follows:
- thoroughly clean the surface to remove any grease, oil, or dirt. Cleaning is absolutely critical so that the new stain has a proper surface to bond to. If you are using oil-based gel stain, use mineral spirits for cleaning the surface or denatured alcohol and water 50/50 mix. If you use water-based stains – clean only with a 50/50 mix of denatured alcohol and water.
- lightly sand the surface with sandpaper or flexible sanding pads to sand just enough to break the finish film. You can also smooth out any shallow scratches during this step.
- clean the surface thoroughly again. You can use a cloth damp with mineral spirits (ONLY if you are going to use an oil-based gel stain). Do not saturate the surface though. Do just enough so that the new gel stain glides on it smoothly and nicely and you can wipe it off easily if needed.
- Apply stain. You can go for an oil-based gel stain for reasons described below
- leave it overnight to dry
Gel Stains
Using a gel stain is absolutely preferable if you are refinishing old cabinets. Gel stains are topical (non-penetrating) – they do not penetrate the tissue of the wood. This is essential for refinishing old cabinets, because woods of different ages absorb the penetrating stains differently, which might end up in inconsistency of color throughout cabinet doors.
Using Gel stain is also a good idea if you have multiple species of wood, and would like to have a consistent, uniform color throughout them all.
Another good quality of gel stains is that they contain polyurethane, they dry off and you can apply several coats to drastically change the color of your cabinets from honey oak to a very dark tone.
If you are a beginner DIY-er using gel stains instead of water-based stains can be more beneficial – oil-based stains dry slower and are more forgiving.
If you still go for water-based stain, you can use an Extender, especially if you are working on larger surfaces and you do not want the stain to dry out too quickly.
restaining maple cabinets
The process of restaining maple cabinets depends on two factors:
- the state of the old stain: is it damaged or not?
- The new stain: is it going to be lighter? or match the old one or darker?
If your old stain is in a fair condition, and you are planning to match the stain color with old one, or go darker, then the steps are as follows:
- thoroughly clean the surface to remove any grease, oil, or dirt. Cleaning is absolutely critical so that the new stain has a proper surface to bond to.
- lightly sand the surface with sandpaper or flexible sanding pads to sand just enough to break the finish film. You can also smooth out any shallow scratches during this step.
- clean the surface thoroughly again. You can use a cloth damp with mineral spirits. This can also serve as a slip coat for the oil-based gel stain. Do not saturate the surface though. Do just enough so that the new gel stain glides on it smoothly and nicely and you can wipe it off easily if needed.
- Apply stain. You can go for an oil-based gel stain
- leave it overnight to dry (in case of oil-based stain)
Cost to restain kitchen cabinets
The cost to restain kitchen cabinets varies depending on the surface area of the cabinets and whether you are planning to strip the existing surface or not. Let’s assume, you are planning to restain old cabinets to a lighter color using an oil-based gel stain. Here are the tools and products you will need and how much they would cost:

Denatured alcohol to be used for cleaning. Use a 50/50 mix of denatured alcohol and water. For $19.33/pc
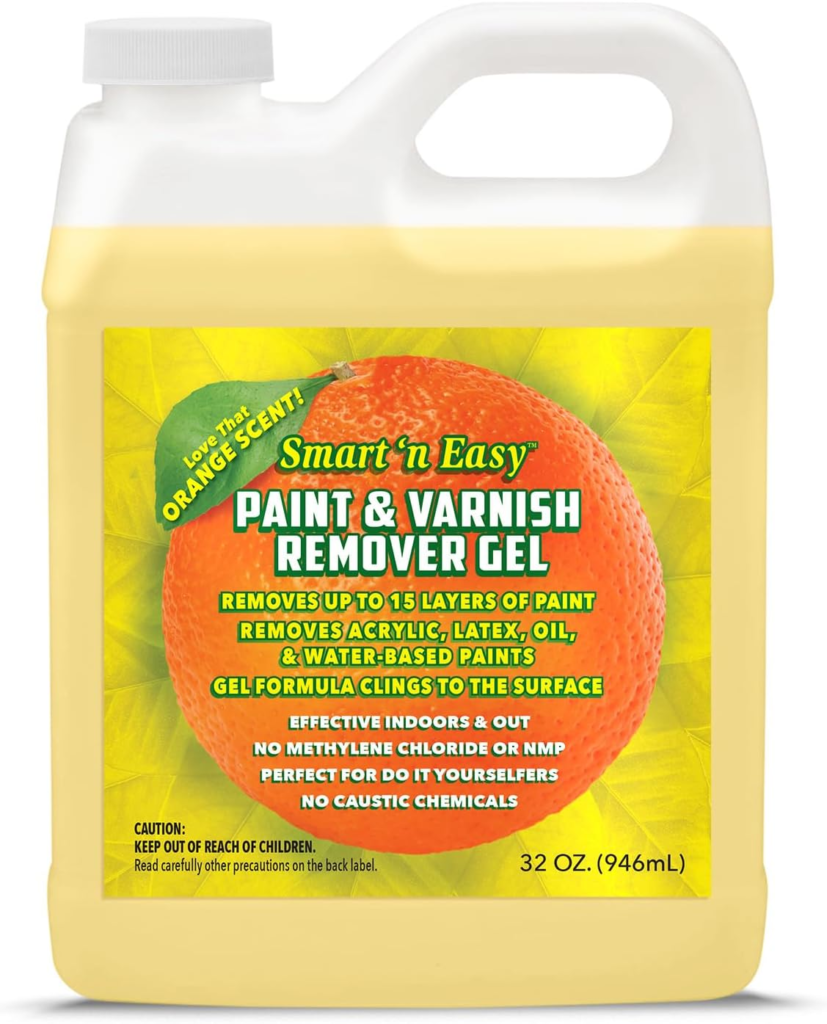
Smart ‘n Easy Paint & Varnish Remover Gel to remove existing stain. For $21.97

Paint scraper set of 3. For $19.98
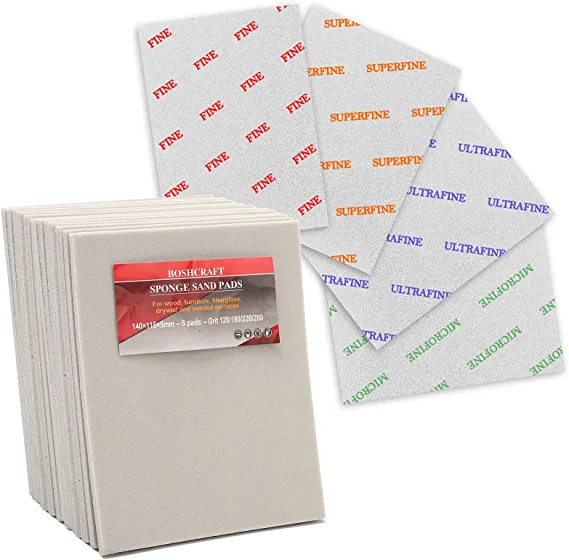
flexible reusable sanding pads. For $12.99
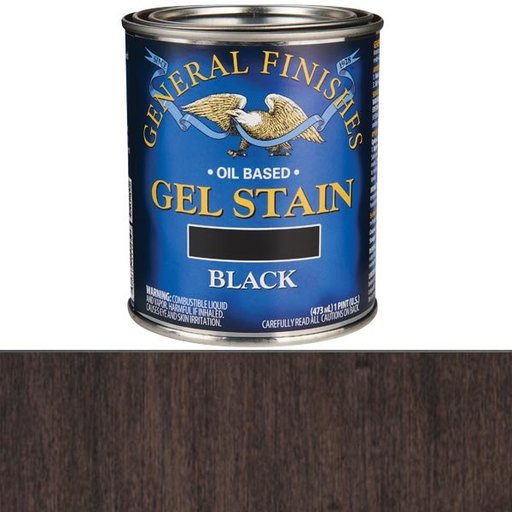
Oil-based gel stain. For $24-50
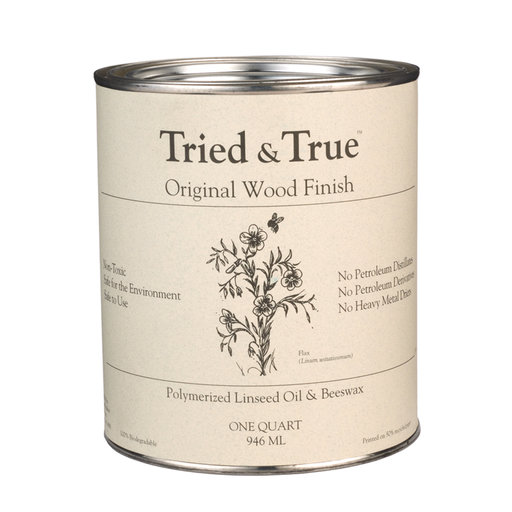
Oil-based finish. For $40.99
Is it cheaper to Restain or paint kitchen cabinets?
Painting is less expensive compared to restaining the cabinets due to two main reasons: the preparation before restaining takes more materials, work, and time to be completed, and secondly, if you want to achieve certain dark color, you might need to apply several coats of stain, which means more product is being consumed.
Can you stain over the painted cabinet?
Yes, staining the painted cabinets is possible, and it’s pretty much the same process as you would go through if you were re-finishing stained cabinets. The process is as follows:
- thorough cleaning of the surface from grease, oils and dirts,
- light sanding
- cleaning
- applying stain
- applying finish coat
For a more thorough explanation, check other sections in this blog post.
References
Conclusion
If you got inspired with my article all about stained kitchen cabinets and now you’re considering to restain your cabinets to refresh them, hope this article helped you to get a clear overview what you need to do.
